Tutorial Preview
Highlights
Highlights of the course.
1. Putting the stand together
Any structured cake is only as good as it’s foundations and in this lesson, Paul takes you through his thought process and how to put the structure together.
NOTE: Paul uses garden wire but later finds that it would be better to go for something more sturdy like a coat hanger.
2. Icing the board
In this Lesson, Paul explains how to cover the board with the metal rod through the centre then prepares the ball for covering.
3. Covering the ball
Quite a tricky one and the mathematicians amongst you might have a more technical answer to this, but in true Paul style he uses a template and makes some adjustments along the way.
4. Putting the body together
‘How did you do that?’ Is one of those questions you loved to be asked as a cake designer. In this lesson, you learn how to put the shape of clown’s body together, which will hopefully invite the question.
NOTE: Paul later discovers that the foot on the floating leg should be 7cm. Although he shows how to correct this if you want to save yourself the pain go for the longer foot at this stage.
5. Carving the cake
Now we can add the cake and start to carve and ganache the clown’s body
6. Icing the body and adding the socks
The great thing about decorating a clown is that the more colourful and whacky the better. In this lesson Paul ices the bottom of the body and the socks with some trials and tribulations along the way.
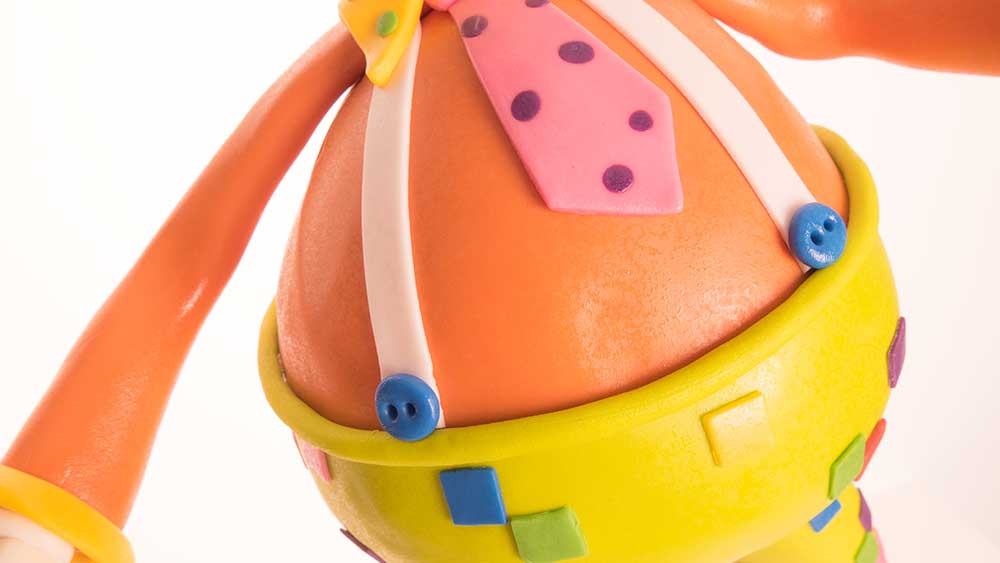
7. Adding the trousers
Shaping and adding the trousers is a little tricker than you might expect, but follow Paul and it will all come together. You can tell he was quite chuffed the way it turned out!
NOTE: There was an audio issue in Lessons 7,8,9, sorry for an inconvenience caused.
8. Covering the top
Worth watching for a funny story from Paul’s childhood! Oh, and yes, he covers the clown’s jumper.
NOTE: There was an audio issue in Lessons 7,8,9, sorry for an inconvenience caused.
9. Adding the arms
There are a number of ways to add the arms, but Paul goes for a straightforward approach using wire, but watch how he works out where to position them.
NOTE: There was an audio issue in Lessons 7,8,9, sorry for an inconvenience caused.
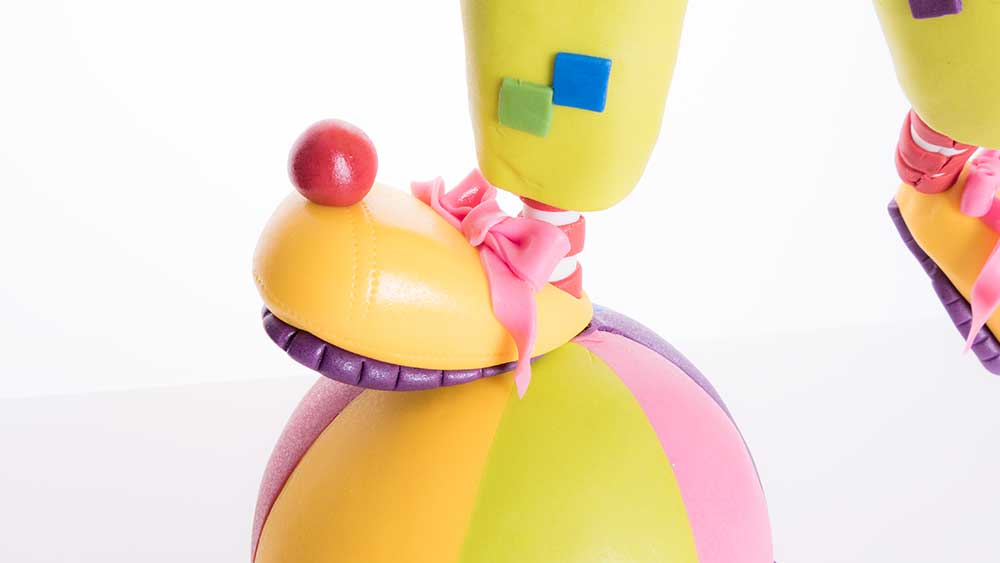
10. Adding the boots
No clown would be complete without some oversized silly shoes. In this lesson, Paul has a bit of trial and error to come up with something to match the rest of the design.
11. Adding the squares
You have a choice here to add polka dots, stripes or squares as Paul goes for in this lesson.
It’s a time consuming, but therapeutic exercise so get the kettle on.
12. Adding the belt, braces, cuffs, tie and collar
The clown starts to get dressed up in this lessons with lots of simple techniques to create his clothing additions.
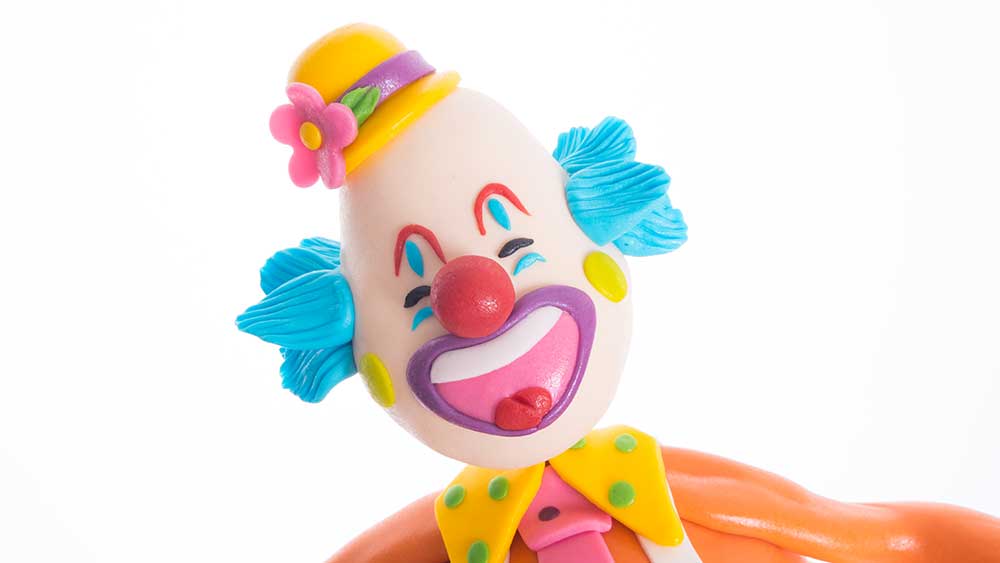
13. Shaping the head
It’s worth spending a bit of time to get the facial proportions right to make sure that the features allow for a happy clown.
14. Facial features
This is where you start to add character to the clown and have a bit of fun with colours, smiles and the hair.
15. Adding the hat
No clown is complete without a silly hat so you have poetic license to create whatever design you like or feel free to follow Paul as he makes a clown style bowling hat.
16. Adding the gloves
Time to add the hands or in this case Paul elects to go for oversized gloves. Watch out as his initial glove size is too big so needs to bring them down a size or two.
17. Finishing touches
After adding the ribbon Paul explains how to fix the crack that’s appeared where the clown’s floating leg meets the rest of the body. If you use stronger wire and finish in the cake the same day you shouldn’t have this problem, but worth watching for a great repair technique.
18. Other Ideas
Paul shares with you some other ideas for this design.
19. Pro Lesson
Paul covers everything a professional cake decorator should know for this design.
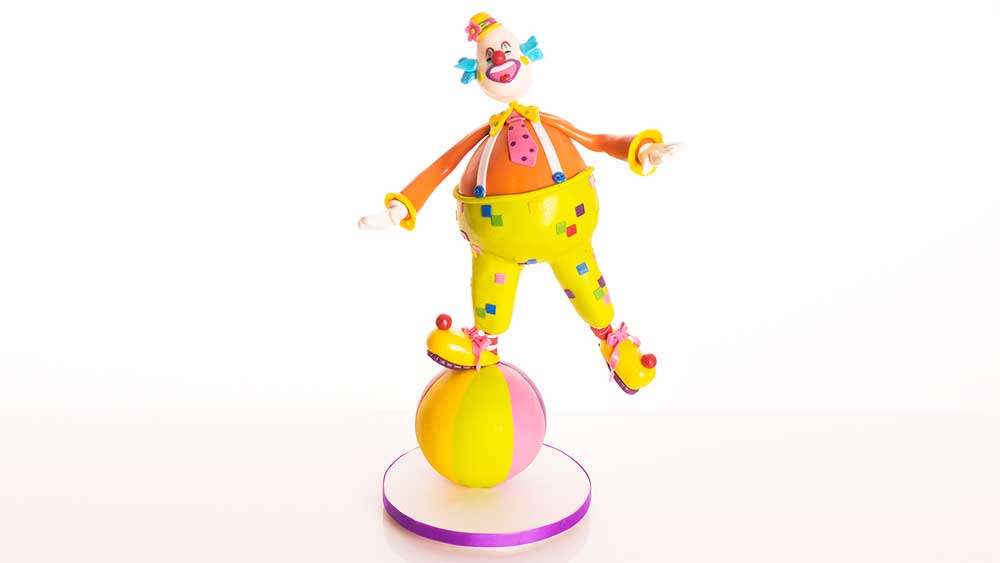
Learn how to make a clown cake with Paul Bradford…
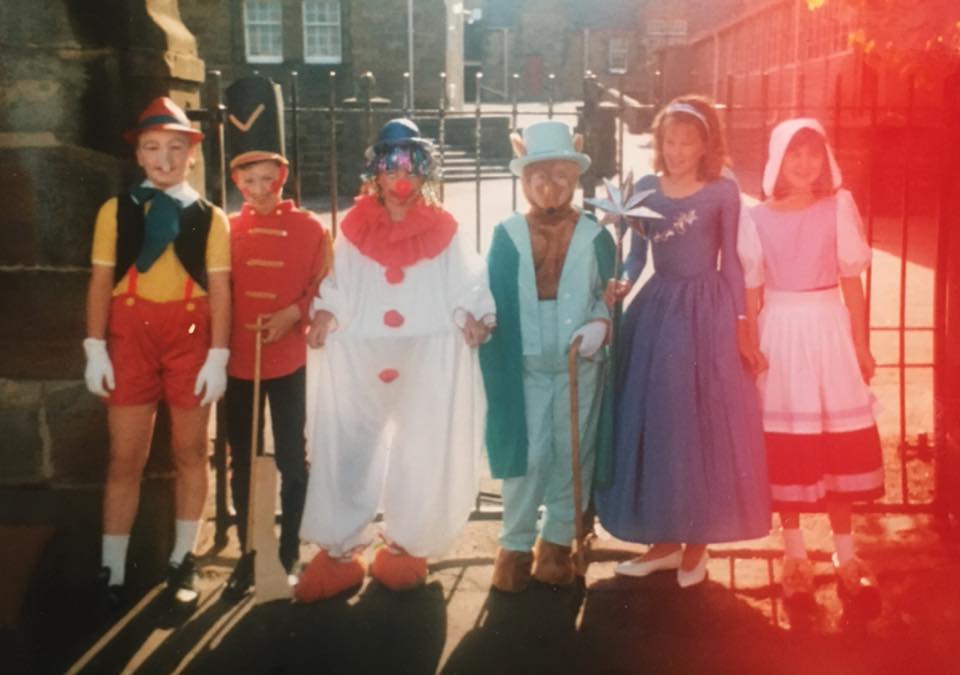
Paul as a young clown
In this tutorial, Paul teaches you how to make this balancing clown cake. Always the joker, Paul takes you through a whole host of fantastic techniques in this tutorial which are a great addition to your cake making repertoire.
In this tutorial you will learn how to…
- Cover a spherical shape
- Make a stand
- Cake carve
- Brush and broidery
- and much, much more
Don’t forget to share your interpretations of this wonderful cake with Paul and rest of the Sugarcraft community on our Facebook group.
Who knows? You may even end up featured in one of our monthly members’ cake blogs.