Tutorial Preview





Highlights
Short of time? Watch the edited key learning points in under 16 mins.
1. Preparing the wrap
Paul starts by rolling out the sugarpaste and preparing it to be wrapped around the cake.
2. Adding the wrap
Paul now wraps the sugarpaste around the cake.
3. Trimming the lip
Time to neaten off the wrap lip and shape the edges for the style of the design and decorations to follow.
4. Cutting out the leaves
Time to cut out 27x small, medium and large leaves.
5. lesson 5 - Colouring the leaves
Paul gets his dusts out and adds a lovely gold colour to the leaves.
6. Cutting and shaping the butterflies
Paul now creates 6 Large 12 Small butterflies from wafer paper.
7. Shading the butterflies
He brings the butterflies to life by adding some lovely golden shades using his dusts.
8. Wiring up the butterflies
Time to give the butterflies their structure as Paul starts to wire them up.
9. Stacking the cake
Paul now adds the dowels to the bottom tier to allow the stand to sit on top before adding the top tier.
10. Wiring up the flowers
It is now time to wire up the flowers and branches.
11. lesson 11 - Adding the branches
Paul now adds the branches to finish this stylish floating tiered wedding cake.
12. Other Ideas
Paul shares some extra insights about this design.
13. Pro Lesson
Paul shares his his costing and suggested retail price with our business members.
14. Bite Size
Here is or short promotional video for this tutorial.
Floating Tiered Wedding Cake
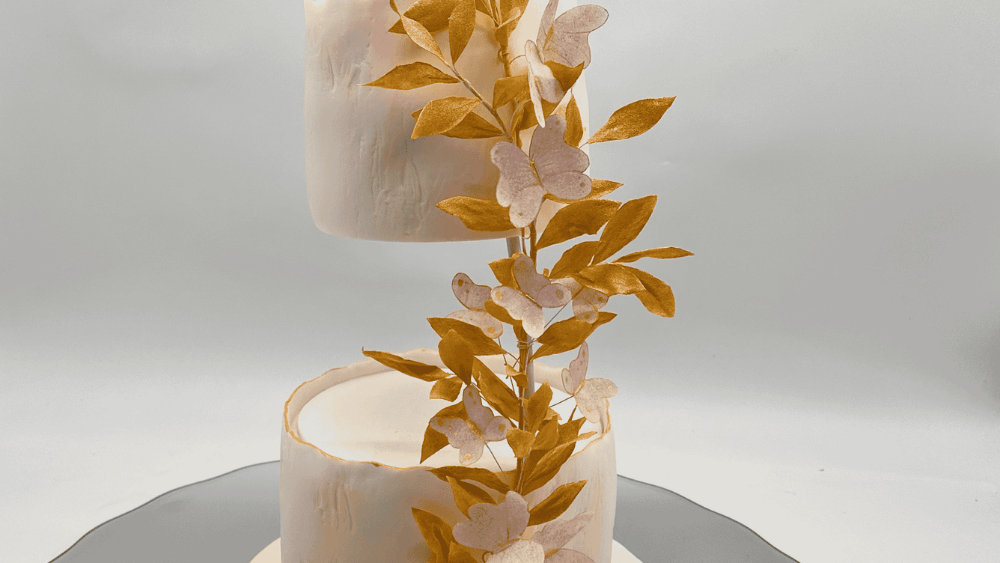
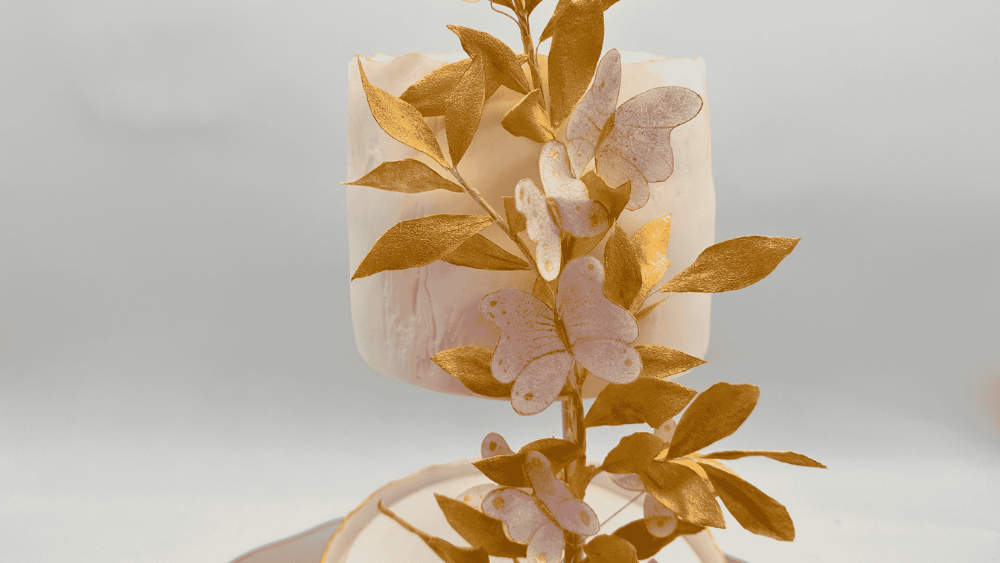
There’s something quite magical about a wedding cake that seems to defy gravity. In this tutorial, Paul creates a beautiful floating tiered wedding cake using one of the clever stand systems from Prop Options.
The hidden structure makes the top tier appear to float above the cake below. This creates space for Paul to build a beautiful floral arrangement between the tiers. It also gives the finished cake extra height and grandeur without simply adding more tiers.
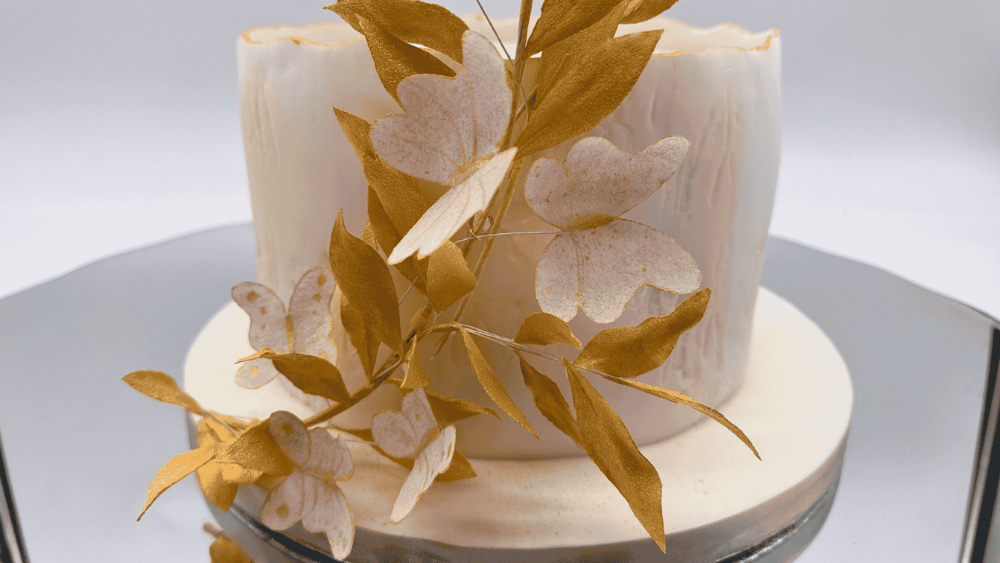
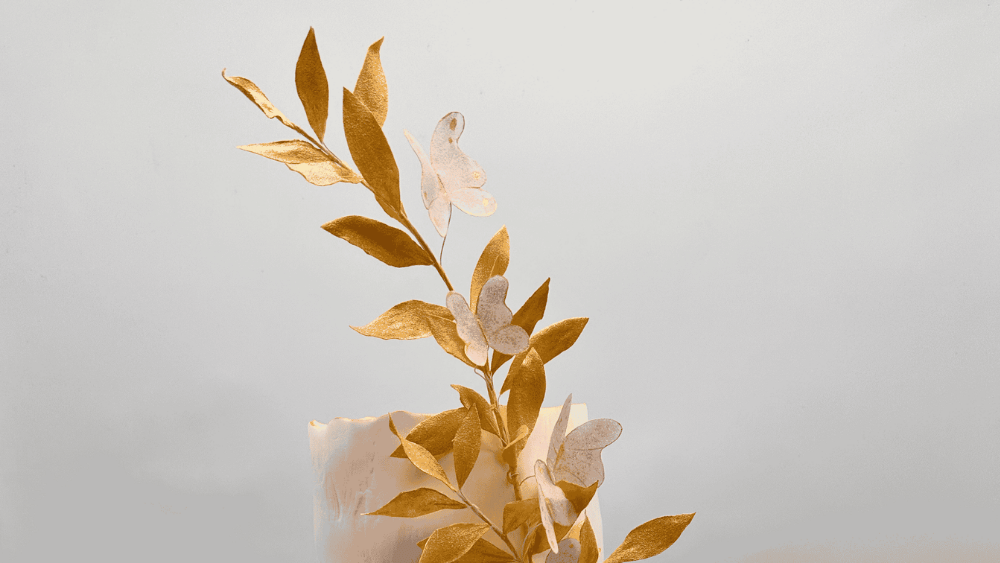
Paul keeps the cake itself beautifully understated, with soft ivory tiers and a relaxed finish. This allows the decoration to become the star of the show. Delicate pale pink flowers and butterflies work their way through the centre of the design. Paul then adds striking gold foliage to bring the whole cake to life.
The floating section is where this design really comes into its own. Paul uses a specialist cake stand from Prop Options and cleverly disguises the structure with the decorations. As a result, your eye is drawn to the flowers and foliage rather than how the cake is being supported.
Prop Options offer a fantastic range of stands and separators for cake decorators. They allow you to play with height, space and illusion to create something completely different. Once you start working with structures like these, all sorts of possibilities open up.
As always, Paul takes you through the process step by step. You’ll see how he puts the design together and, importantly, how he hides the structural elements within the finished cake.
You can also take the techniques from this tutorial and make the design your own. Change the colours, flowers or foliage to suit your wedding theme. Alternatively, use the floating tier concept as the starting point for a completely different cake.
It’s a great example of how the right cake stand can become much more than something to display your finished cake. It can become an important part of the cake design itself.
In this tutorial, you will learn how to…
- Create a floating tier effect
- Work with a specialist tiered cake stand
- Conceal the supporting structure
- Create delicate decorative flowers and butterflies
- Add striking gold foliage
- Arrange decorations between floating tiers
- Bring all the elements together to create an elegant wedding cake
Don’t forget to share your interpretations of this wonderful cake with Paul and the rest of the CakeFlix Family on our Facebook group.
View hundreds of more world-class tutorials only at www.cakeflix.com.