Tutorial Preview





Bite Sized
Here is a short promotional video for this tutorial.
Highlights
Short of time? Watch the edited highlights in under 17 minutes.
1. Shaping the cake
Paul starts by explaining the design and structure then gets on with shaping the cake before covering in ganache.
2. Covering the board and legs
As it’s a Halloween cake Paul creates a spooky marble effect to cover the board then adds the sugarpaste to cover the legs.
3. Creating the dress
Using Karen Davies moulds Paul quickly creates the pleated effect dress.
4. Adding the shoes
Time to create the shoes.
5. Icing the head
Paul now ices the polystyrene ball to form the head.
6. Making the eyes - Evil side
Time now to bring the character to life as Paul starts by creating the eyes for the evil side of our two faced vampire. Allow drying time.
7. Facial features - cute side
Paul creates the facial features for the cute face. Trust the process as there is still a lot to be added to the design.
8. Adding blusher - Cute side
Paul brings the character to life with a little makeover and some blusher.
9. Adding the hair - Cute side
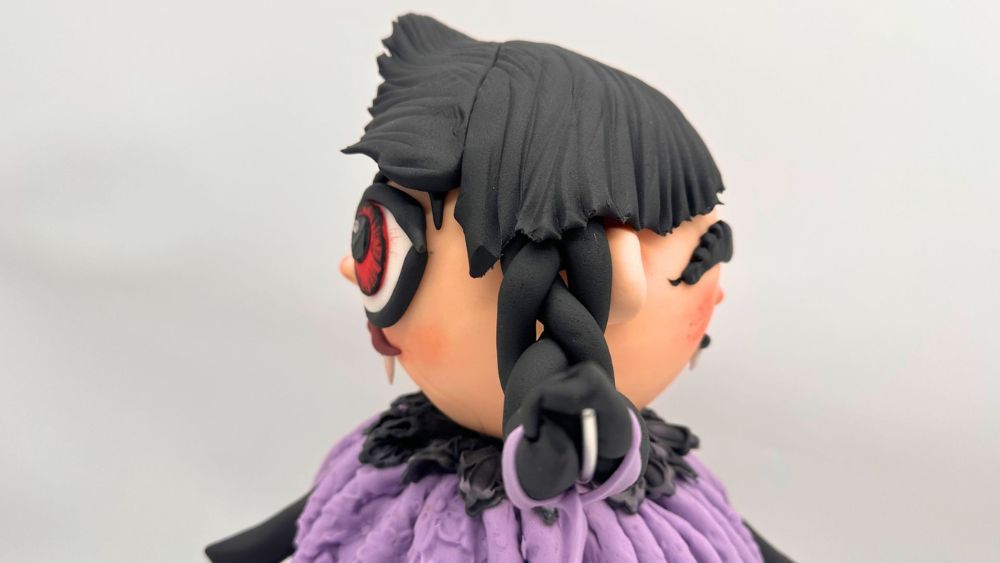
Tim now to add the hair and with it the all important handles to allow the head to spin.
10. Adding the evil eyes
Now that they have had time to dry its time to add the evil eyes!
11. Facial features - Evil side
Paul finishes off by adding facial features to the evil side.
12. Other Ideas
Paul shares some different ideas for using the skills and techniques learned in this tutorial.
13. Pro Lesson
Paul shares his costings and suggested retail price with our Pro members.
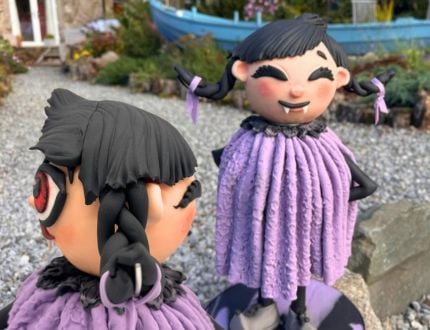
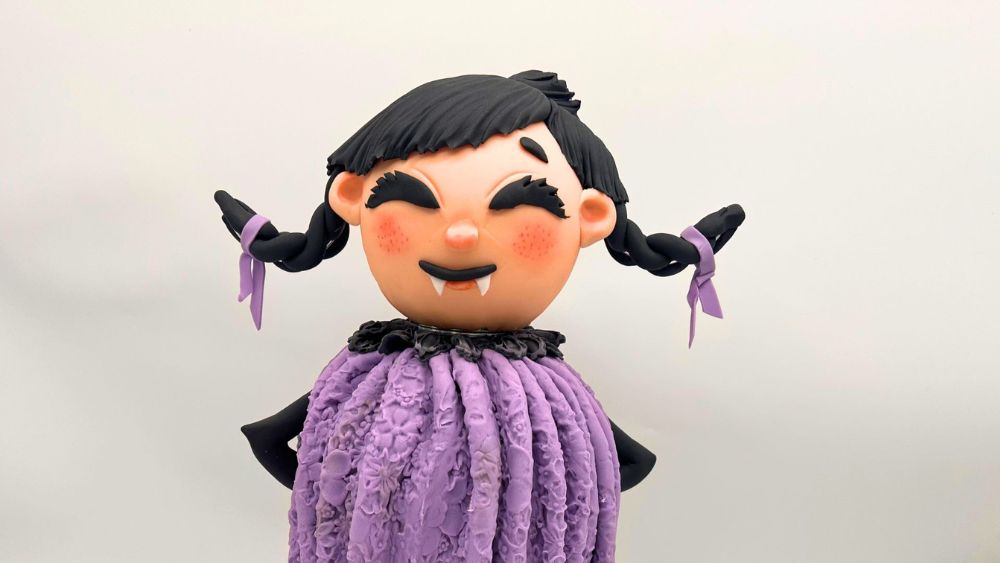
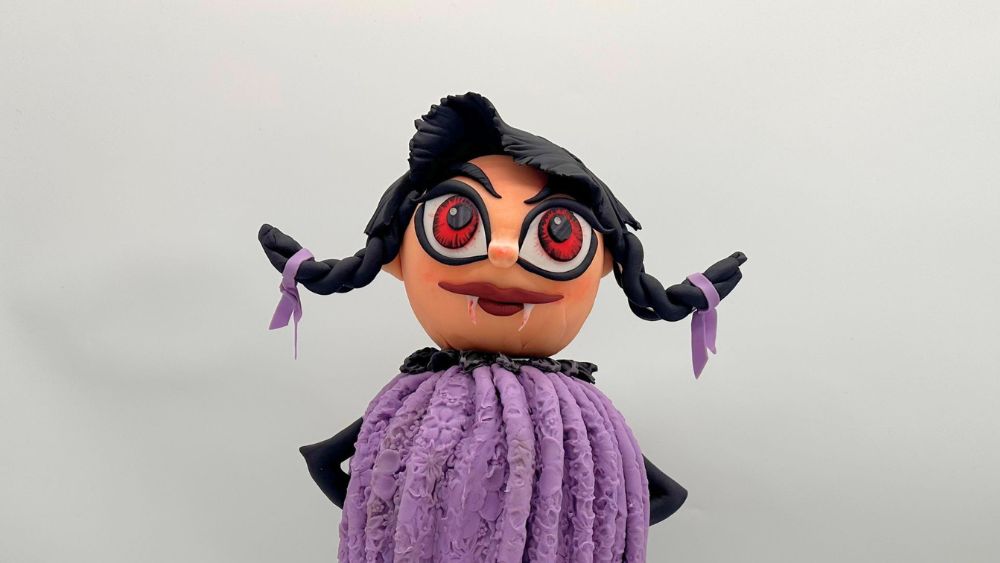
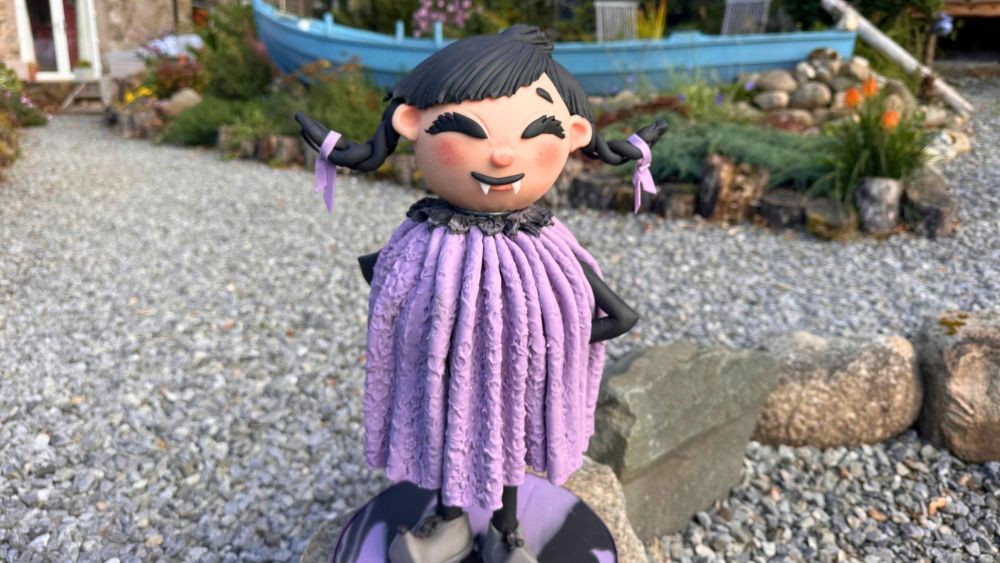
Meet a vampire with a little more personality than you might expect! In this Two-Faced Vampire Halloween Cake Tutorial, Paul Bradford creates a character cake with two very different faces and a clever spinning head. One side gives you a cheeky, smiling vampire. Turn the head and those enormous red eyes reveal a rather more alarming expression. Which face would you show your guests first?
The real surprise is how smoothly the head moves. Paul has designed a structure that allows you to turn it using the curls of the vampire’s hair, revealing the second face while the body stays in place. It’s a lovely moment of cake decorating theatre, especially when someone thinks they’ve already seen the finished design!
Follow Paul as he brings together the structure and character of this unusual Halloween cake. The rotating head gives you plenty to think about for future projects too. Imagine a character with two different moods, a surprise reveal on a birthday cake, or another spooky creature hiding its mischievous side. Once you’ve seen the idea in action, what would you create with it?
There’s plenty to enjoy in the decoration as well. Black plaits tied with purple ribbons frame the faces, while pointed fangs leave no doubt about this character’s Halloween credentials. The textured purple outfit and dark collar complete the look. Together, these details give the cake a playful personality that works beautifully with its unexpected movement.
You could take inspiration from Paul’s colour choices or put your own stamp on the design. Would your vampire have bright green eyes? Perhaps you’d choose a dramatic red outfit or make the contrast between the two expressions even stronger. This is a cake that invites you to have some fun.
Planning a Halloween celebration? Explore our Halloween cake decorating tutorials for more characters and seasonal cake ideas. For treats to serve alongside your centrepiece, browse Good Food’s Halloween recipes.
Whether you’re making a party centrepiece or exploring ways to add movement to your cakes, this vampire Halloween cake tutorial offers an idea you can return to beyond October. Watch Paul’s spinning head reveal, choose your favourite face, and start imagining your own version. We’d love to see what you make!