Tutorial Preview


1. Decorating the Board
2. Carving and Ganaching
3. Ganaching Part 1
4. Ganaching Part 2
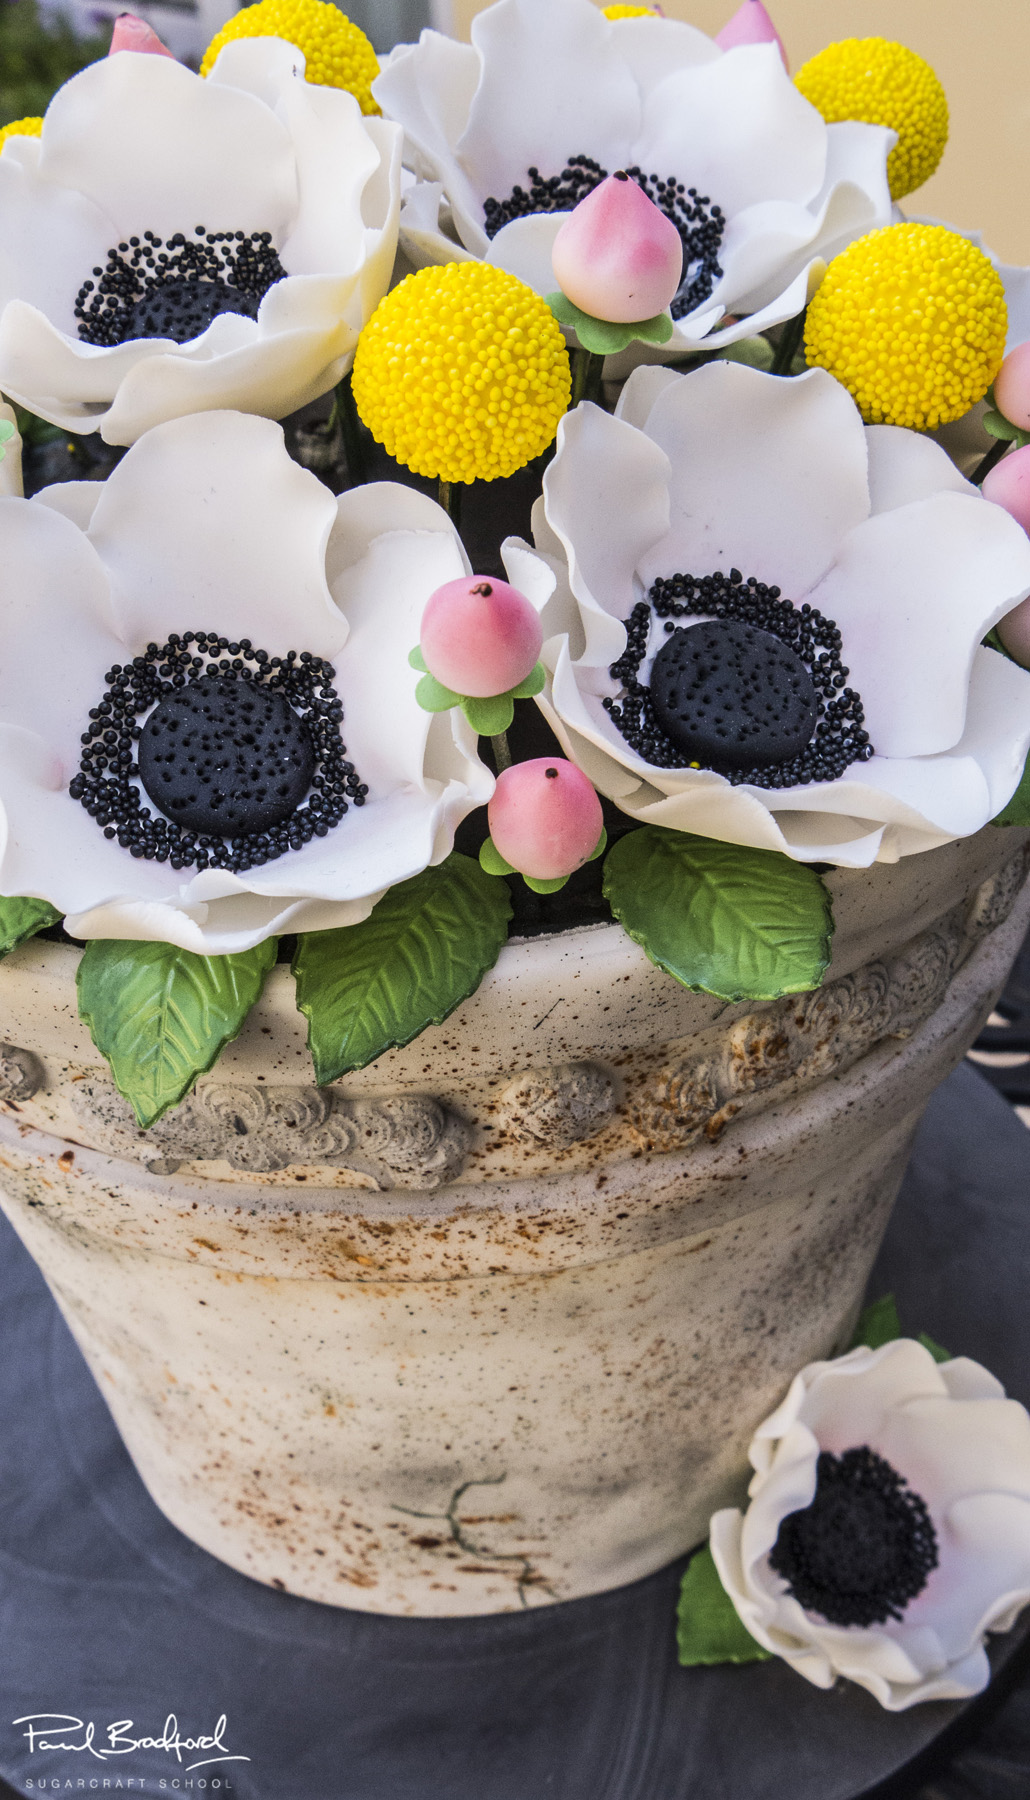
5. Making Flowers Part 1
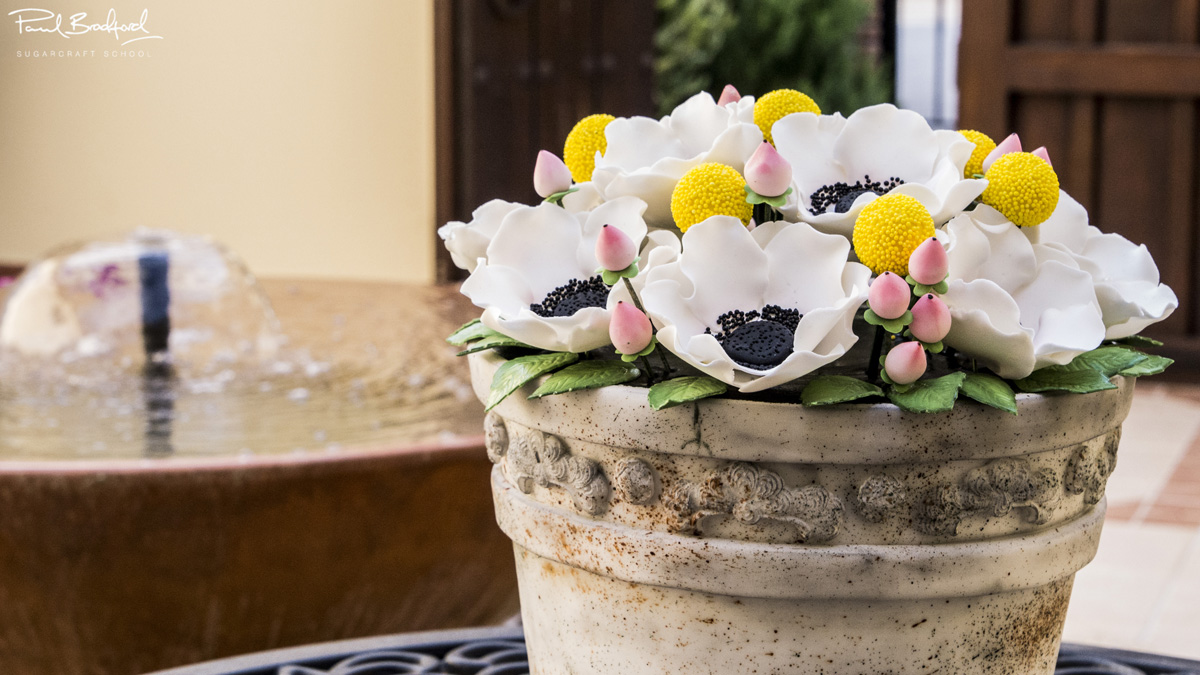
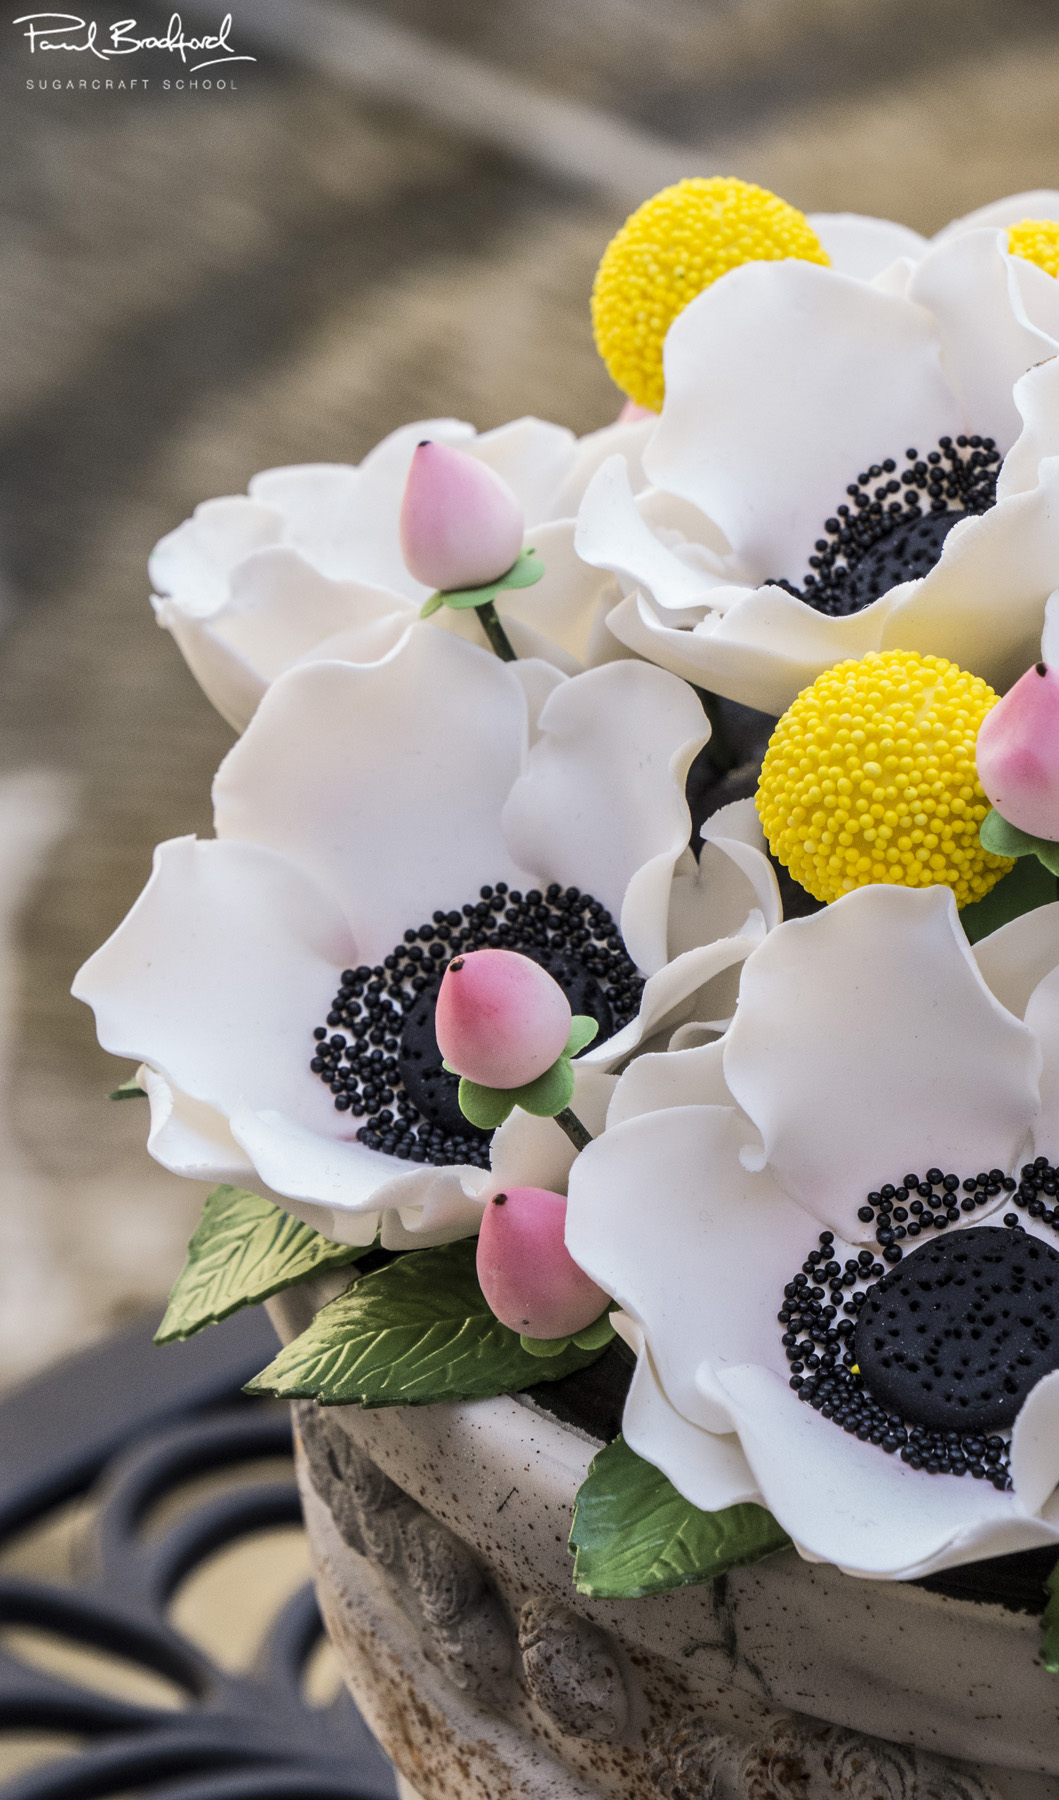
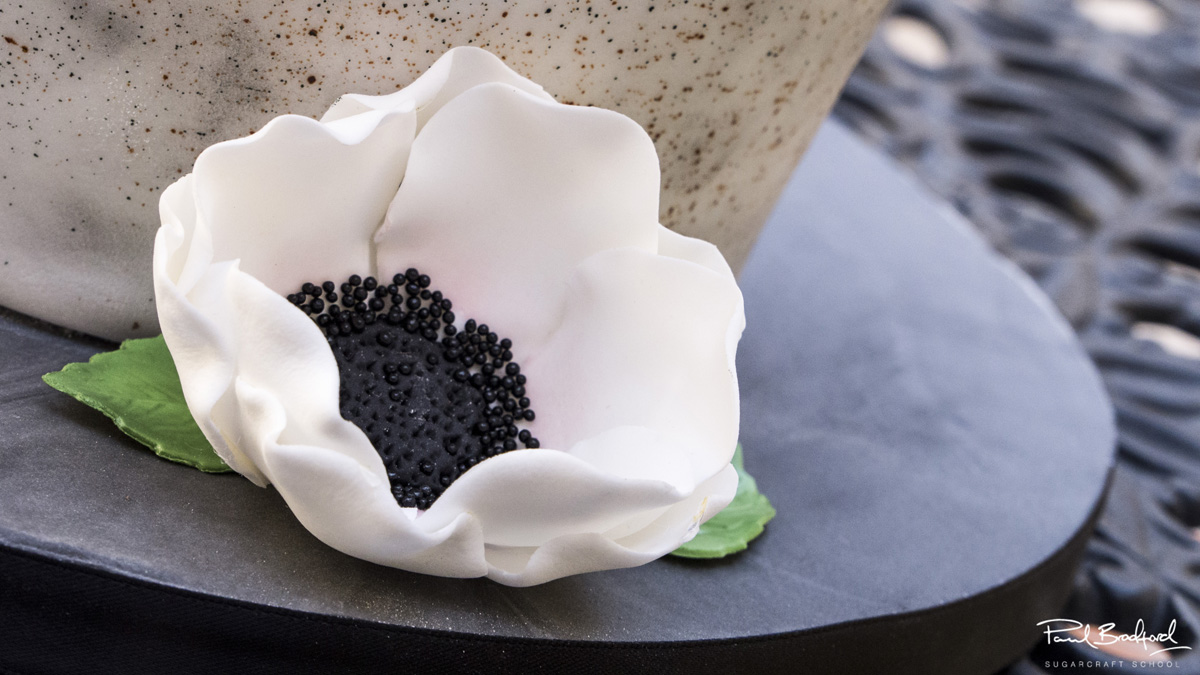
This antique flower pot needs flowers! In this lesson Shawna teaches you how to make a beautiful Anemone.
TIP: It’s a good idea to make these flowers two to three days in advance of the cake where possible.
6. Making Flowers Part 2
7. Billy Balls Part 1
8. Billy Balls Part 2
9. Pink Berries Part 1
10. Pink Berries Part 2
11. Leaves
12. Icing the Cake
13. Decorating the Pot Part 1
14. Decorating the Pot Part 2
15. Colouring the Pot
16. Splattering the Paint
17. Placing the Flowers
18. Placing the Billy Balls
19. Finishing Touches
20. Other Ideas
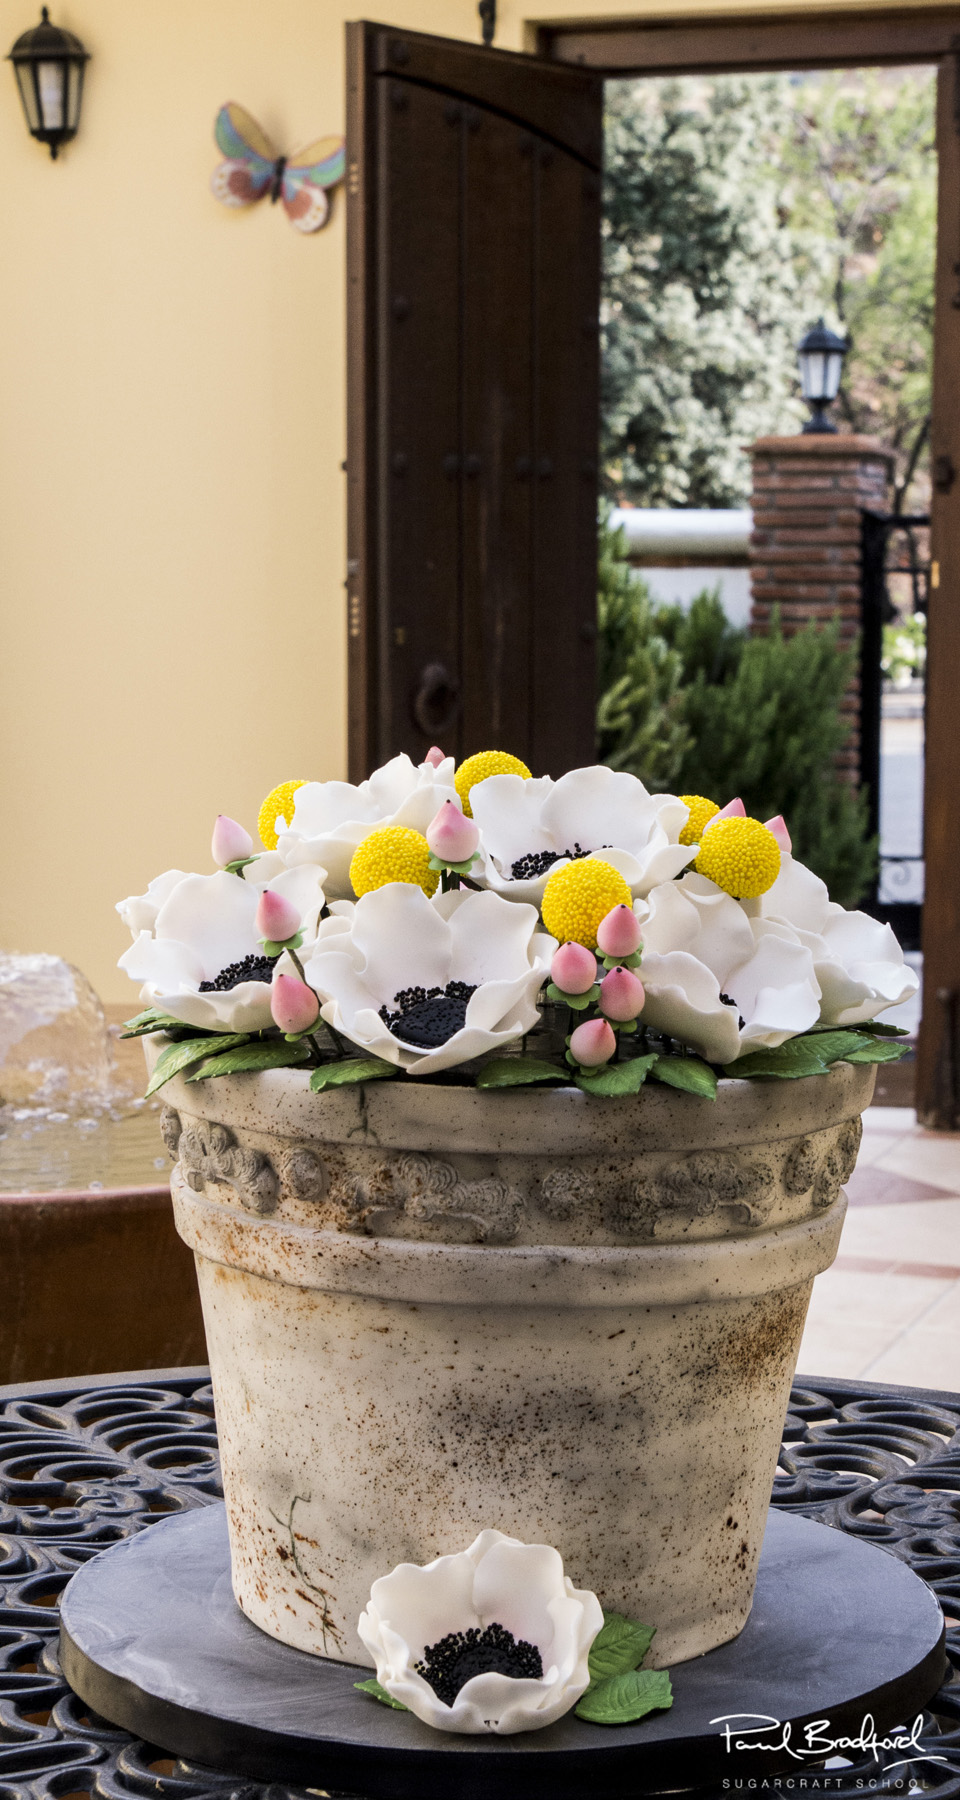
We welcome the wonderful and talented Shawna McGreevy into the studio to teach her Antique Flower Pot Cake tutorial. This course will go through everything you need to know, from start to finish, including carving the pot, creating and positioning sugar flowers, and the all important texturing and finishing touches which lend the pot and flowers their very realistic look. Shawna will cover lots of useful tips and techniques to help you recreate this cake, or your own unique variation! Aimed at intermediate level cake decorators, this cake will take a two days to create, allowing for drying time.
The History of Antique Flower Pots
Early Flower Pots
The history of antique flower pots can be traced back to ancient civilizations. The earliest known flower pots were made of clay and were used in Egypt and Mesopotamia around 3000 BC. These pots were often decorated with simple designs or religious symbols.
Flower Pots in the Middle Ages
In the Middle Ages, flower pots were used in monasteries and castles to grow herbs and flowers. They were also used to decorate courtyards and gardens. During this period, flower pots became more elaborate, with some being made of metal or stone.
Flower Pots in the Renaissance
During the Renaissance, flower pots became a popular decorative item. They were often used to display rare and exotic flowers. Flower pots from this period are often highly prized by collectors today.
Flower Pots in the Victorian Era
In the Victorian Era, flower pots were used extensively in gardens and conservatories. They were often made of cast iron or terracotta and were often decorated with intricate designs.
Flower Pots Today
Today, antique flower pots are still used for their be
We would love to see your take on the Antique Flower Pot Cake – please share your photos with us on our Facebook Page!
Want to see more then check our full Cake Tutorial Library.