Tutorial Preview
Highlights
Take a look at some of the highlights and most vital parts of this tutorial.
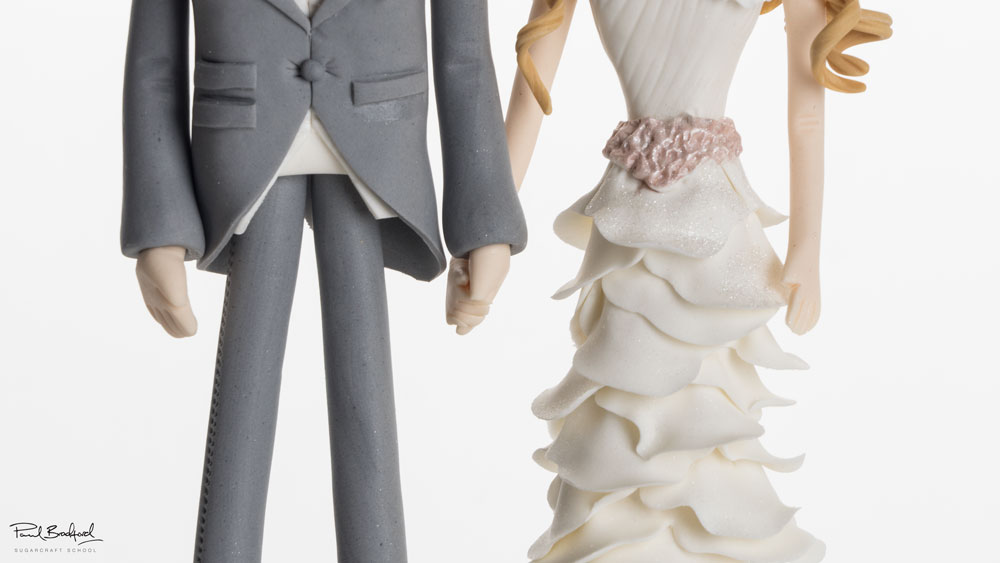
1. Making the Groom’s Legs and Shoes
In this lesson, Paul explains how to make the groom’s legs and shoes and throws in a few useful tips along the way.
2. Shaping the Groom’s Body
This is where you will learn how to shape and mould the groom’s body to get the right proportions. A bit of poetic license is allowed here!
3. Making the Waistcoat and Tie
Detail is everything so in this lesson Paul explains how to create and pattern the groom’s waistcoat and tie. Only a very small piece will be showing in the final model, but it’s the little details that count.
4. Adding the Jacket
The jacket can be a tricky detail to get right so Paul explains his thought process and techniques to dress the groom in this very smart jacket.
5. Adding the Arms
The model is now beginning to take shape as Paul adds the arms and provides some nice little tips when creating the hands.
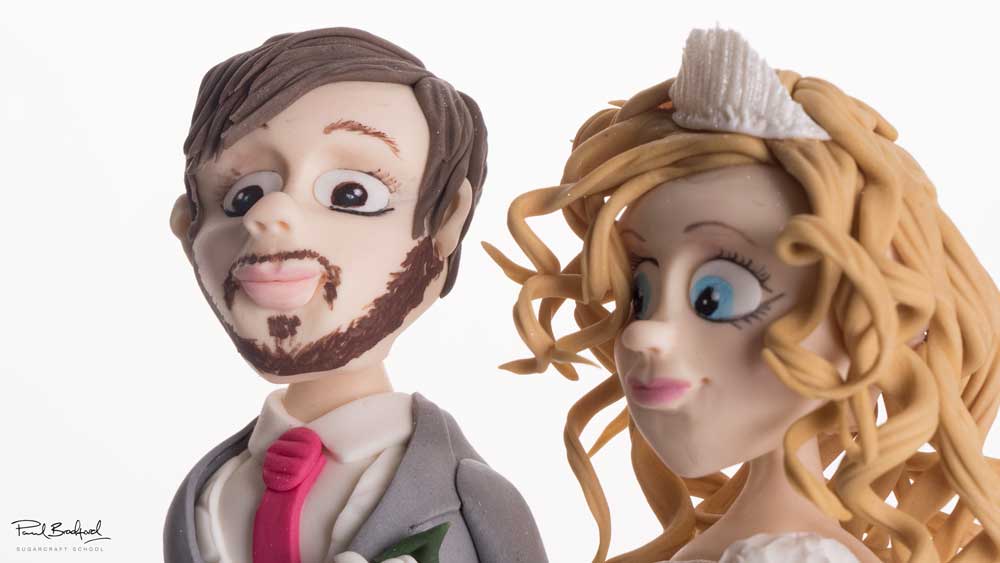
6. Making the face
In this lesson you’ll learn how to shape, mould and model the groom’s face with some simple, but effective, techniques.
7. Facial details
We now learn how to add the intricate details to face of the groom to bring him to life.
8. Lesson 8 - Hair and facial hair
In this lesson, Paul shows us how to add the grooms hair and facial hair adding a very contemporary look the overall design. You’ll find the shell tool comes in handy at this stage.
9. The bride's dress part 1
Paul starts off the construction of the dress by making a cone of sugarpaste which he then wraps with sections frilled sugarpaste.
10. The brides dress pt 2
Paul finishes adding the frills to the dress and then show us how to create the top half of the dress as well as the neck and shoulders.
11. Finishing the bride's dress
Paul adds a lovely belt and large fabric style flower all from some white sugarpaste and then brings it all to life with some lovely edible dust.
12. Transferring The Models
In this lesson, Paul shows you how to transfer the models onto your cake and create the bride’s arms.
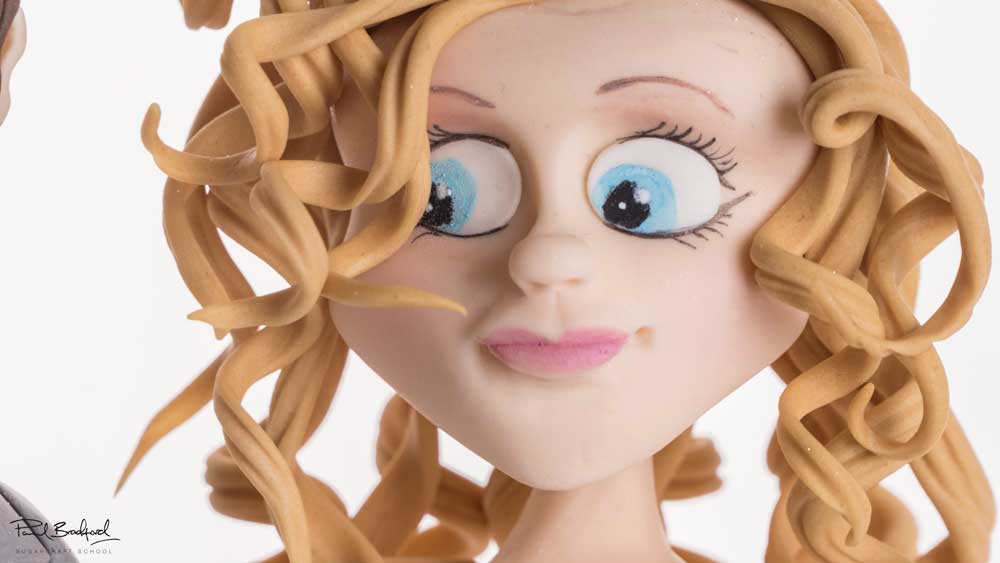
13. Making the bride’s head
Paul now shows us how to mould the brides head.
14. Painting the bride’s eyes
In this lesson, we learn how to add the eyes to our model.
15. Finishing touches
In this lesson, Paul shows us how to add the hair using a simple but effective technique.
16. Other Ideas
Paul looks at some rather intriguing other ideas you could create using the techniques and skills learned in this tutorial.
17. Pro Lesson
In the Pro lesson we look at how much you can expect to charge for a cake like this.
A Bride and Groom Wedding Cake Topper…
In this lesson, Paul teaches you how to make this cute Bride and Groom Wedding Cake Topper. Perfect for weddings and with much room for interpretation. This tutorial is sure to add some important skills to your cake making locker.
In this lesson, you will learn how to…
- Create and design edible clothing
- Shape a variety of different body parts using sugarpaste
- Add details and expressions to faces
- Work with edible paint
- and much, much more
Don’t forget to share your interpretations of this wonderful cake with Paul and rest of the CakeFlix community on our Facebook group.
Who knows? You may even end up featured in one of our monthly members’ cake blogs.