Tutorial Preview





Highlights
Struggling for time? You’ve come to the right place. We have carefully selected all the key parts of the tutorial that you can view in no time at all to enable you to make this stunning cake!
1. Creating the Base
Struggling for time? Why not click here to watch the Highlights video
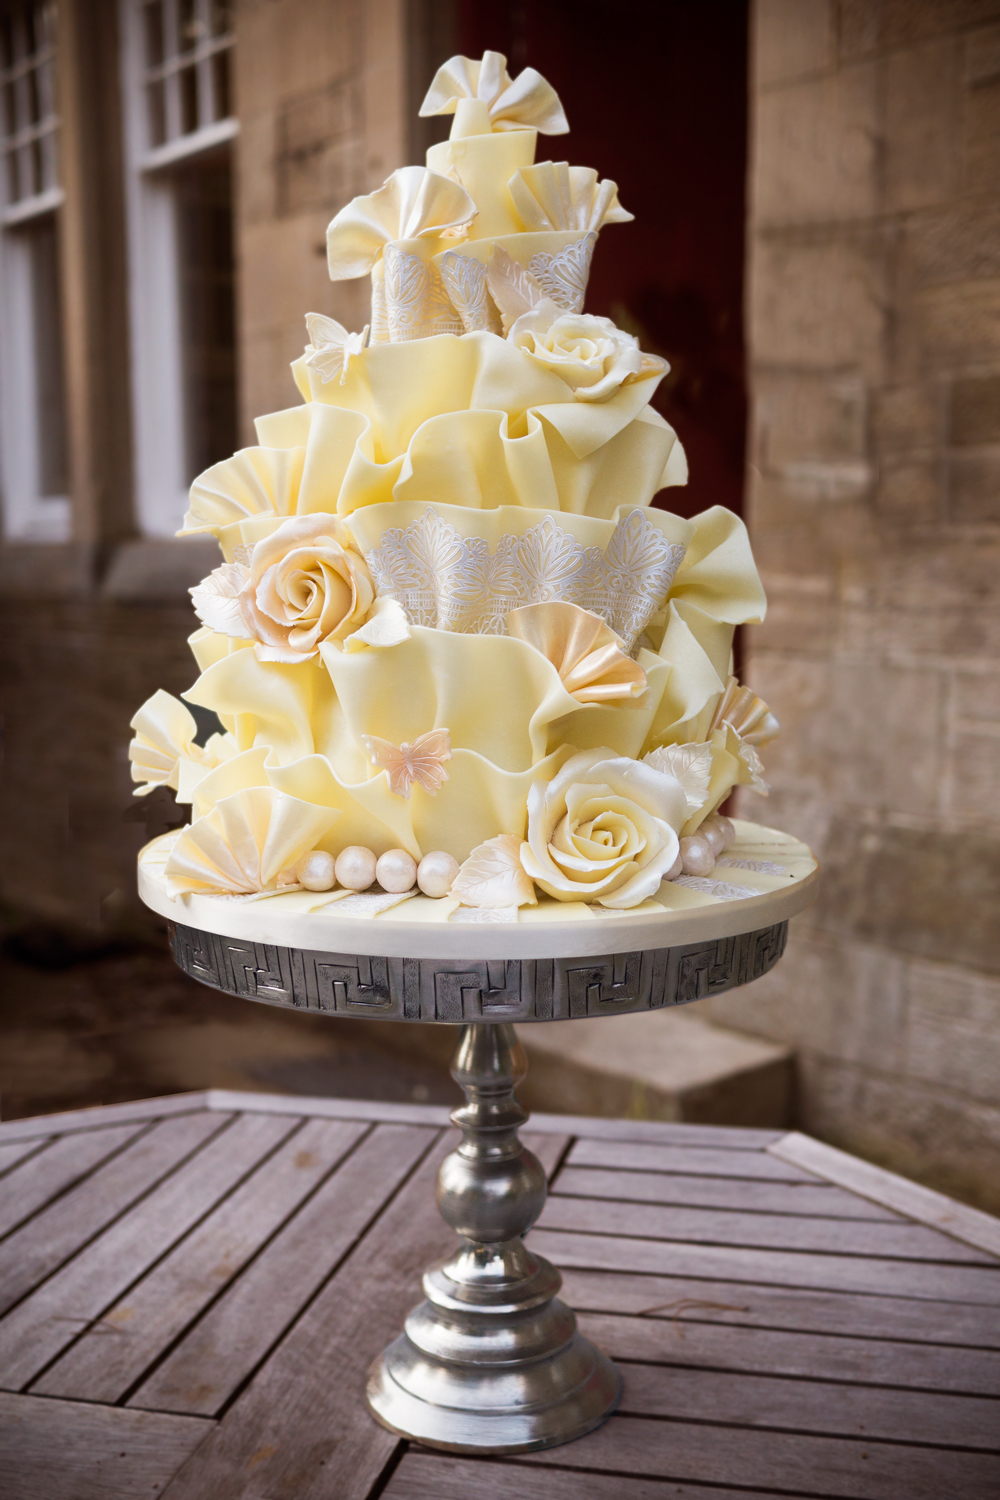
In this lesson, Paul constructs the base for this elegant wedding cake using a 6 inch round chocolate cake as well as an 8 inch round lemon cake for the bottom tier, fusing it all together with thick layers of white chocolate ganache!
2. Building the Cone
Here, Paul shows us a cheap and easy, but effective, technique for creating the cone that will sit atop the chocolate cake and form the peak of the finished cake. The whole base is finished off with a coating of white chocolate ganache, forming a solid structure for the rest to be built on top of!
3. Designing the Lace & Making the Wrap
Paul spends this lesson creating some classy fabric design and making the white chocolate wrapping that will decorate the exterior of the cake!
4. Wrapping the Cake
In this lesson, Paul pops off the lace fabric from the mould and starts to wrap the cake!
5. Finishing Wrapping the Cake
Paul finishes up wrapping the cake!
6. Decorating the Board
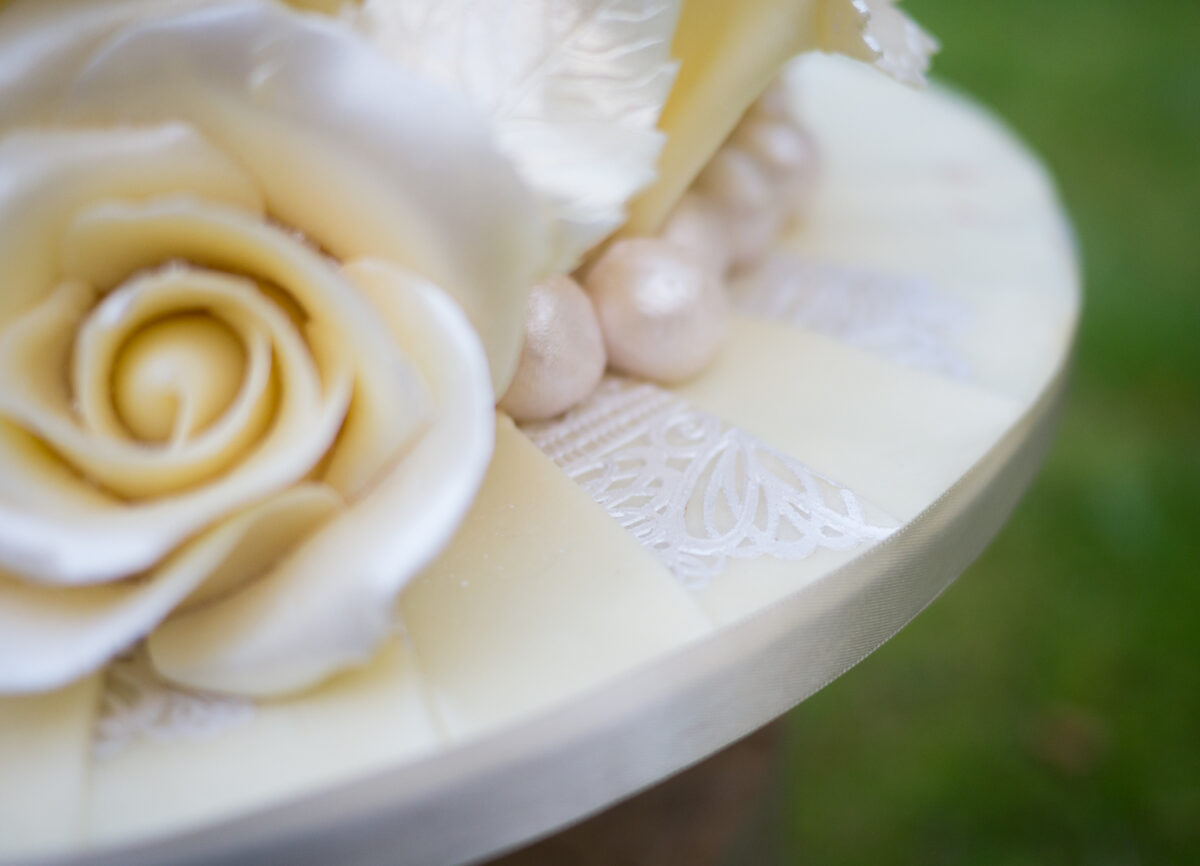
In this lesson, Paul decorates the cake board by alternating laced and blank strips of white chocolate!
7. Creating the Decorations
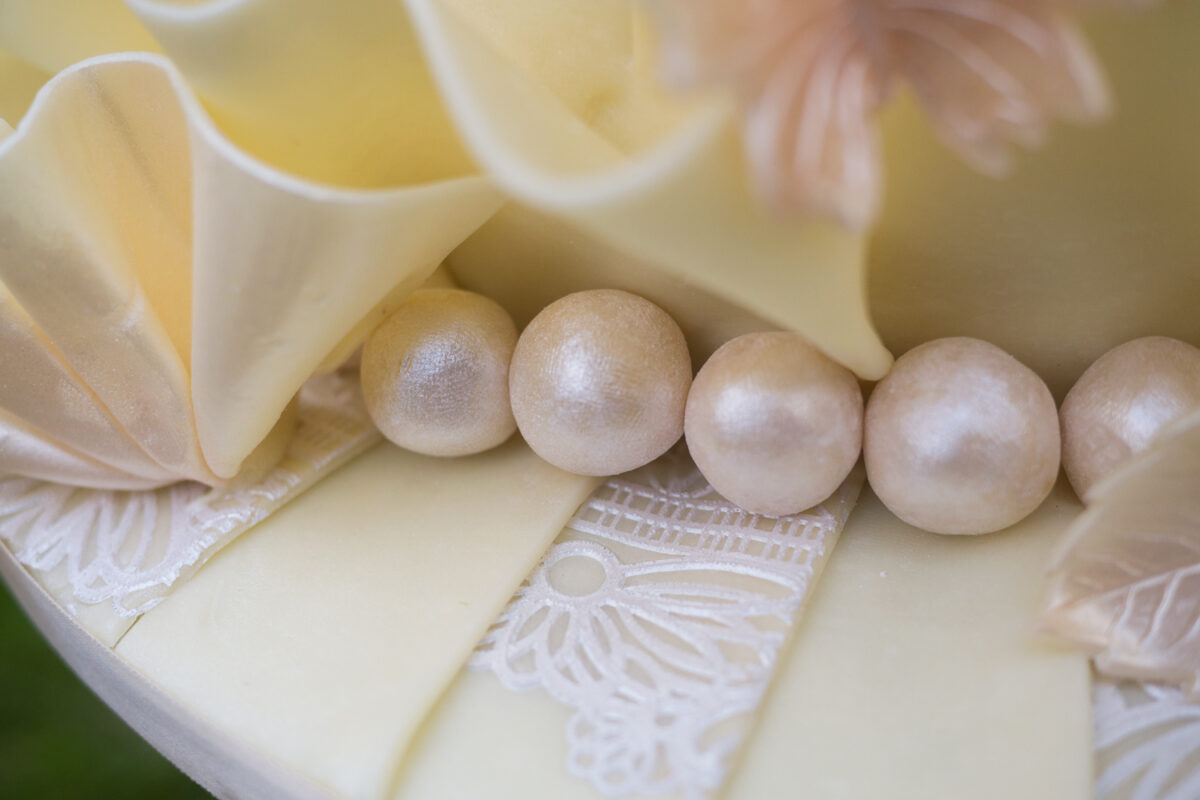
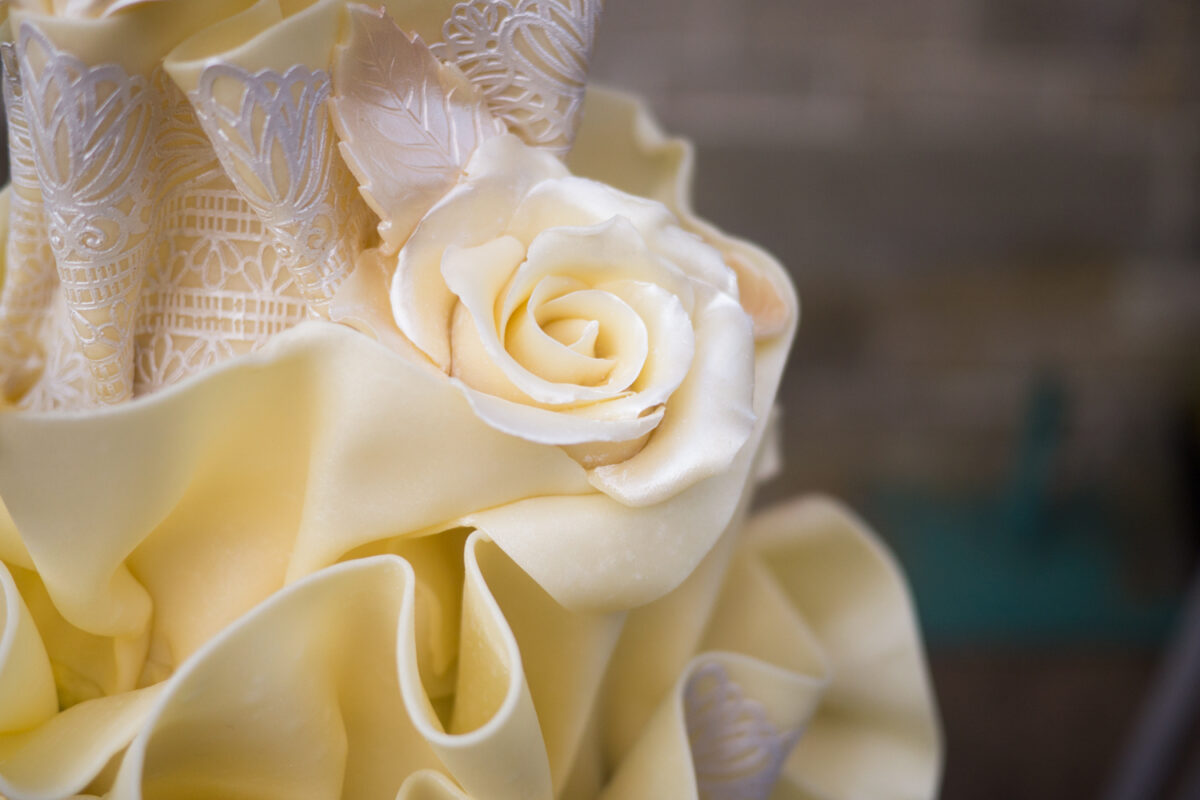
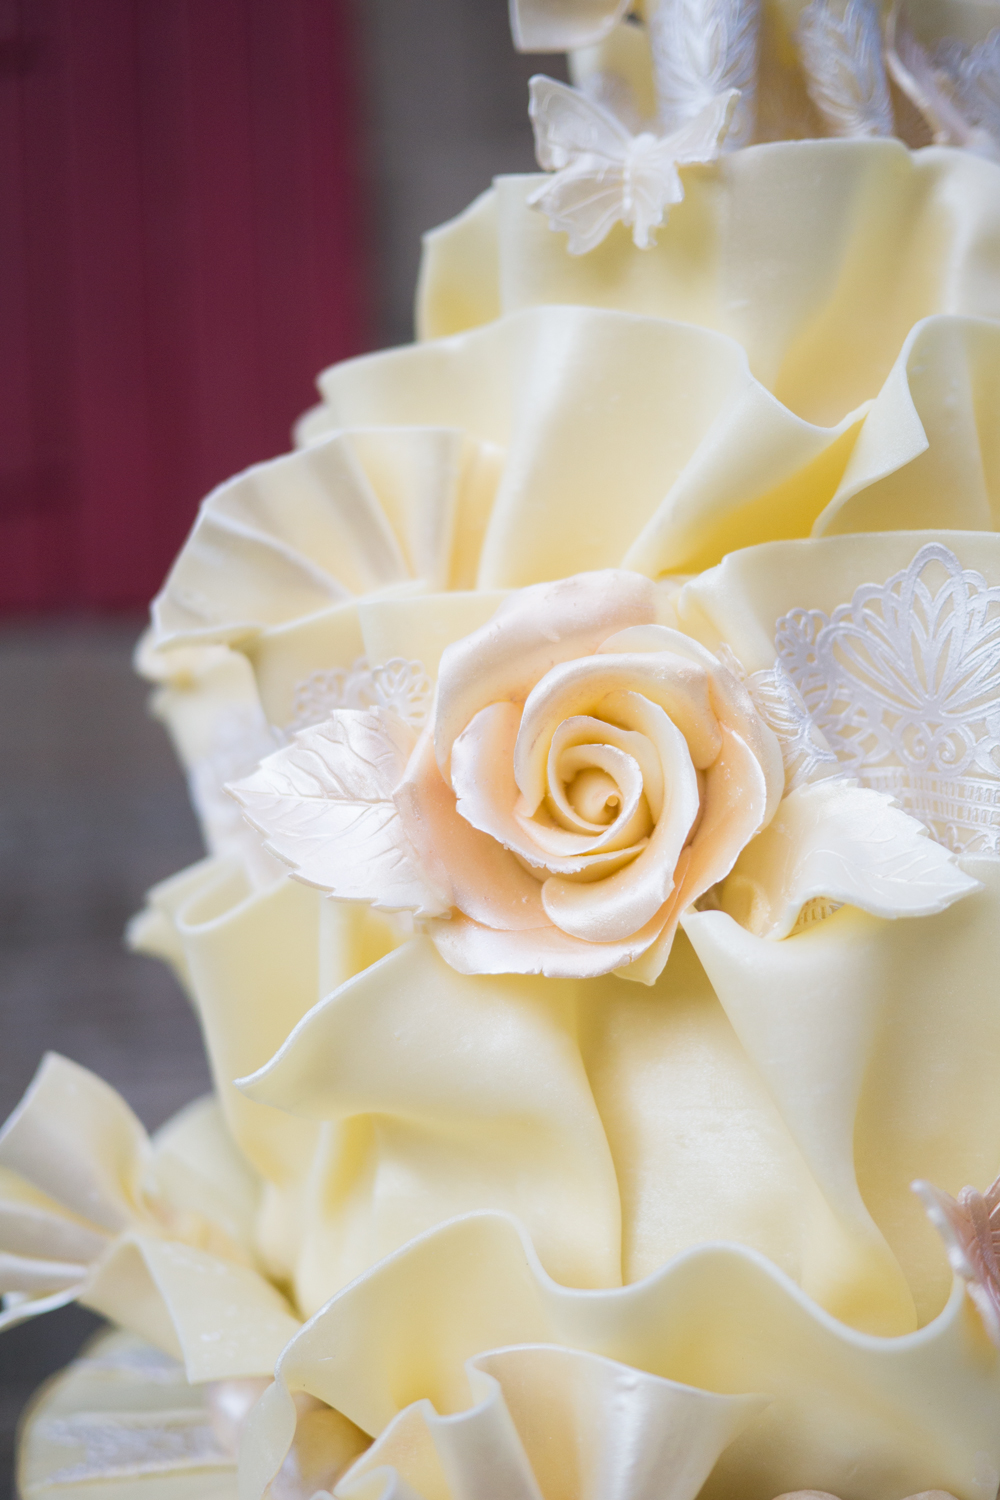
Paul gets intricate in this lesson, creating small butterflies, balls, fans and a rose for decoration!
8. Dusting the Decorations
Here, Paul dusts the decorations made in the previous lesson with various lusters to give them a nice, classy, clean feel!
9. Decorating the Cake
In this lesson, Paul strategically places all the decorations on the cake using some melted white chocolate as glue!
10. Decorating Ideas: Option 1
Paul shows his gardening talents by adding some hand-picked sweet pea flowers, from his own garden, as an optional additional decorative feature, something that would be perfect for a garden wedding!
11. Decorating Ideas: Option 2
In this lesson, Paul gives us another option for an additional decorative feature. This time some larger flowers!
12. Decorating Ideas: Option 3
And the last option Paul’s shows us for an additional decorative feature is to add various fruits and berries; hand-picked or store bought, the choice is yours!
13. Other Ideas
Paul shares some ideas that you can implement into your own version of this cake to make it unique to you; including how to make it bigger and more elegant or adding snowflakes for a winter wedding. We are sure you have some of your own fantastic ideas and we would love to see them. Please share your pictures with us on our Facebook page.
14. Pro Lesson
Paul discusses the cost of making the White Chocolate Wrap as well as what he would charge for the cake – useful tips for every professional cake designer.
Chocolate Wrap Cake Tutorial
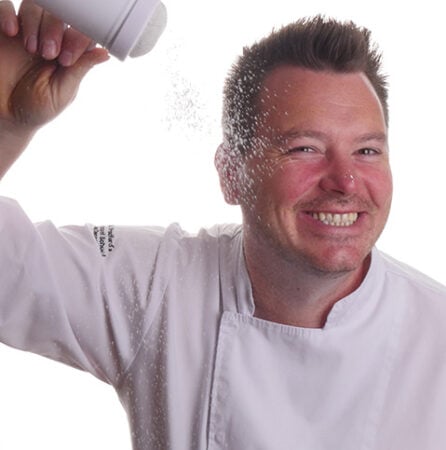
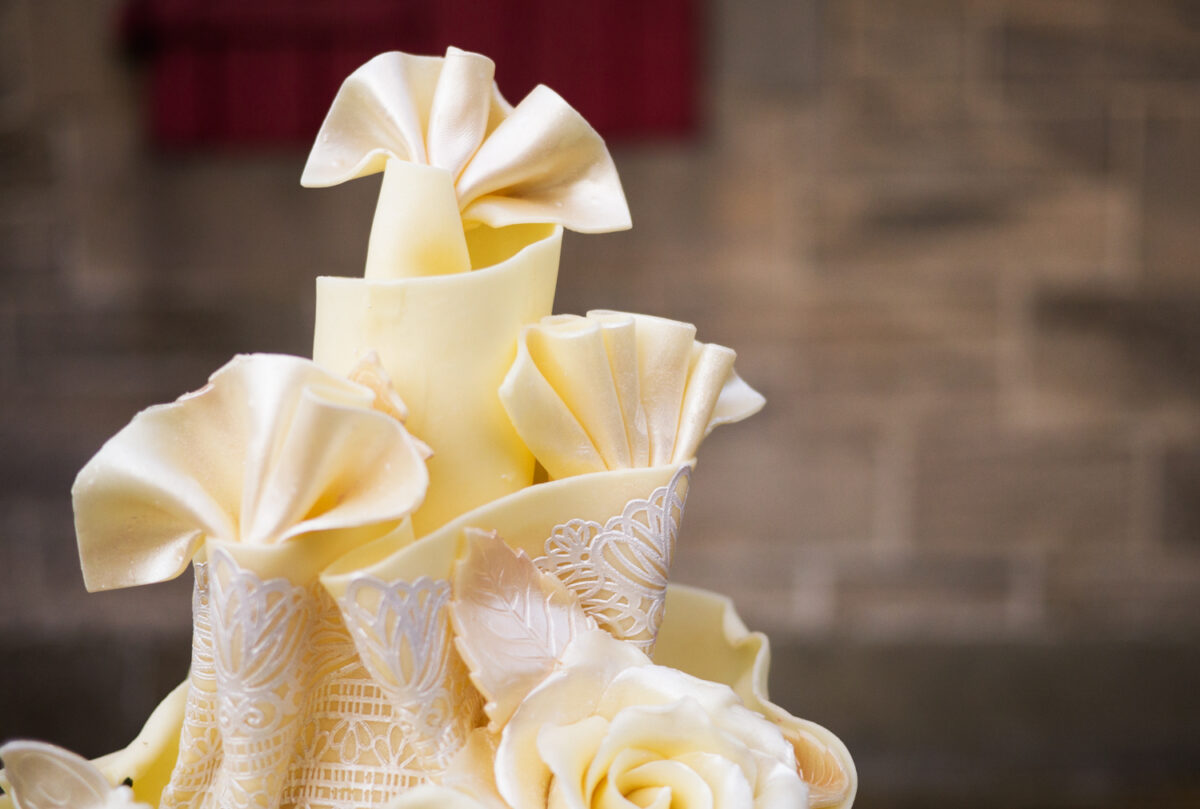
In this Chocolate Wrap Cake Tutorial, Paul Bradford shows you how to create an elegant two-tier cake using his signature wrap technique. If you are looking for a variation then check out Paul’s milk Chocolate Wrap.
Paul gives the design a fresh and stylish finish. He uses white ganache, white modelling chocolate and delicate edible lace. Together, these details create a soft fabric effect that works beautifully for weddings and special celebrations.
First, Paul explains how to prepare the cakes. He shows you how to stack, carve and ganache both tiers. You will also learn how to achieve a smooth finish and create a strong structure.
Next, Paul demonstrates his stunning chocolate wrap technique. He explains each step clearly, so you can follow along with confidence.
What you will learn
During this tutorial, you will learn how to:
- Stack and support a two-tier cake
- Carve cakes into clean, even shapes
- Cover cakes with smooth white ganache
- Make and apply a chocolate wrap
- Work with white modelling chocolate
- Create edible roses and decorative fans
- Make glittery chocolate balls
- Add edible lace for a fabric effect
- Finish the cake with flowers or fruit
Summary
Paul also shows you two different ways to decorate the finished cake. One version uses beautiful flowers. The other uses fruit for a fresh and colourful look.
As a result, you can adapt this design to suit many occasions. You could use the same techniques for wedding cakes, anniversary cakes or luxury celebration cakes.
By the end of this Chocolate Wrap Cake Tutorial, you will have learned several useful skills. You will also have a beautiful cake design that can be changed to suit your own style.
We would love to see your take on the Chocolate Wrap – please share your photos with us on our Facebook Family Page!