Tutorial Preview
Gardenia Tutorial
with Debbie Sheridan
Skill level:
Easy Cake Decorating | Cakeflix - Beginner Level Courses
HD Lessons:
20
06:28
1. Making Lace for the Star
Kicking things off with a bit of a sing song, Debbie uses the silicone Ophelia lace mat by Claire Bowman and some of the pre-made gold cake lace to create the star for the cake. The cake lace should be hardened in the oven at around 60 degrees for around ten minutes – of course some ovens will vary so keep an eye on it.
13:51
2. Making the 5 Point Star
Use a good straight edge, compass and some reasonably thick card to create the 5 point star using a clever method from Debbie.
The 5 point star you’ve created from card is the perfect template for the sugarpaste star (you could also print a star of your liking out and use that as a template)
07:12
3. Cutting Lace for the Star
With the silicone mat out of the oven (after 10 mins) you can peel the lace away from the mat which is then ready to attach to a cake. For this design we’re cutting small elements from the cake lace.
03:12
4. Painting the Star
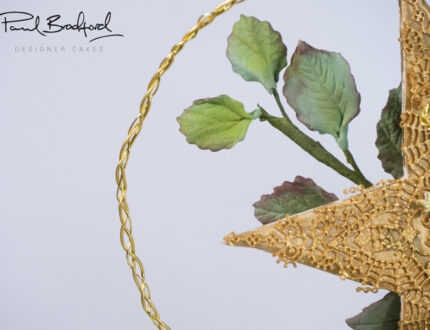
Painting the star in a gold colour is next on the agenda and Debbie opts for the Claire Bowman gold colour paint mixed with alcohol. This produces an amazing gold colour which is perfect for the star.
02:30
5. Adding Lace to the Star
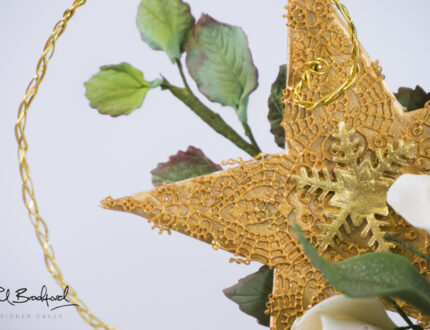
With the gold paint dry it’s safe to add the gold lace sections that were prepared earlier. Using a sugar glue attach the pieces as shown and finish things off with a gold snowflake in the centre.
11:31
6. Making a Gardenia Centre
Debbie shows you the steps to make a Gardenia centre, the first step in making a beautiful Gardenia flower. An Orchid veiner is used to add the texture to the petals.
05:04
7. Making the Next Row of Petals
The next step in creating the Gardenia is another row of petals, for this course we opt to wire the petals as this gives a better finish. A 24 gauge florist wire is used to hold the petals in place.
09:18
8. Adding the Rows of Petals
With the petals prepared the inner petals of the flower can now be assembled, use white florist tape to hold everything in place.
04:25
9. Adding the Final Rows of Petals
With the final row of petals your first Gardenia is almost complete and looking beautiful. Use florist tape again to attach the largest petals to the outside of the flower.
06:58
10. Adding Calyx to the Flower
Use 6 pieces of the green florist wire and green florist tape to form the Calyx of the flower and tape into place at the bottom of the flower.
08:07
11. Making the Leaves for Flower
Creating leaves for the flower is simple with help from Debbie. We use green sugarpaste on a veining board, then this is cut out using a Gardenia leaf cutter. A ball tool is used to thin the edges of the leaf and then things are finished off in a leaf mould to add realistic texture.
07:44
12. Making the Three Rose Leaves
Rose leaves are next and Holly Ivy pre-coloured sugarpaste is used with similar steps to the previous lesson to create these super realistic leaves.
05:17
13. Dusting the Leaves
To finish the leaves off and to add another level of realism we use a dark holly leaf coloured dust which brings out the veining and detail. Extra shading is added to the Rose leaves using a red dust, apply this very lightly to the edges of each Rose leaf.
08:48
14. Finishing the Gardenia
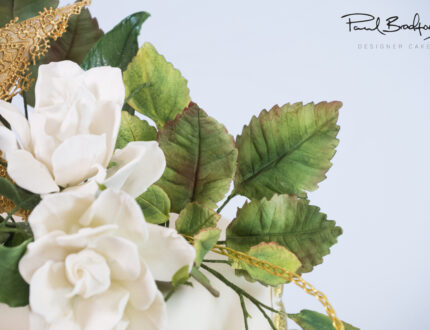
Don’t put your dusts away just yet, we’re adding colour to the Gardenia flower and then passing this through steam to give a lovely satin finish. The leaves are then added to the flower using green florist wire and there you have it – the Gardenia flower.
06:20
15. Making Thistles for the Cake
Debbie uses a 6? cake which is mounted on a 9? board and 8? cake drums. The cake is ganached and iced in an ivory colour and trimmed with gold and ivory ribbon. For advice on icing a cake see the tutorials here.
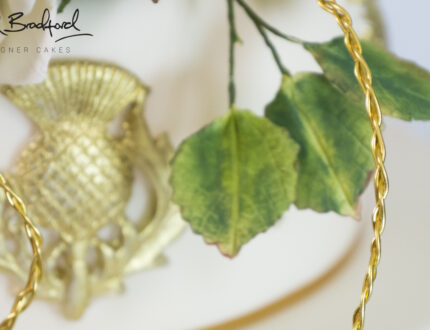
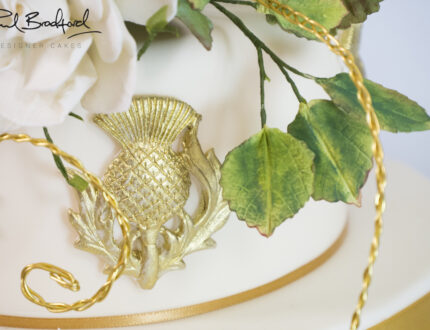
Thistles to surround the cake are created using white flowerpaste and a thistle mould followed by some careful trimming.
10:08
16. Adding Thistle and Making Snowflakes for the Cake
The star makes a handy guide for the placement of the thistles, attach the thistles with a small amount of sugar glue making sure to keep them level and even. A snowflake is added between each thistle, these can be created using a snowflake cutter and flower paste.
02:17
17. Adding Snowflakes to Cake
Simply attach the snowflakes in between each thistle, you should find doing this by eye is easy. If you’re having trouble you can always use the star as a guide again.
03:26
18. Painting the Thistles and Snowflakes
Edible Art branded gold dust is mixed with alcohol to create an edible gold paint which is ideal to paint the thistles and snowflakes.
07:43
19. Dressing the Cake
With the side details finished and painted gold the only remaining task is dressing the top of the cake. Debbie uses a dummy cake for this lesson so the wires can be inserted straight in – With a real cake, use posy picks to protect the cake from the wire, provide a neat holder for the flower and to allow easy removal of the non edible decorations.
01:34
20. Other Ideas
Debbie shares some other design ideas and suggestions of colour schemes that work well with this cake.
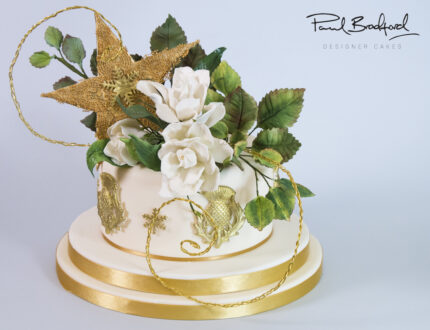
We give a big welcome to Debbie Sheridan of Debbie Sheridan Cakes and her Gardenia Tutorial! Debbie brings her cake skills to your screen in easy to follow lessons which will have you creating this Gardenia themed wedding cake with ease. The cake is topped off with a beautiful gold star and Scottish thistle to add to the festive feel and we may even hear some singing from Debbie along the way…
