Tutorial Preview




Highlights
This is the place to be if you are looking to get the just of the tutorial in a more bite size, condensed video which contains all the key parts of the entire tutorial.
1. Assembling the Stand
In this lesson Mayen shows us how to prepare and assemble to stand which once finished will be capable of carrying a significant amount of weight. It’s also available on Etsy. Mayen recommends always thinking five steps ahead and pre-drilling all your holes so as to avoid splitting the wood. As the cakes made in the studio are never for consumption Mayen is concerned about doing the woodwork on the kitchen but of course make sure you do this in a non food environment. If you are confident doing this you can always get your local DIY store to help you.
2. Making it Food Safe
So now it’s time to make the structure food safe. No one likes food that tastes of wood and and glue so let’s cover it up. Mayen shows us how to use a combination of cake card and tin foil to keep it safe and tasty. Watch out when using hot glue…it’ll get you!
3. Cutting the Cake Pt 1
Here Mayen shows us how to cut the cake so that it fits snuggly around the structure. You can use the template that she showed you how to make to keep you right and use your tasty ganache as glue to keep it all together.
4. Cutting the Cake Pt 2
Mayen continues to show us how to get the cake on and around the structure in preparation for carving.
5. Carving the Cake Pt 1
So now we’re on to carving the cake and Mayen “eyeballs” it so no templates used but just careful carving. Mayen recommends using a turntable to so you can keep spinning the cake to make sure you are carving each side the same and creating uneven shapes.
6. Ganaching the Cake
Mayen starts of by using a slightly runnier consistency of ganache to do her first layer of ganache acting as her crumb coat which sets it up nicely for the second coat after being chilled. Once the second coat is on and has been left to set a little she then uses an acetate smoother (or thin plastic place mat) to smooth the ganache in preparation for being iced. The way to know if the ganache is ready to be smoothed is if in turns from a gloss to a mat finish when you run over it with the smoother.
7. Icing the Cake pt 1
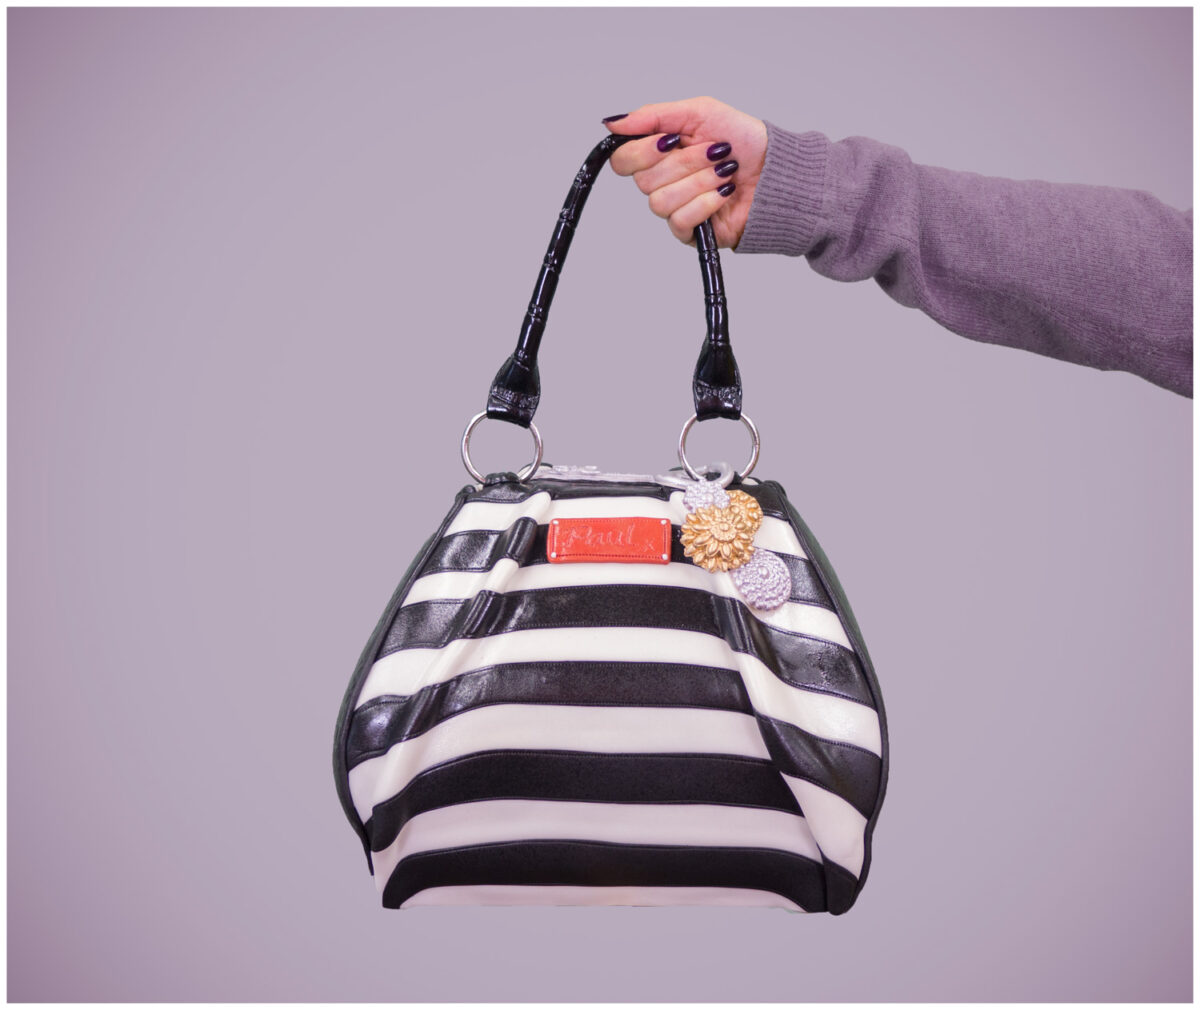
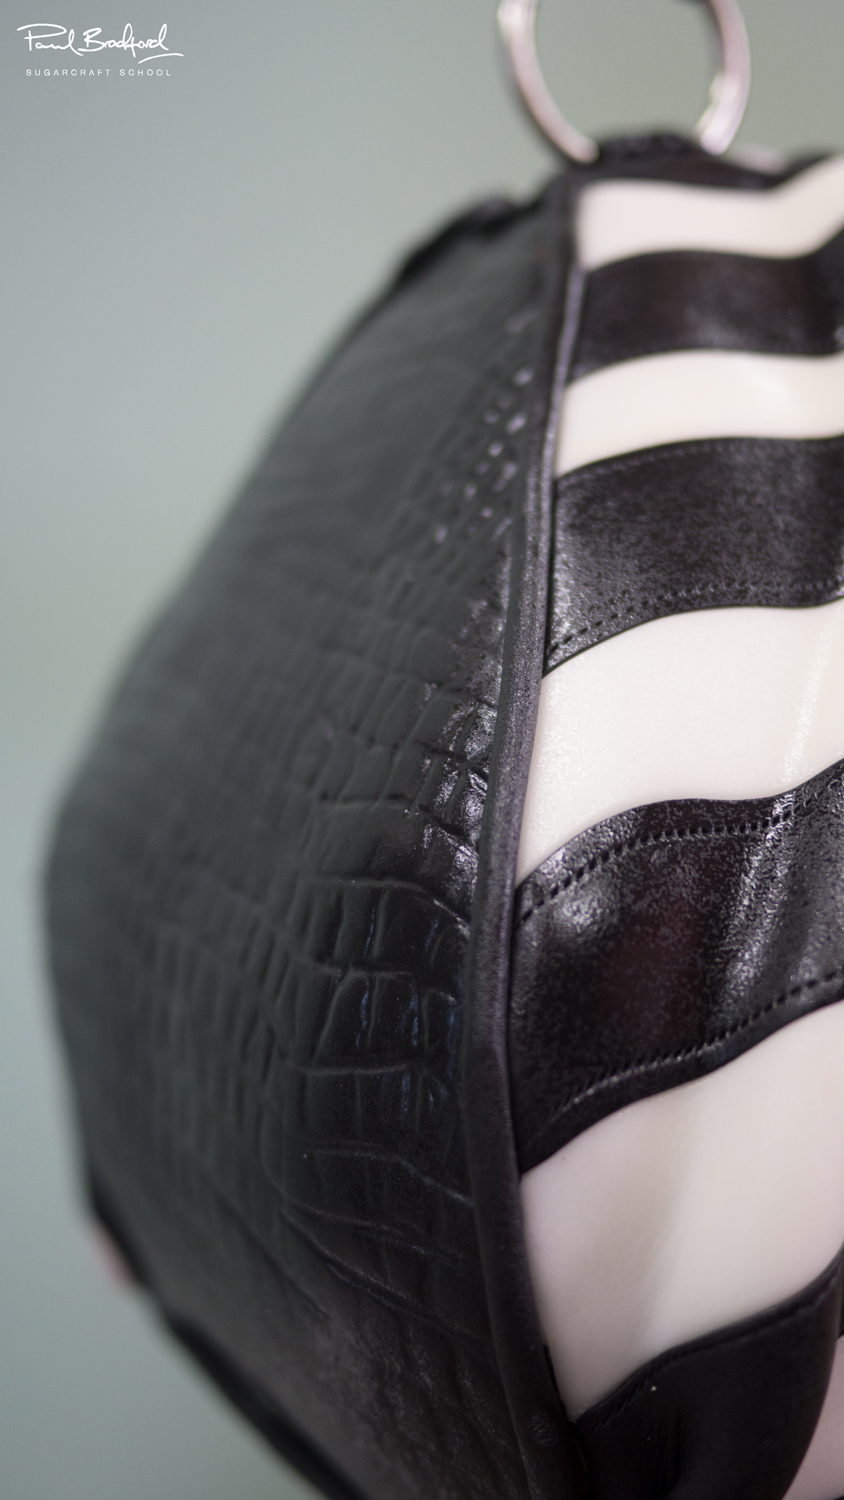
In this lesson Mayen shows us how to create the design for the main body of the bag using strip cutters which speed things up quite a bit. Definitely worth purchasing. Just a roller and a stitchy tool and that’s all you need.
8. Icing the Cake Pt 2
Here Mayen demonstrates just how handy those vinyl sheets are! I have personally never seen them used before but can definitely see the benefit of using them. It allows you to handle the sugarpaste and place it onto the cake without adding finger marks or inadvertently mishape it. Another clever thing Mayen does is uses shortening (trex) to coat the ganache before adding the sugarpaste as opposed to water or piping gel. Shortening is great because it is sticky but still allows you to move the sugarpaste around once it’s on and even remove it completely without any problems.
9. Icing the Cake Pt 3
Just one last panel and then we have finished covering the cake. Mayen uses a lovely crocodile leather effect impression mat which works well with the handle and keeps the theme consistent. You can purchase one like it by clicking here.
10. Adding Finer Detail Pt 1
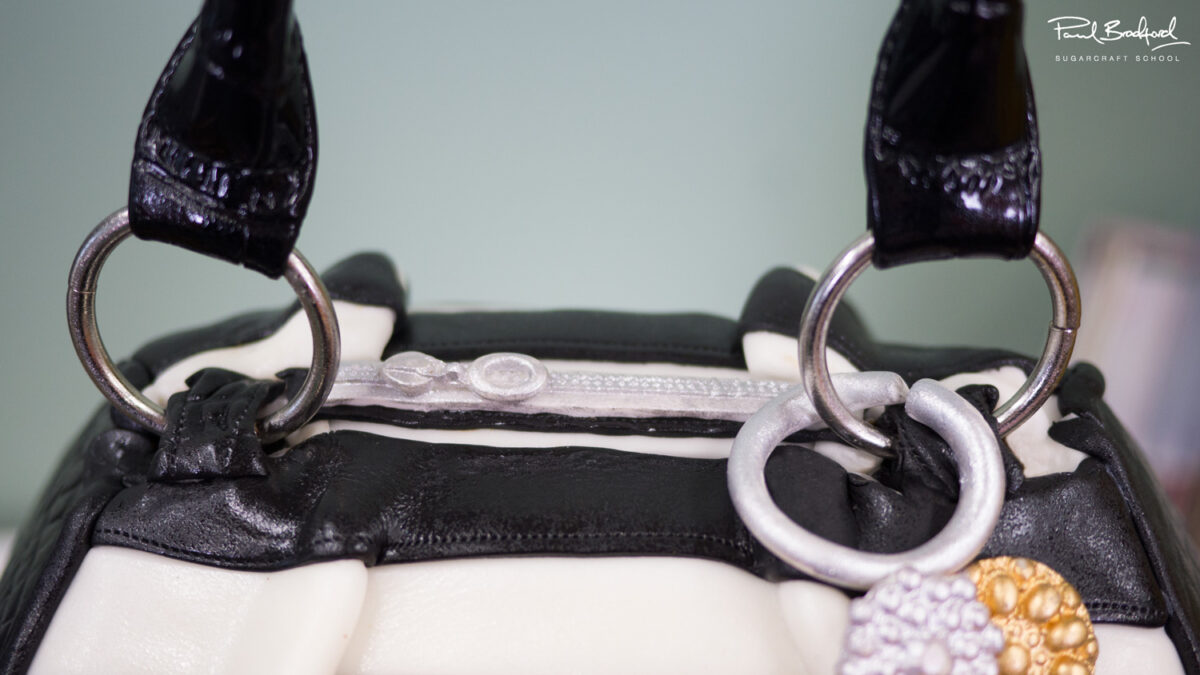
So we’ve pretty much covered the cake and now it’s time to add the little bits like the lining and then cut a portion of the icing on top of the cake in preparation for the zipper. You can use an extruder to creating the lining or use your hands of even cake smoothers to roll out thin sausages.
11. Adding Finer Detail Pt 2
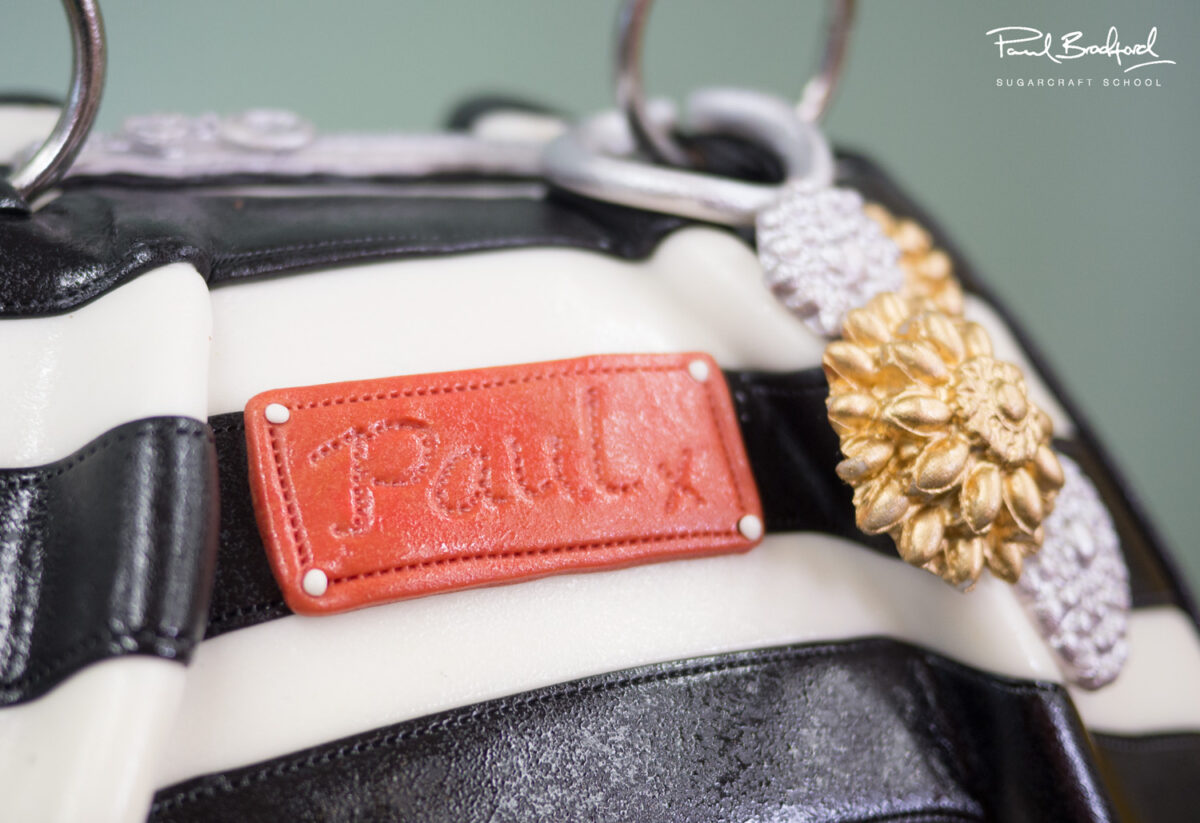
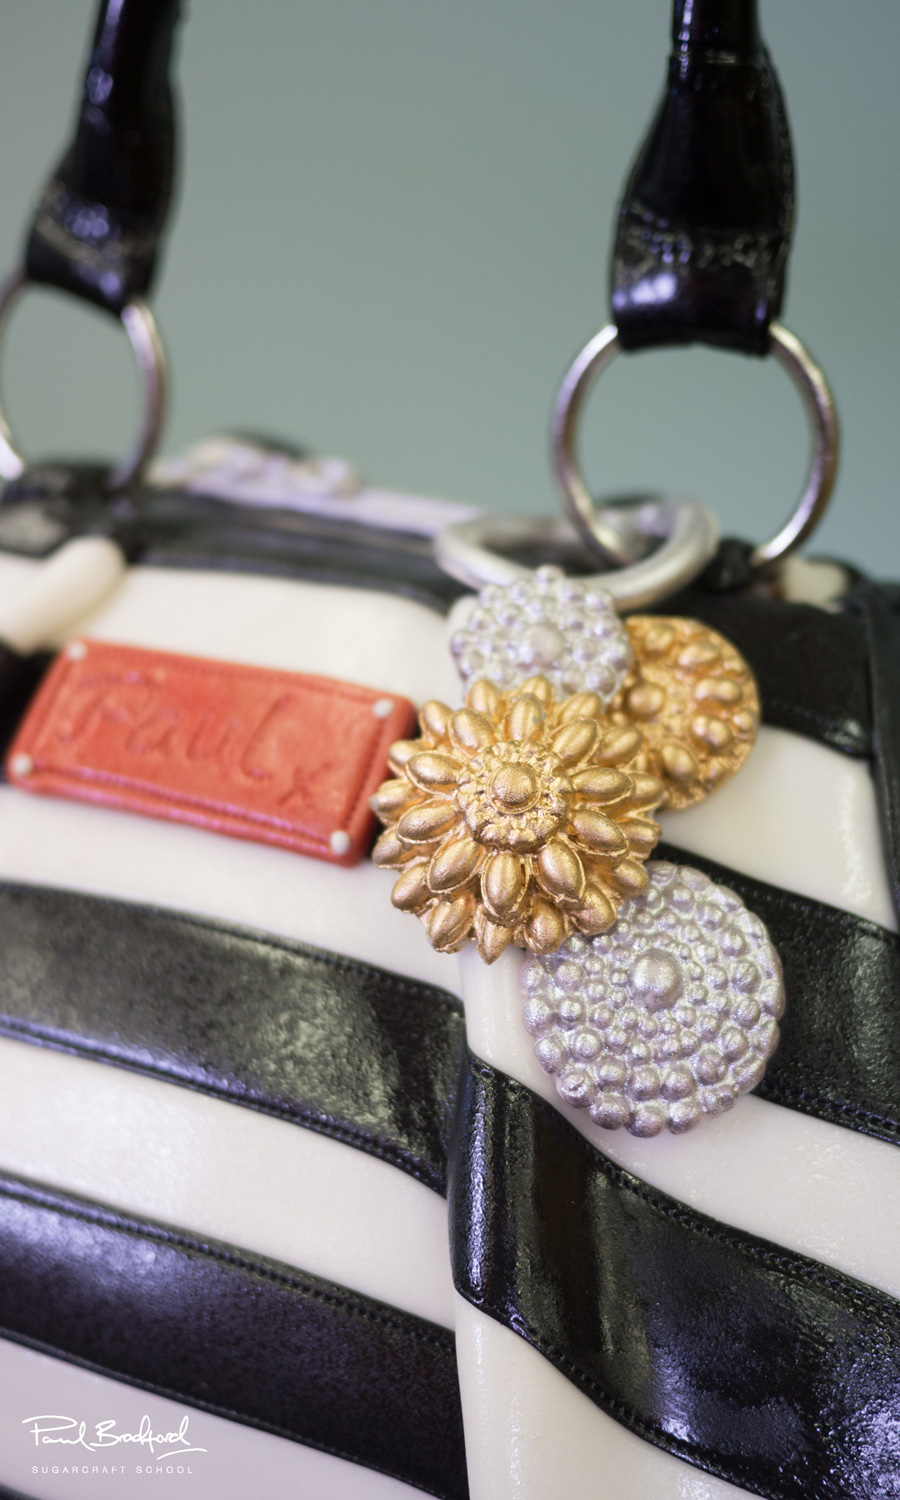
In this lesson Mayen adds a nice zip to the top of the cake using a sipper mould which takes no time at all. She then creates a nice red badge for the front of the cake with Paul’s name inscribed on it. Not sure Paul would be in a rush to wear the bag but it looks lovely all the same!
12. Finishing Touches
In this final lesson Mayen shows us how finish it all off creating the last of the decorations and finishing them off with some lovely (non edible) paint. Mayen points out that though the paint causes the decorations to not be suitable for consumption it is very unlikely anyone would want to eat them anyway as they set very hard.
13. Other Ideas
Here Mayen shares some ideas that you can use using the same techniques and stand to create completely different cakes as well as ideas on how to make this design unique to you.
We are sure you have some of your own ideas so please share your pictures with us on our facebook page as well as Mayne’s!
14. Pro Lesson
In this lesson, Paul provides some insider information for this cake including the cost to make it as well as how much you should price the cake at when selling it – vital information for any professional cake designer.
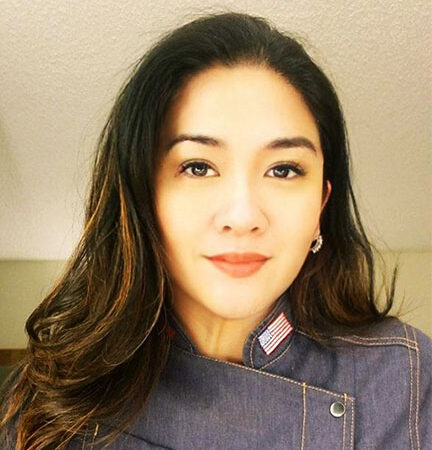
From the moment Mayen arrived in the CakeFlix studio, it was clear she and Paul Bradford were going to get on brilliantly. Their shared passion for cake decorating, combined with plenty of laughs along the way, makes this tutorial both educational and thoroughly enjoyable to watch.
Throughout the course, Mayen explains every stage of the project using clear, step-by-step demonstrations. You’ll learn how to construct a strong internal support system capable of carrying the weight of the cake while maintaining a realistic and elegant appearance. Better still, the structure can be adapted to create many other gravity-defying designs, including an ice bucket with champagne bottles, a watering can and countless other creative celebration cakes.
During the tutorial you’ll learn how to:
- Build a gravity-defying hanging cake structure.
- Carve and shape cakes accurately.
- Cover cakes with ganache for a flawless finish.
- Create smooth curves and realistic handbag shapes.
- Add decorative details and textures.
- Use edible paints to achieve professional finishes.
- Adapt the structure for many future cake designs.
This project combines a wide range of cake decorating techniques, making it an excellent challenge for intermediate and advanced decorators who want to expand their skills and impress clients with something truly different.
Whether you’re creating a birthday cake, a luxury fashion-themed centrepiece or a spectacular cake for a corporate event, this Hanging Handbag Cake is guaranteed to attract attention and become a talking point.
By the end of this Hanging Handbag Cake Tutorial, you’ll have the confidence to recreate the design and adapt the hidden structure for many other gravity-defying cakes.
Start your 7-Day FREE CakeFlix Trial today and enjoy access to this tutorial, along with more than 1,800 expert cake decorating courses taught by some of the world’s leading cake artists.
We’d love to see your version of the Hanging Handbag Cake. Share your finished creation with us on the CakeFlix Family Group and don’t forget to tag Mayen too!