Tutorial Preview
Highlights
Here, we have carefully selected the key parts from the entire tutorial and condensed it into on 6 minute long video. More than enough to get you started without taking too much time.
1. Preparing the cake
Paul prepares the Rice Krispies treats to be carved into the shape of an owl. Don’t worry though – if you want to use cake, that’s fine too.
2. Carving the owl
In this lesson, Paul starts to carve the owl’s body from Rice Krispie treats that have been ganached together.
3. Covering the owl
Paul covers the owl in white sugarpaste in preparation for decorating it. This is where it gets exciting…
4. Owl’s face part 1
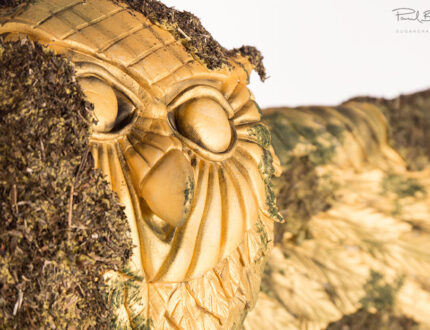
Paul begins on the owl’s face and the template is available below to get the size and shape Paul uses. He adds the face to the cake and marks out its features using modelling tools.
5. Owl’s face pt 2
Paul adds some more detail to the owl’s face using a picture from a certain film for inspiration…
6. Adding the feathers
Time to roll out some thin sugarpaste and get the cutters out. Paul actually uses a lily cutter which he’s modified to give him the shape he wants. Who says you always have to buy new things?
7. Adding the wings
Paul now adds the wings to the back of the owl using cut out pieces of white foam core, which will then be covered in hundreds of sugarpaste feathers.
8. Covering the wings
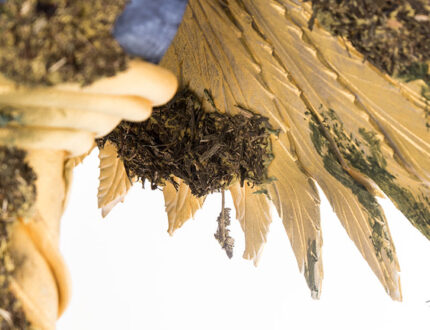
Paul has covered the wing in very thin pieces of sugarpaste and marked where he will be putting the feathers – which he now shows us how to make. The feathers which are made up of three different sizes are put in place with some edible glue.
9. Finishing the wings
Paul adds some extra sugarpaste to the tops of the wings to show the supporting bone, which gives it a much more realistic feel. And then it’s onto making the tail.
10. Making the Talons
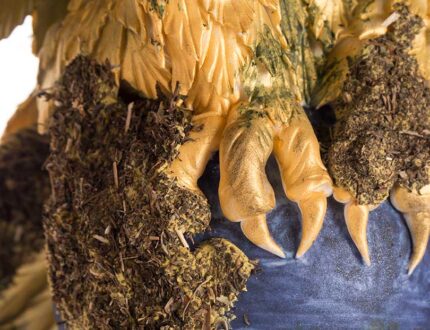
Here Paul makes the owl’s dangerous looking talons. It’s actually a lot easier than you might think – just three little sausages per foot, and then some smaller cone shaped pieces for the claws.
11. Adding the tail
First of all, Paul fluffs up the bottom of the owl to merge the two sections of the owl, giving it a more realistic look. Now that the tail has had time to dry, it’s on to attaching it with some screws. You’ll definitely want a second pair of hands for this stage.
12. Painting the wings
In this lesson, Paul finally gets the airbrush out and starts on the wings building up lovely gold tones.
13. Painting the owl and stand
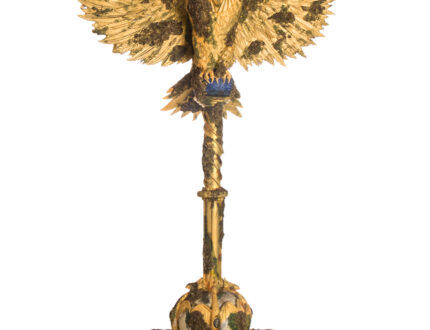
Paul now builds up the golden hues on the owl’s body, as well as the stand. But be sure to leave all the sugarpaste to dry overnight before painting over it.
14. Painting the stand
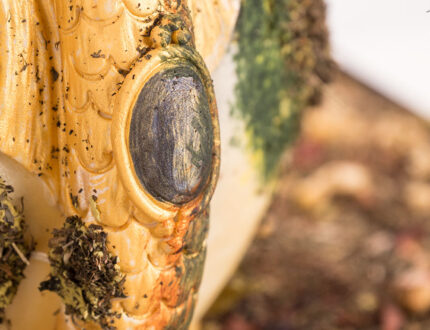
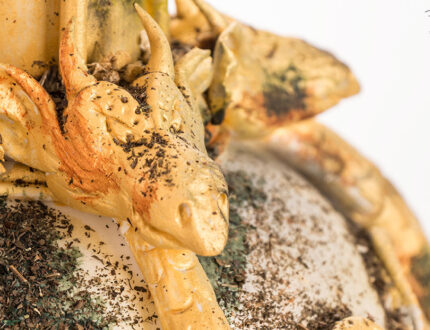
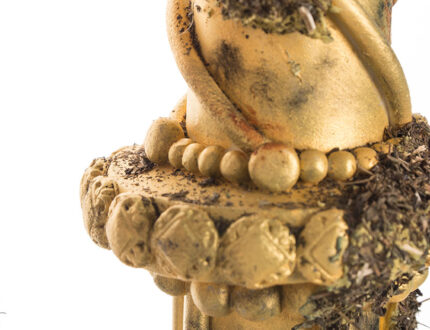
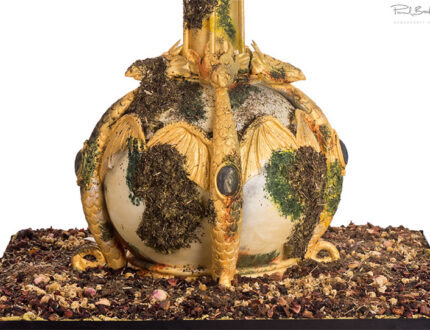
In this lesson, Paul focuses on the two large balls and creates a lovely crystal, marble ball effect with beautiful blues and silvers.
15. Adding moss to the stand
Here Paul creates incredibly realistic moss using some tasty (to drink not eat) tricks, which both look and smell nice. Can you guess what he uses..?
16. Finishing touches
Paul gets the airbrush out one last time to add the final tones, making the overall feel even moodier.
17. Other ideas
Here Paul shares some other ideas you can try your hand at when making this cake. We’re sure you have some of your own great ideas and we’d love to see what you come up with.
Share your pics with us on our Facebook page.
18. Pro lesson
In this lesson, Paul shares some insider information about the cost to make this cake, as well as pricing, portions and other vital information for any professional cake designer.
We’d love to see your take on the Potter’s Owl cake – so make sure you share your snaps with us on our Facebook page.
