Tutorial Preview


1. Carving and Ganaching - Part 1
2. Carving and Ganaching - Part 2
3. Carving and Ganaching - Part 3
4. Logs - Part 1
5. Logs - Part 2
6. Logs - Part 3
7. The Roof - Part 1
8. The Roof - Part 2
9. Door and Windows
10. Decorating the Board - Part 1
11. Decorating the Board - Part 2
12. Moose Head
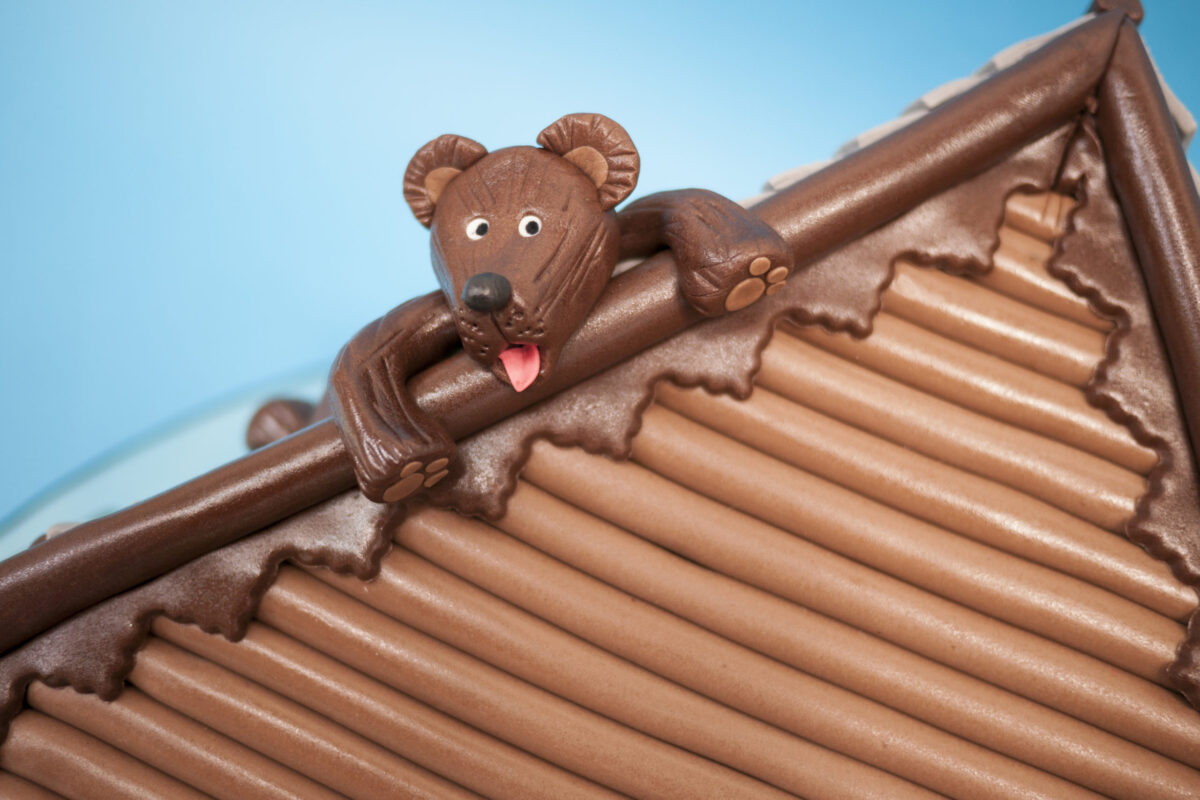
13. Teddy Bears
14. Finishing Touches
15. Pro Lesson
16. Other Ideas
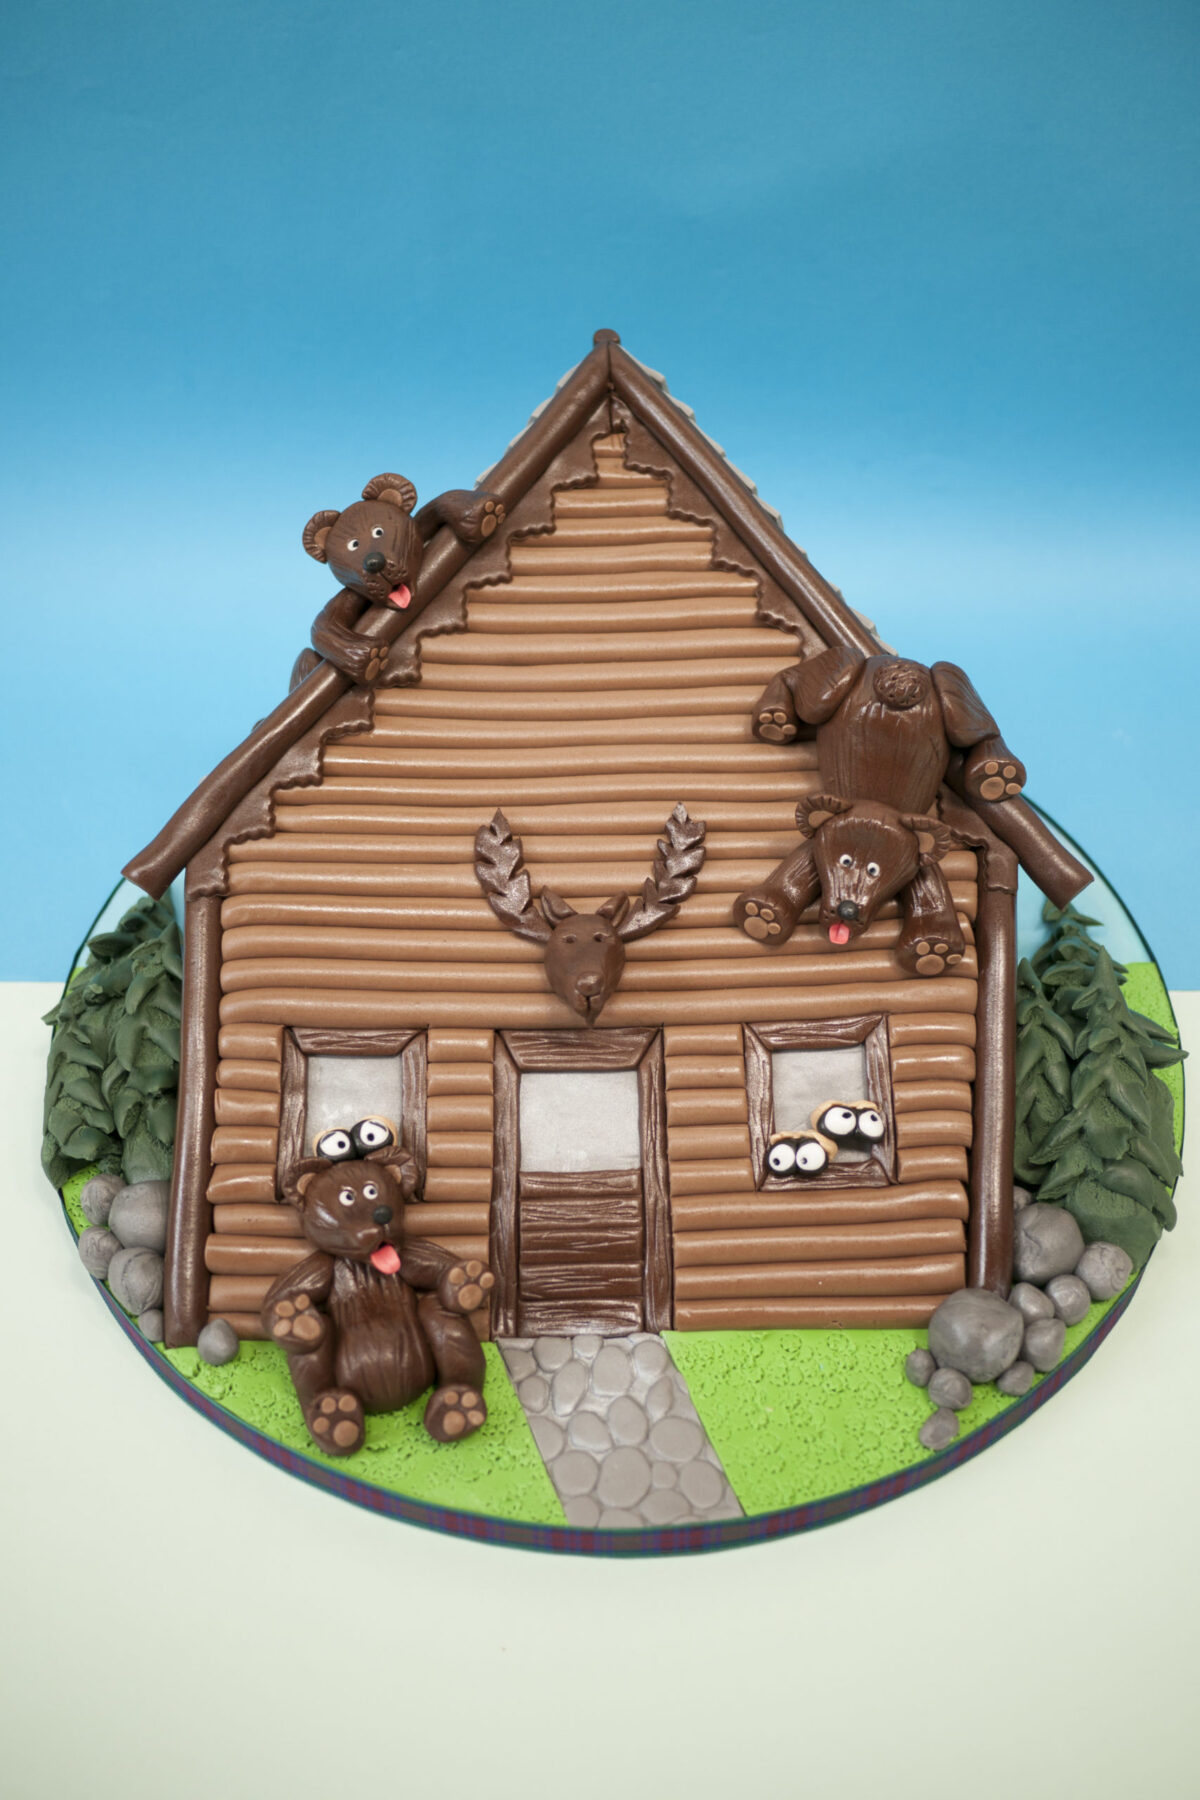
Log Cabin
Paul talks about some other ideas and styles that can be used with this cake.
Learn to make this fantastic Log Cabin cake decorating tutorial on CakeFlix, which is in between 3D and 2D (2.5D! ) cake which includes bears for that true Log Cabin in the woods feel!
It is quick and easy to create using a flat base but using some accessories to give a slight 3D effect. Why not try the Log Cabin cake decorating tutorial on CakeFlix to give you lots of new skills and techniques.
Log Cabins: A Symbol of American Heritage
Log cabins have been a part of American history since the early days of European settlement. The first log cabins were built by Swedish settlers in the Delaware Valley in the 1630s. Log cabins were also built by English settlers in the Appalachian Mountains and by French settlers in the Mississippi Valley.
Log cabins were a practical and efficient way to build a home in the wilderness. They were made from locally available materials and could be built quickly and easily. Log cabins were also relatively inexpensive to build, making them a popular option for pioneers.
Today, log cabins are still a popular choice for homes and vacation homes. They offer a unique and rustic charm that is hard to find in other types of homes. Log cabins are also energy-efficient and environmentally friendly.
Here are some of the features of log cabins:
- Made from natural materials
- Durable and long-lasting
- Energy-efficient
- Environmentally friendly
- Unique and rustic charm
Log cabins are a beautiful and practical choice for anyone looking for a home that is both unique and functional. Log cabins can also be found throughout Scotland, in fact, David and Paul lived in one for a year!
Don’t forget to share your interpretations of this wonderful cake with Paul and the rest of the CakeFlix Family on our Facebook group.
View hundreds of more world-class tutorials only at www.cakeflix.com.