Tutorial Preview


Bite Sized
Watch Zoe make the Pouring Paints cake in just one minute!
Highlights
If you want to whizz through the tutorial just looking at the best bits, this is the video for you. It will give you some idea of the order of putting the cake together but delve into the individual videos for detailed instructions .
1. Gathering Tools and Materials
Let’s start at the beginning and look at the different materials and tools required to build your DIY cake structure. All are easily accessible from local hardware stores or online, and Zoë shares her advice on what you will need to make your own structures.
2. Building the DIY Cake Structure
Now we have all our tools and materials, Zoë shows you how to construct the cake structure for this gravity defying design and shows you some useful tips along the way such as accurately finding the centre of a circle.
3. Making the Structure Food Safe
A quick lesson to show you how to use straws and foil tape to make your structure 100% food safe before adding your cake.
4. Covering the Board
Zoë pre covers her base board to allow it to dry firm ahead of carving and decorating the cakes.
5. Preparing and ganaching the cakes
Zoë shows you how to trim and prepare your cakes and apply ganache ahead of adding the sugarpaste. She uses a double card method to help ensure straight lines and a smooth cylindrical finish.
6. Covering the cakes in Sugarpaste
Zoë demonstrates the upside down method for producing sharp crisp edges when covering cakes with sugarpaste.
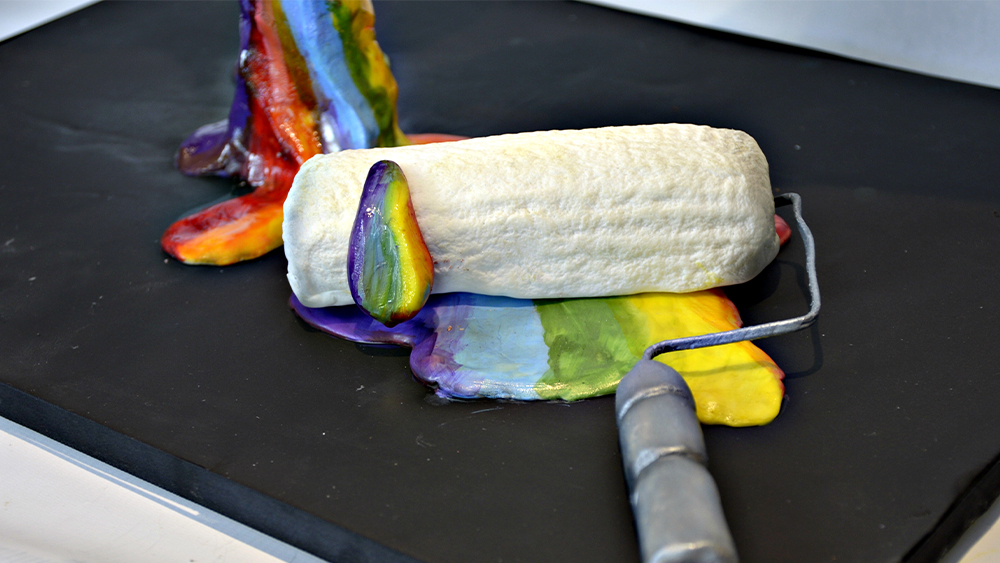
7. Making RKT to create the Edible Paint Roller
Zoë shows you how easy it is to make your own rice cereal mix and then to fashion the shape for the roller.
8. Sculpting and Colouring the Paint Roller
Add some lifelike texture to the sponge roller and learn how to make the correct shape handle using wire and modelling chocolate. Add colour to the paint roller using petal dusts and cocoa butter.
9. Making Gumpaste Trim & Stacking the Cakes onto the Structure
Time to carefully attach the 3 cakes onto the gravity defying structure. Zoë shows you how to work carefully and how to use ganache for extra support and to make a suitable trim to disguise the joins.
10. Adding in Detail to the Paint Cans
Use a clay extruder to add in some detailing and wrap the gumpaste trims you made in the previous lesson around the cakes to help disguise the workings of the cake design.
11. Airbrushing the Paint Cans
Time to get the airbrush out and to add a subtle shimmer and some shading to the paint cans.
12. Making Labels and Handles
We use a cookie cutter to form a decorative chalkboard label and Zoë shows you how to hand paint your message. Then back to the extruder to finish off the handles for the paint cans.
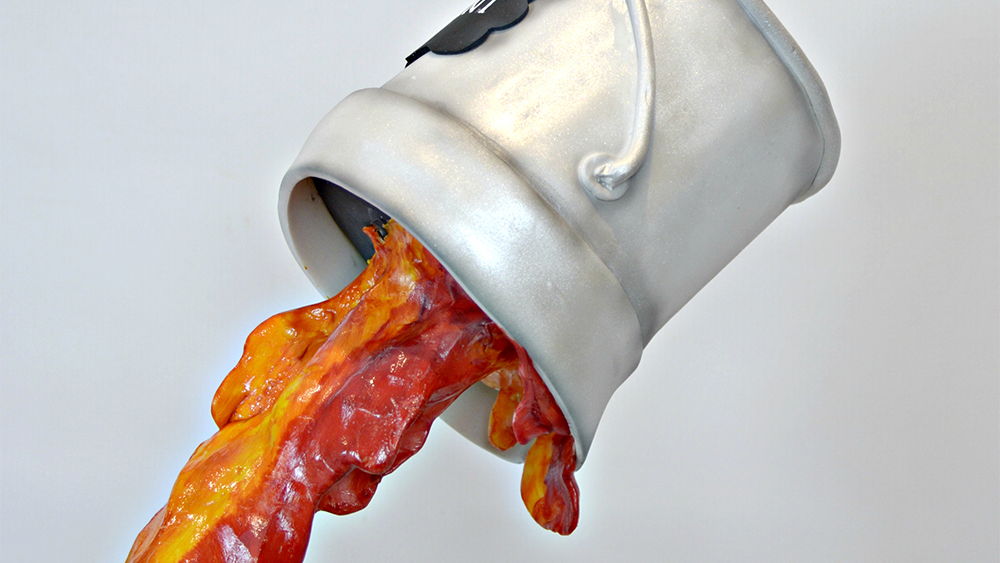
13. Adding in the Pouring Paint
Zoë uses modelling chocolate to add in the pouring paint. Work with your hands to smooth and blend the chocolate to give you the perfect puddle, plus a few decorative drips along the way.
14. Painting the Rainbow
Blend melted cocoa butters with a variety of petal dusts to create an edible ‘oil’ paint and slowly bring your paint to life. Zoë finishes off the whole look with some edible glaze to make the paint super glossy.
15. Other Ideas
Some other ideas for your own cake.
16. Pro Lesson
Everything you need to know about pricing and distribution.
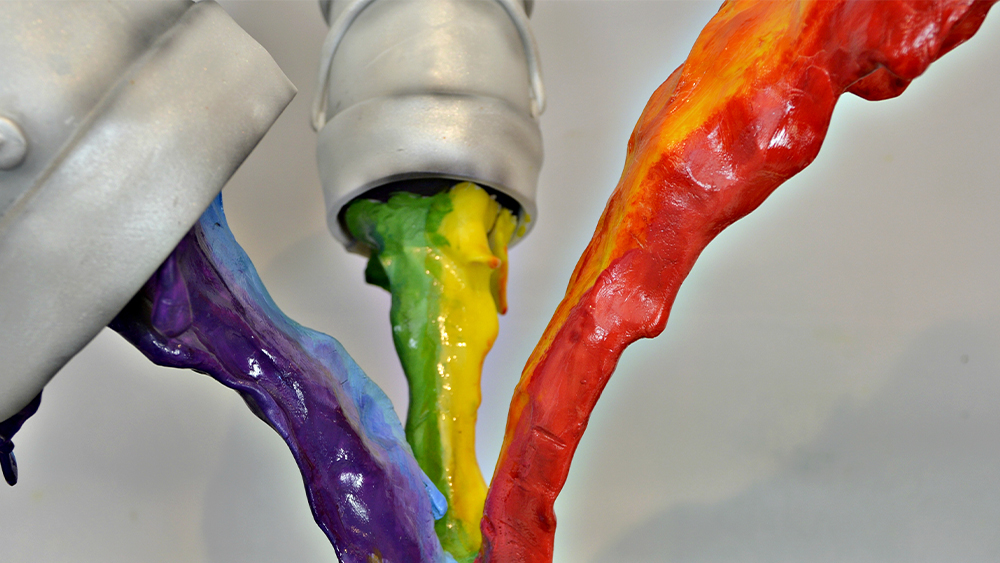
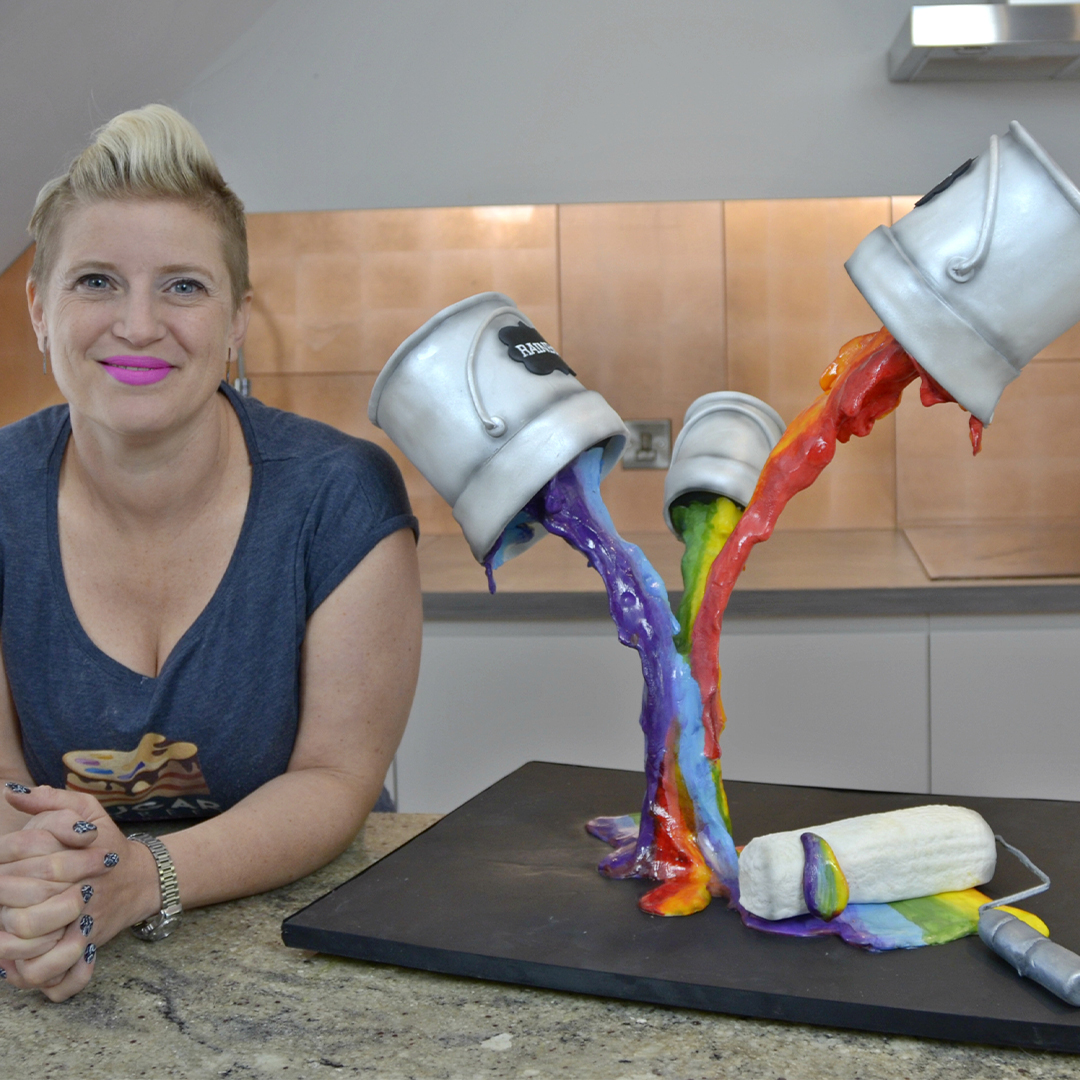
Pouring Rainbow Paints Cake Tutorial
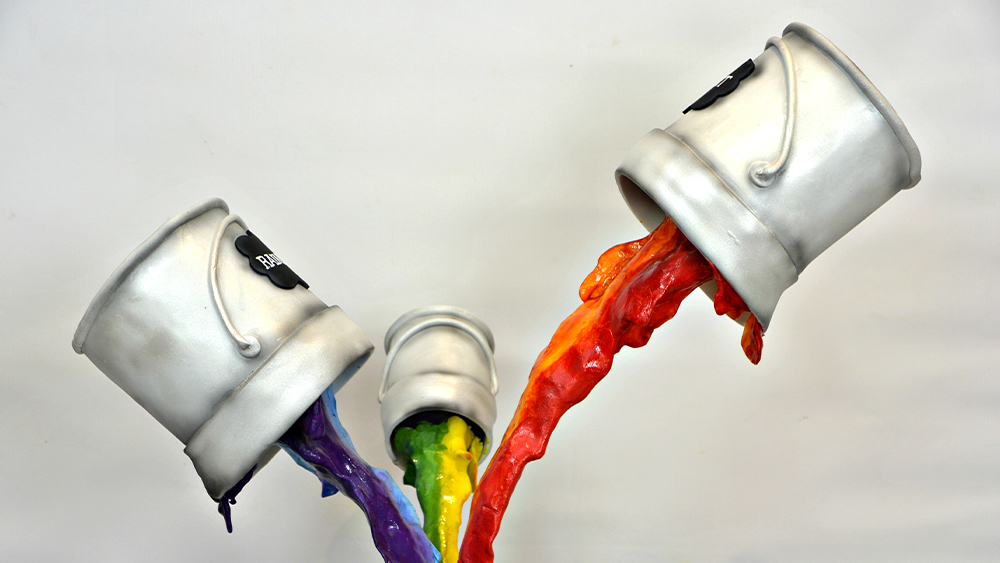
In this class, Zoe shows you how to take the gravity-defying pouring cake trend and go supersize with it! Learn how to make your own structures and gain tips on the best way to suspend your cakes safely in the air. This is a perfect project for those who want to test their skills with novelty cakes, and are ready to attempt to make their own DIY cake structures.
This fun colourful cake can be adapted to so many designs and is the perfect centrepiece for a birthday, good luck or even Father’s Day cakes.
In the following tutorial, you will learn how to…
- Create a gravity-defying structure
- Sculpt with chocolate
- Mix colours
- Airbrush
- and much, much more
Don’t forget to share your interpretations of this wonderful cake with Paul and the rest of the CakeFlix community on our Facebook group.
View hundreds of more world-class tutorials only at www.cakeflix.com.