Shimmering Lace Wedding Cake Decorating and Baking Tutorial

Tutorial Preview

Join NOW to access 1658 courses Watch Now
7 Day FREE Trial
Shimmering Lace Wedding
with Faye Cahill
Skill level: Intermediate
HD Lessons: 17
Decorating time: One Day
Now Playing
07:29

1. Carving and Ganaching: Part 1

Faye starts of this beautiful cake by preparing the cakes themselves – she shows us the 7” cake tier, just repeat the same steps for the 5” and 9” cakes. Each of the cakes is cut to size and stacked in preparation to achieve super sharp edges. After the cake is carved to size using the 7” cake board as a guide, the ganaching stage of the cake is then started. Refrigerate the cake after this stage to harden the ganache.
Now Playing
04:38

2. Carving and Ganaching: Part 2

A further soft layer of ganache is added to the cake and Faye shares her techniques when using a scraper to level out the ganache on top of the cake.
Now Playing
04:33

3. Ganaching: Part 1

Now we’re on to a crucial part of achieving a super sharp cake. Faye uses another 7” cake board (the same as the bottom one) and places this on the top of the cake, levelling it out with the right angled set square. The two boards then act as a guide for your scraper and you’ll see the results are fantastic. Refrigerate following this lesson.
Now Playing
03:47

4. Lesson 4 - Ganaching: Part 2

Faye uses soft ganache to fill out any gaps between the two boards to ensure the cake is level. Refrigerate for a short while after this to ensure the lid (top cake board) detaches easily.
Now Playing
02:43

5. Ganaching: Part 3

Warm a paring knife in hot water to help release the top cake board,  just run the knife around the edge using a slight upward pressure and the top board should release nicely. Use a palette knife and soft ganache to fill in any defects on the top –  Don’t do too much as you might ruin your super sharp edge.
Now Playing
15:07

6. Icing

Faye opts to use piping gel to grip the sugarpaste used for icing the cake which should help avoid any sliding. Massa Ticino sugarpaste is used by Faye in this lesson which tends to give a great result without cracks – of course feel free to use your preferred brand. Once the icing is completed, Faye shares her cake smoothing techniques to bring out the sharp edges of  the cake.
Now Playing
13:47

7. Painting the Cake

The cake is now at the stacked stage (remember, Faye only demonstrates the 7” cake process as the 5” and 9” tiers are done in exactly the same way). For stacking advice, see the supporting lesson at the foot of this page or by clicking here.

Your cake might have picked up a few marks or smudges along the way so use 95% alcohol or a mixture of alcohol and water – remember to wipe any excess water off the cake.

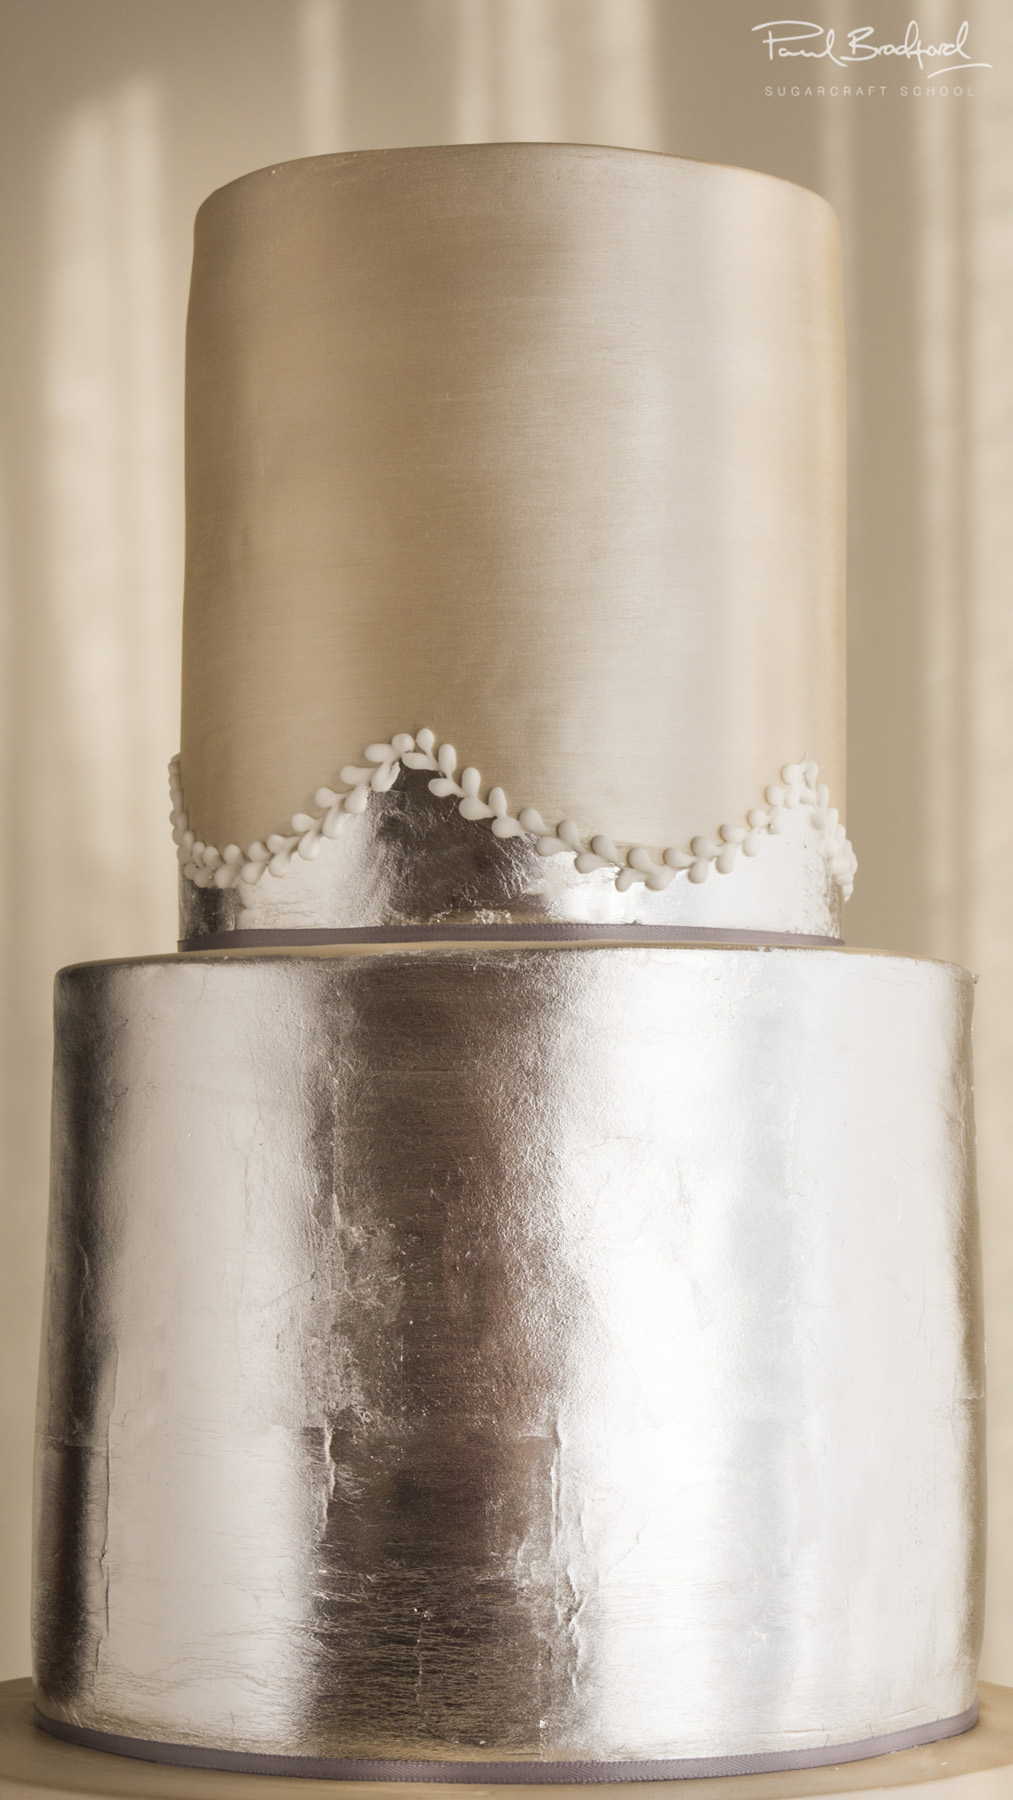
A lustre coat is added to the first and third tiers of the cake – Faye demonstrates her methods for this with great results.

Now Playing
07:22

8. Silver Leaf: Part 1

We now move on to decorating the middle tier with silver leaf and start by wiping off any excess lustre to make the tier plain white.

Faye uses silver leaf in a transfer sheet style as opposed to loose leaf. Loose leaf would be far too tricky to work with in this case so we’ll keep things easy for ourselves. Any overlapping silver leaf can be brushed off as demonstrated in this lesson or you can use the backing sheet to smooth the silver leaf.

Now Playing
06:26

9. Silver Leaf: Part 2

After completely covering the top two thirds of the middle tier with the silver leaf, we move on to the bottom third of the tier. Faye trims the silver leaf (with backing paper attached) to a neat edge which makes it much easier to neatly cover the remainder of the tier.

In this lesson Faye also covers the fixing of any minor defects with the silver leaf.

Now Playing
12:18

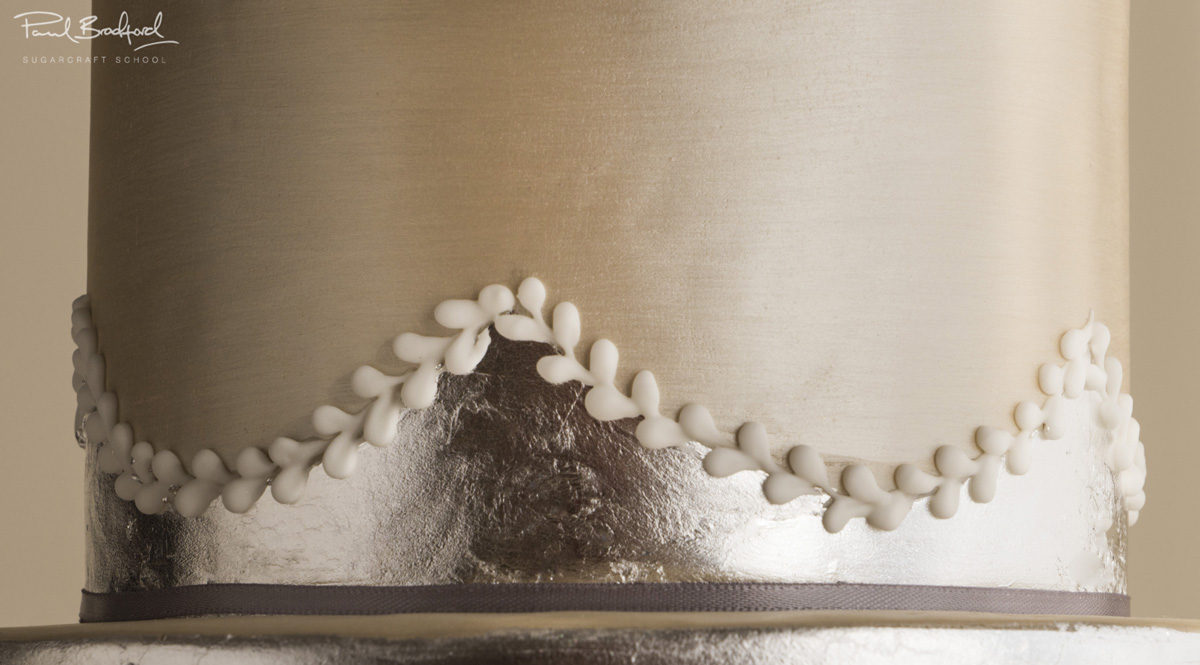
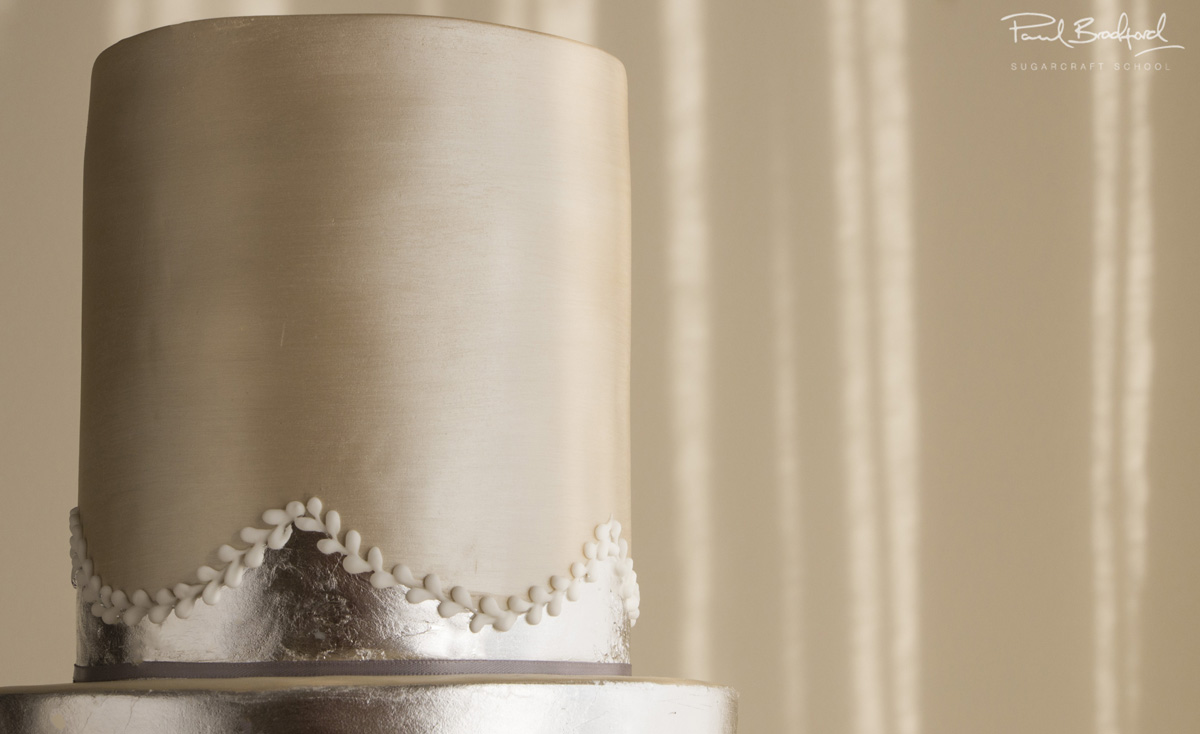
10. Silver Leaf: Part 3

A scalloped effect is produced for the top tier of the cake using silver leaf. Faye uses large lengths of baking parchment with her artwork applied as a tracing guide. You can download the templates here:

Now Playing
07:25

11. Decorating the Bottom Tier: Part 1

Once we have completed the scalloped effect from Lesson 10, it’s time to move on to the bottom tier of the cake.

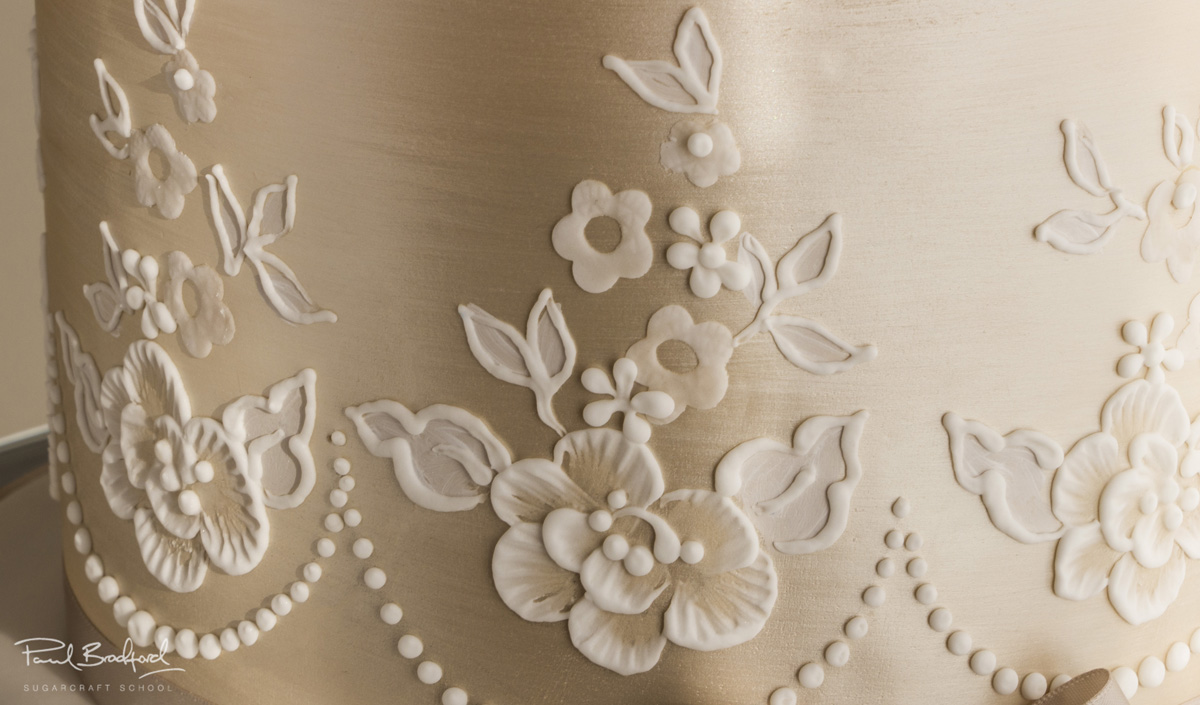
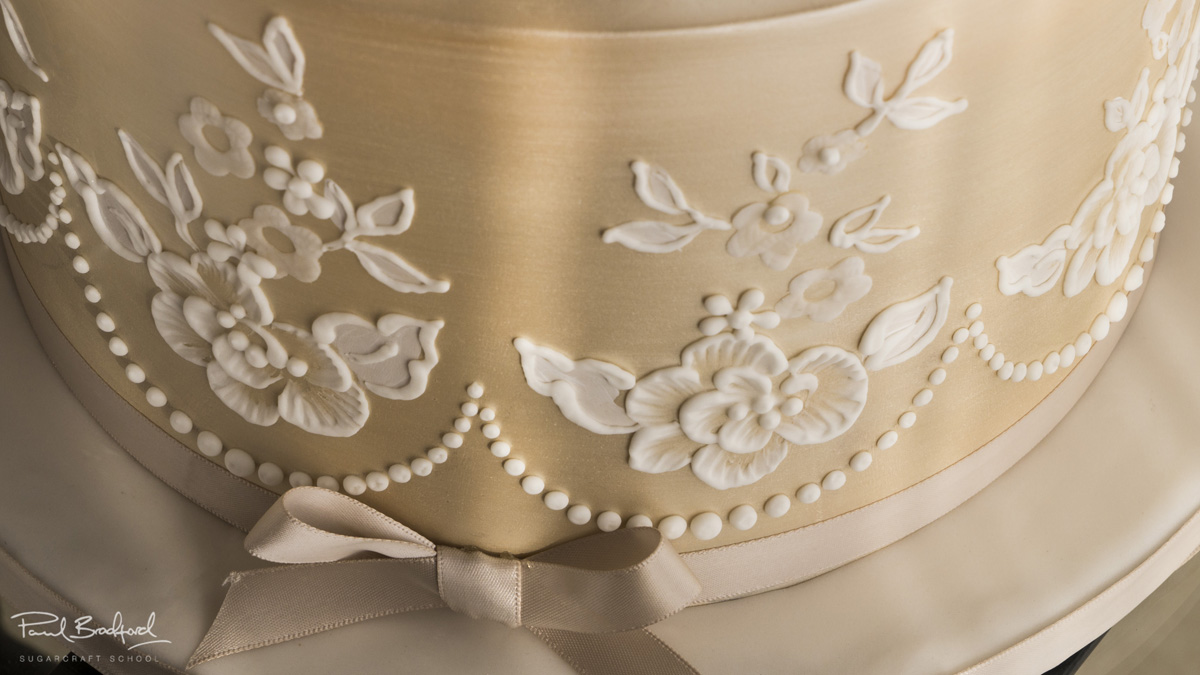
Faye traces the flower design around the base tier and then cuts out sugarpaste petals using a 5-petal small blossom cutter and finishes off with a small circular cutter and texturing as shown.

Now Playing
02:20

12. Decorating the Bottom Tier: Part 2

Once we’re happy with the sugarpaste work on the bottom tier, we can move onto the painting stage. Faye paints leaves onto the cake using a white edible paint (Wilton white white or similar) which will later be outlined with royal icing.
Now Playing
06:54

13. Royal Icing: Part 1

Piping bags at the ready! Faye talks us through the techniques for decorating the cakes top tier with royal icing. If you’re not yet confident with this keep practising, take your time and follow Faye’s excellent advice which covers positioning and consistency when piping.
Now Playing
08:09

14. Royal Icing: Part 2

The royal icing is continued with some work on the bottom tier which covers scalloping, brushed shading and more great tips to produce a beautiful design.
Now Playing
12:25

15. Finishing Touches

The finishing touches are now added to the cake. In this final lesson, Faye also demonstrates covering the cake board and adding a ribbon trim to the tiers and board. We think you’ll agree that the finished cake looks fantastic and we hope you’ve enjoyed the course…well done!
Now Playing
03:02

16. Other Ideas

Faye shares her thoughts on different ideas you can incorporate when creating this cake and we get a closer look at the finished product.We would love to see your take on the Shimmering Lace Wedding Cake – please share your photos with us on our Facebook Page and Faye’s!
Now Playing
03:09

17. Pro Lesson

This lesson covers important information including servings, costings for the cake and realistic time-scales for creating the cake and still staying profitable – essential information for the professional cake decorator!

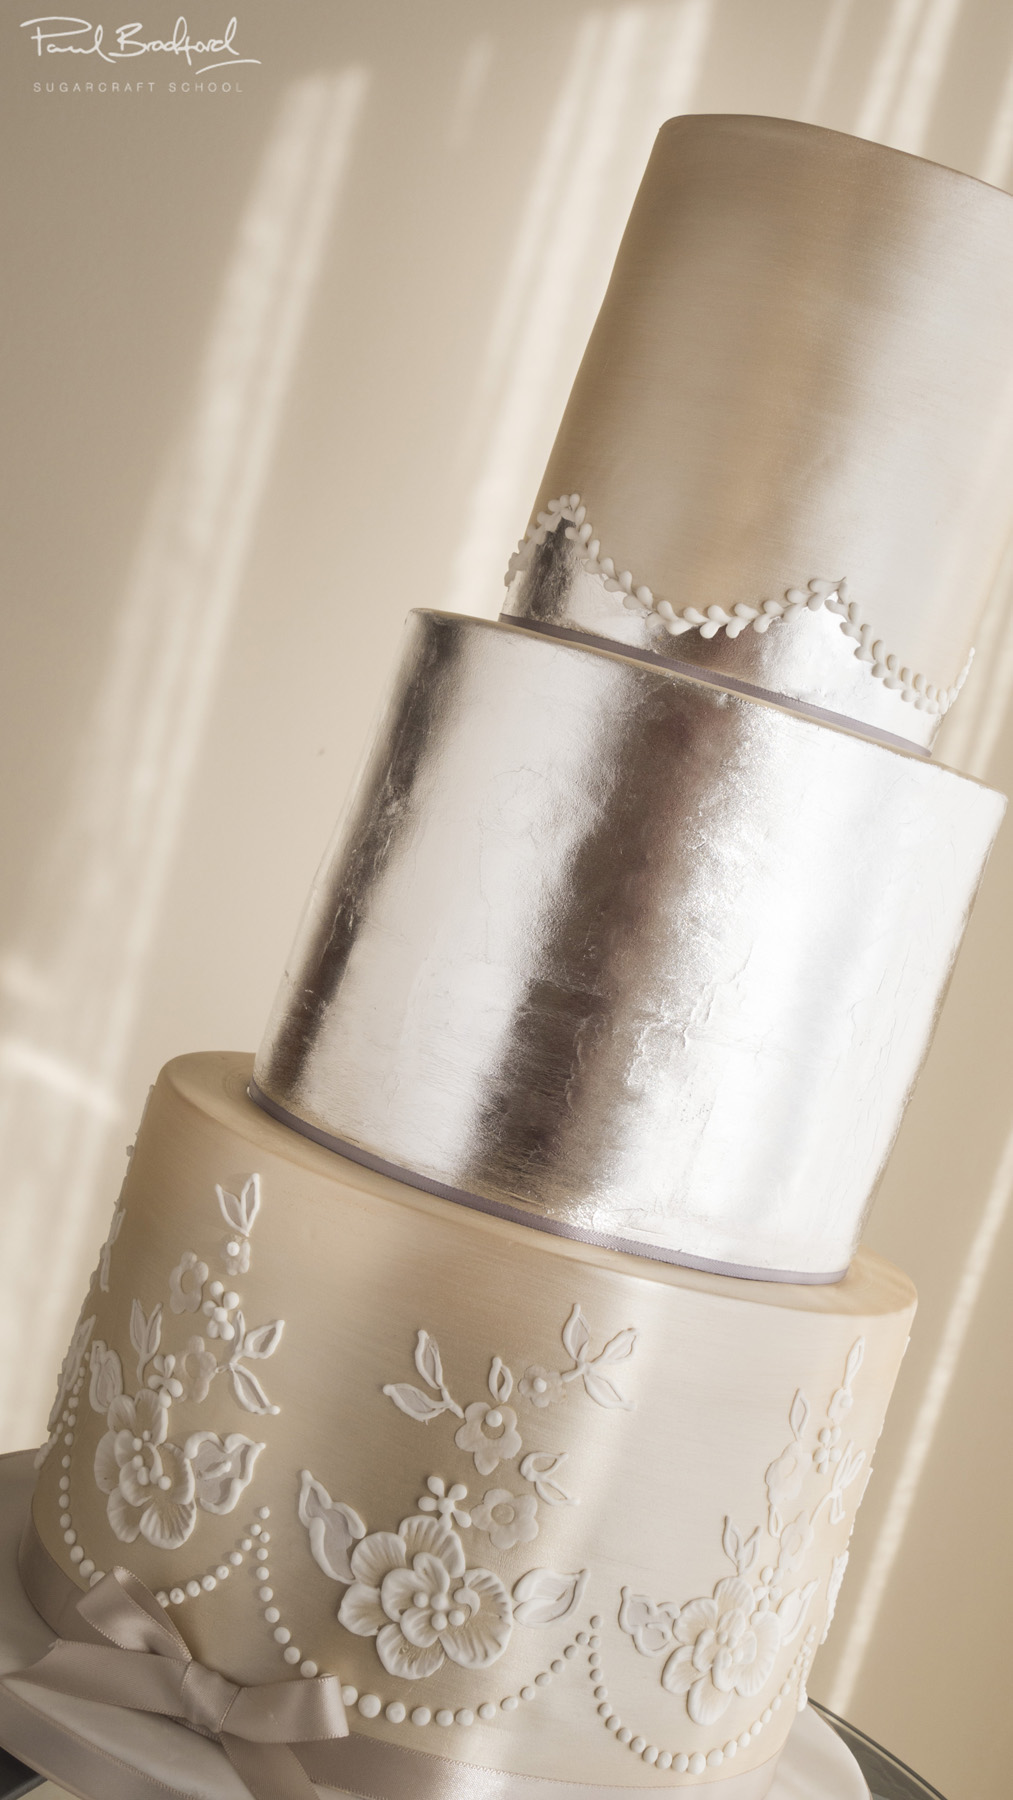
A very special Guest Tutor and super talented cake decorator, Faye Cahill, joins us to teach you how to make this elegant three-tier Simmering Lace Wedding Cake that many brides would dream of having at their wedding. The course includes a huge variety of techniques including lustre, silver leaf, piping, brush embroidery and more. Perfect for intermediate level cake decorators, this cake will take one whole day create.

We would love to see your take on the Shimmering Lace Wedding Cake – please share your photos with us on our Facebook Page and Faye’s!

Faye Cahill

Faye Cahill

All the way from Sydney, Australia comes cake decorator Faye Cahill. Faye has a unique, stunning style specialising in wedding cakes and produces some of the most highly regarded cakes in the market. Faye produced the beautiful Shimmering Lace Wedding Cake course which is a valuable addition to our cake courses.
7 Day Free Trial