Tutorial Preview
1. Looking for a Model
The first step is to find a model of car to base your cake design on, choose the design to base your car cake on carefully and use a firm sponge cake for carving. Paul recommends using Pinterest or similar websites to find the image to base your vintage car cake on. Some of the initial cake carving is also covered in this lesson.
2. Carving the Cake
3. Icing the Cake
4. Seats and Black Trim Part 1
5. Seats and Black Trim Part 2
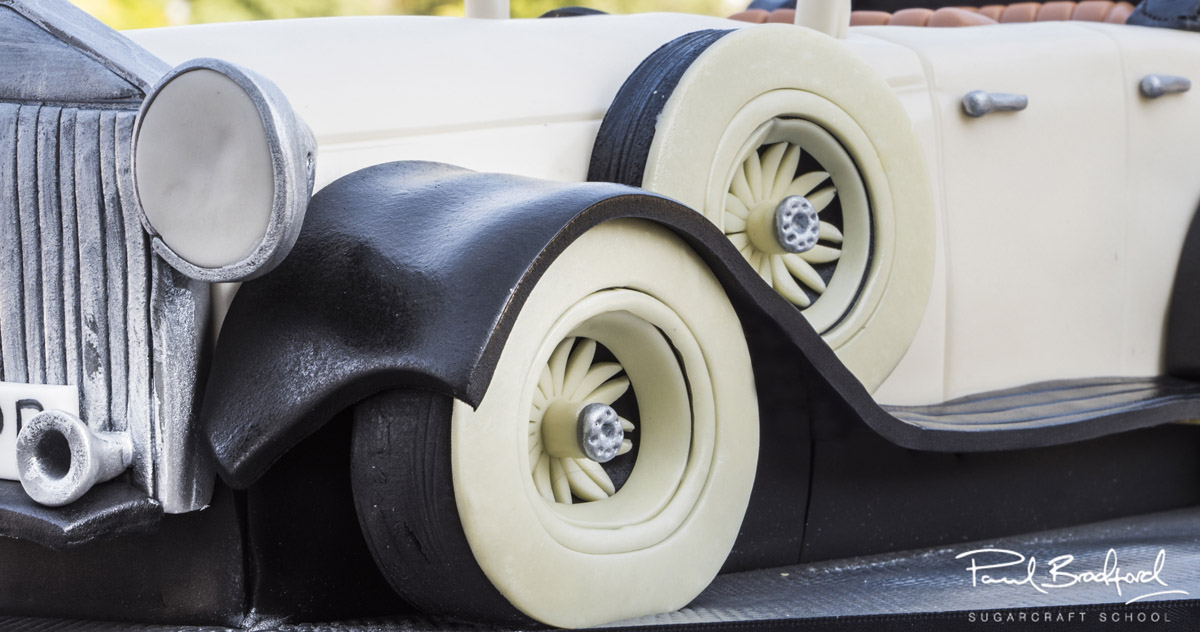
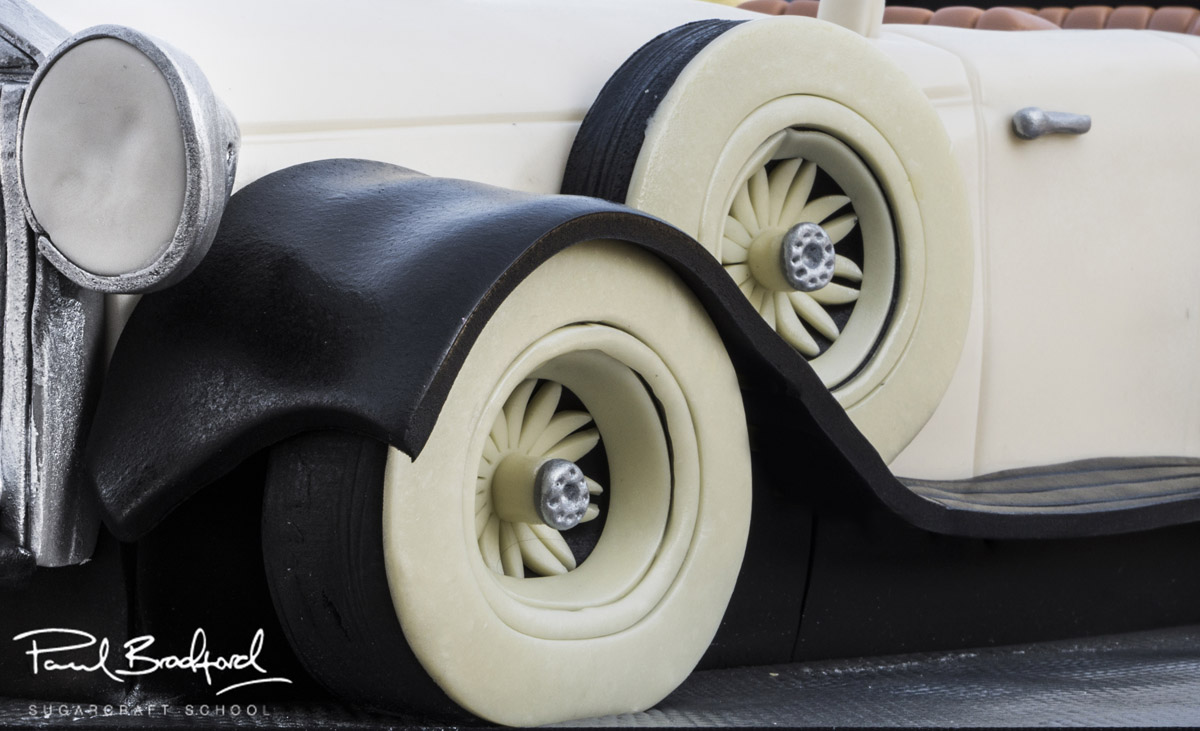
6. Tyres Part 1
7. Tyres Part 2
8. Tyres Part 3
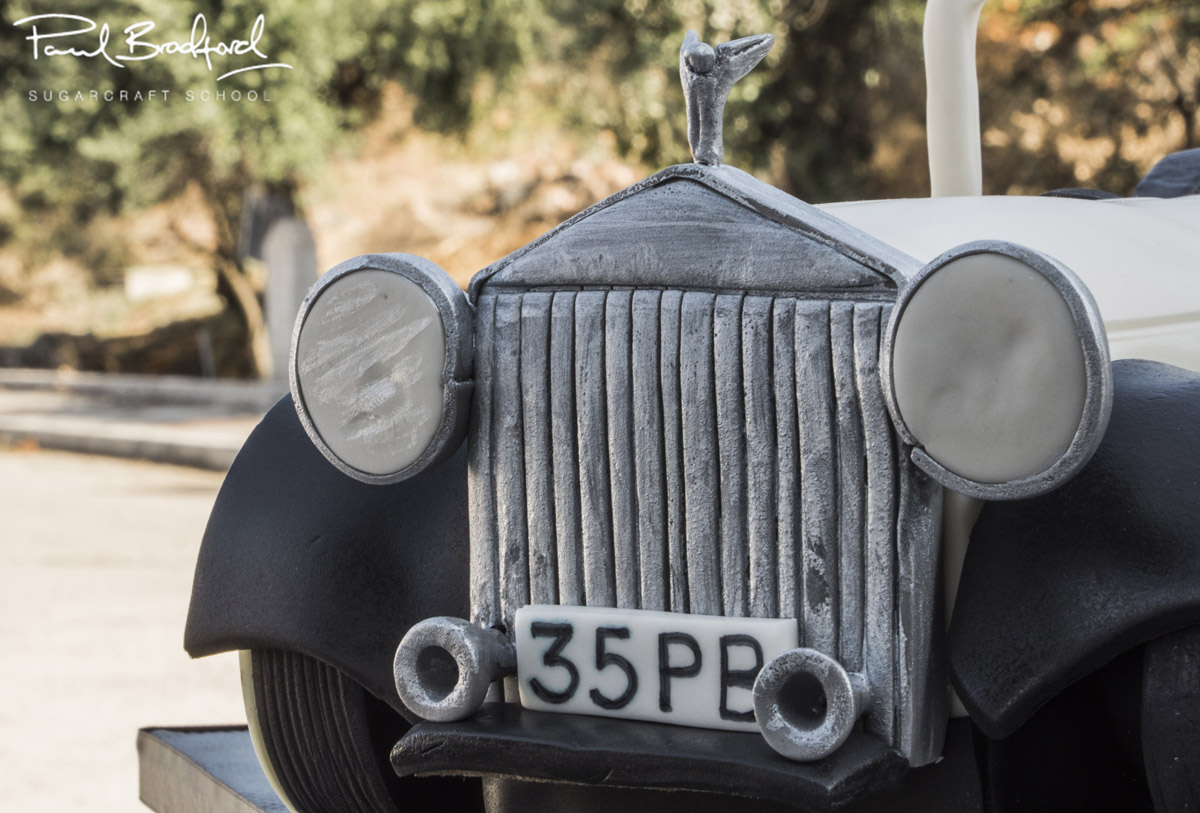
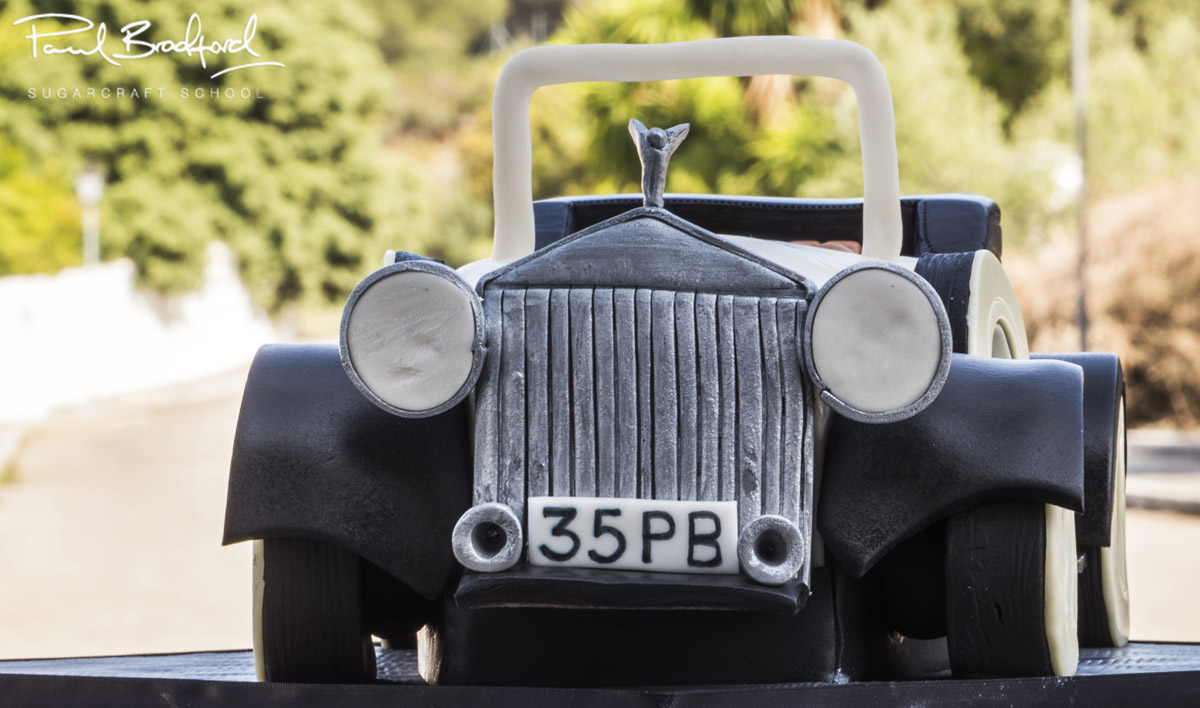
9. Grill and Lights
10. Horn and Accessories
Paul starts by attaching the headlights to the car – he opts to use cocktail sticks in this part to cut down on excess weight. If you’re doing this, make sure to remove them before eating! The creation of the car horn, front of car motif and other details are covered in this lesson. Feel free to add more details to the car for even more realism.
NOTE: Paul slightly changes the lights and how they’re attached in lesson 13 – have a quick look now if you’re making the cake along with the lessons.
11. Icing the Board
12. Wheel Arch
13. Canopy
14. Windshield
15. Finishing Touches Part 1
16. Finishing Touches Part 2
17. Other Ideas
18. Pro Lesson
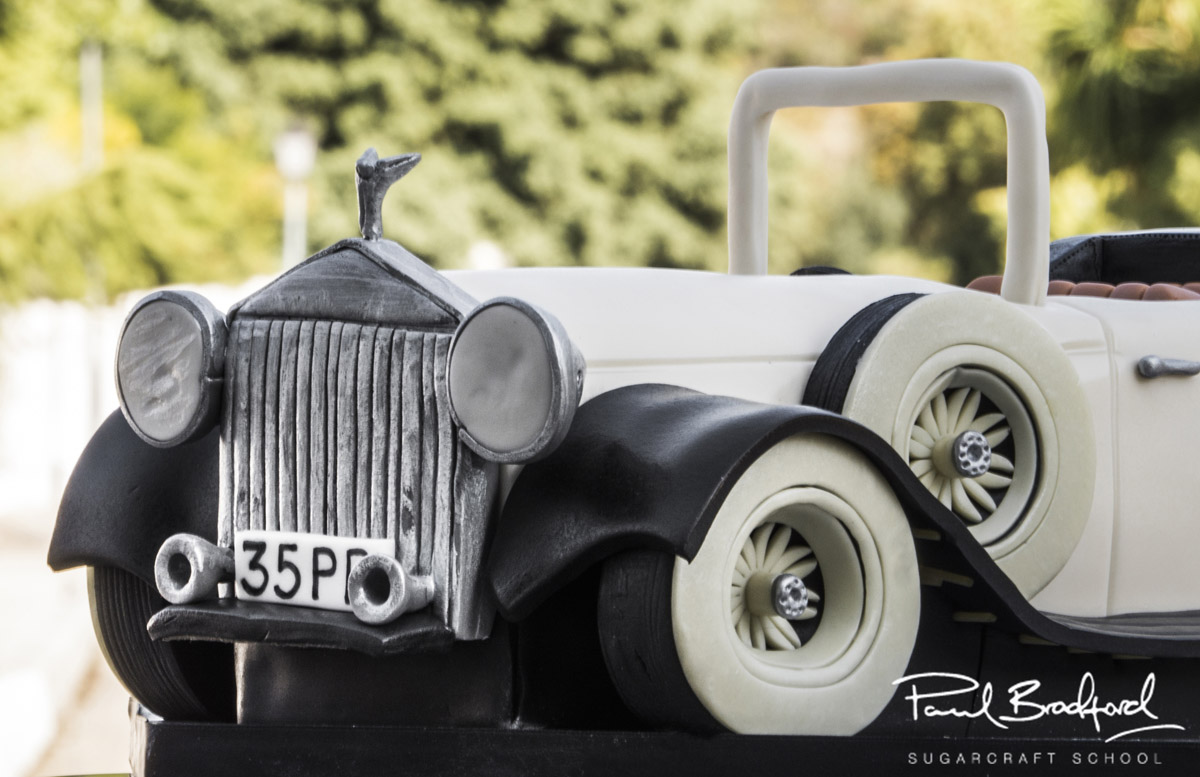
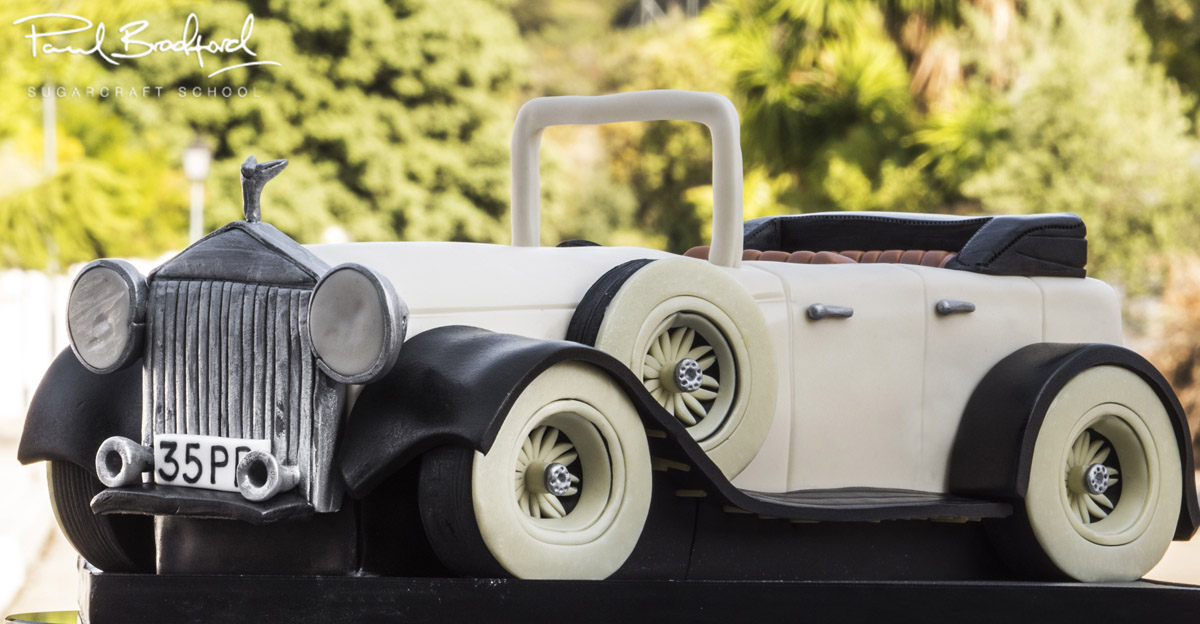
Learn how to create Paul Bradford’s classy Vintage Car Cake, with lovely detailing on the wheels, grill, number plate and emblem to lend it a very realistic finish. This design is perfect for classic car lovers or as a novelty wedding cake and the skills learnt can easily be adapted to any type of convertible and saloon car to create a wonderful, personalised cake. The cake takes approximately one day to complete and is ideal for intermediate level cake decorators.
We would love to see your take on the Vintage Car Cake – please share your photos with us on our Facebook Page!