Tutorial Preview
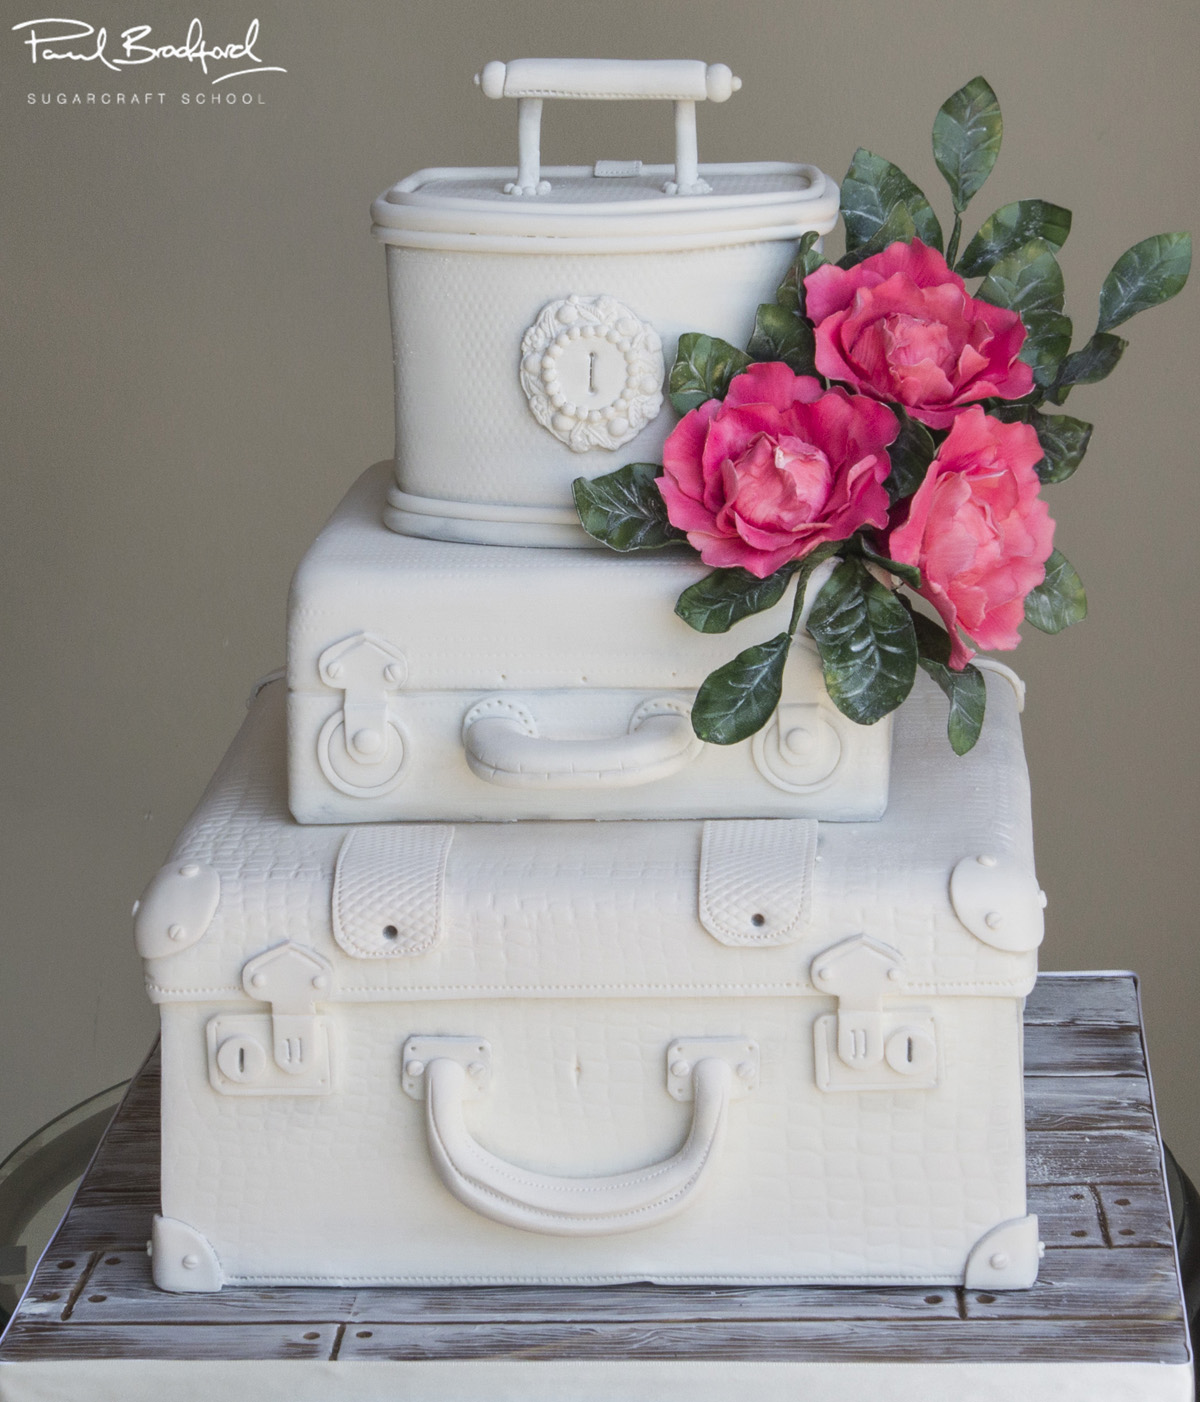
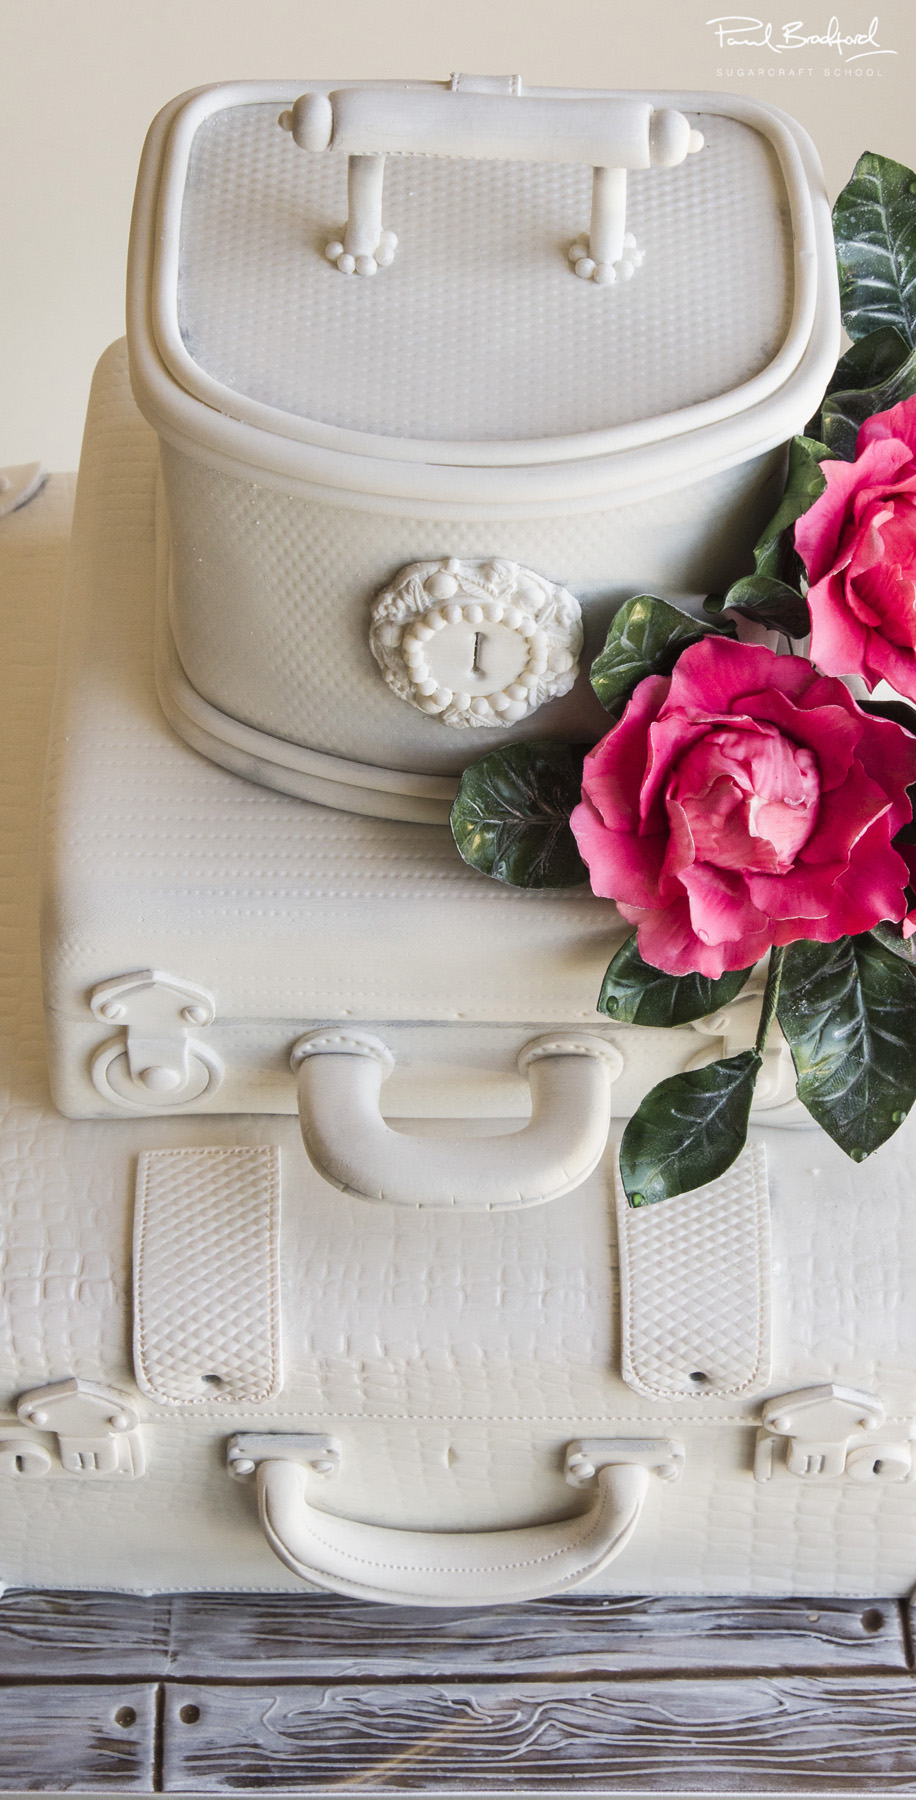
White Vintage Suitcase
with Paul Bradford
Skill level:
Intermediate
HD Lessons:
23
10:53
1. Design Concept and Carving
Paul takes the time to talk you through the design concept of the cake and where the inspirations for this classy yet simply cake were from. We also start to carve the cake and ganache the cake in this lesson.
03:45
2. Ganache
The ganaching of the cake is continued and Paul advises some nice methods to achieve a smooth finish ready to be iced. This process is to be repeated on each tier of the cake, refrigerate between ganaching stages to make things much easier.
13:32
3. Sugarpaste
Paul talks about the icing of the cake and then demonstrates the addition of texture to the icing to give the vintage suitcase look and feel. The texture mats used in this lesson can be purchased from www.sugar-artistry.co.uk
07:55
4. Icing the Top Tier
Icing the smaller top tier cake is explained in this lesson, this includes the icing method and the addition of texture to the tier.
27:35
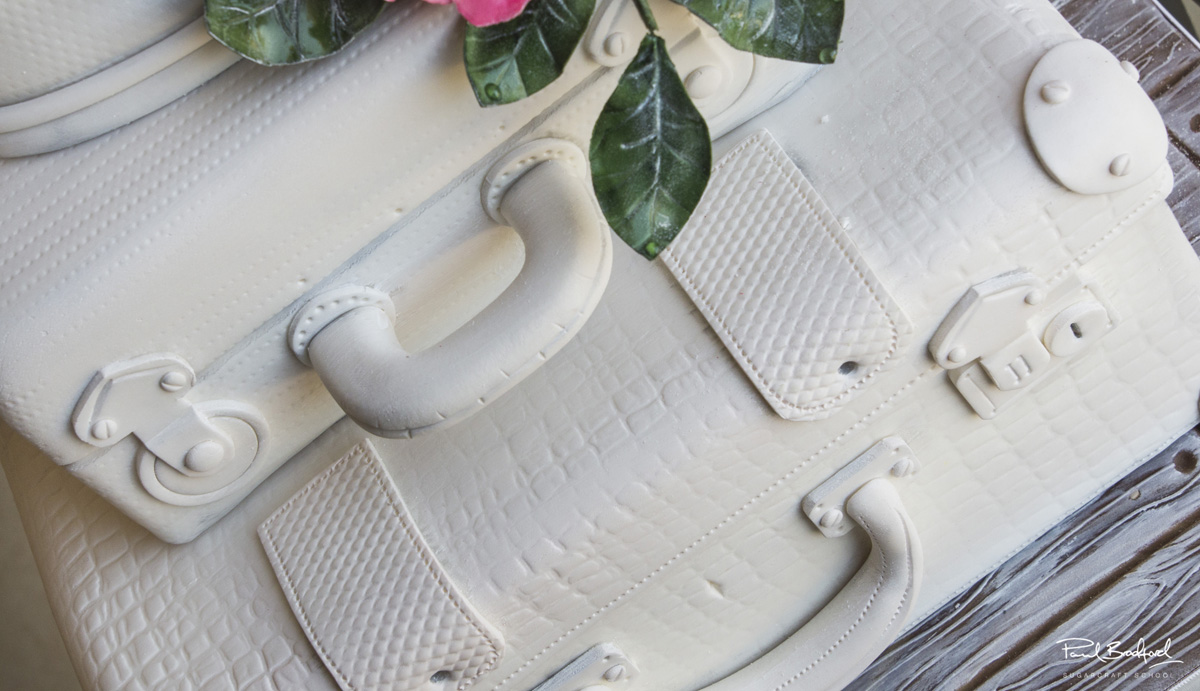
5. Decorating the Bottom Tier - Part 1
Starting with some measurements Paul explains and demonstrates the addition of the details and the handle to the bottom tier of the cake. We’ve attached a template to help you out when making the detailed parts but feel free to adapt this to your own liking.
13:28
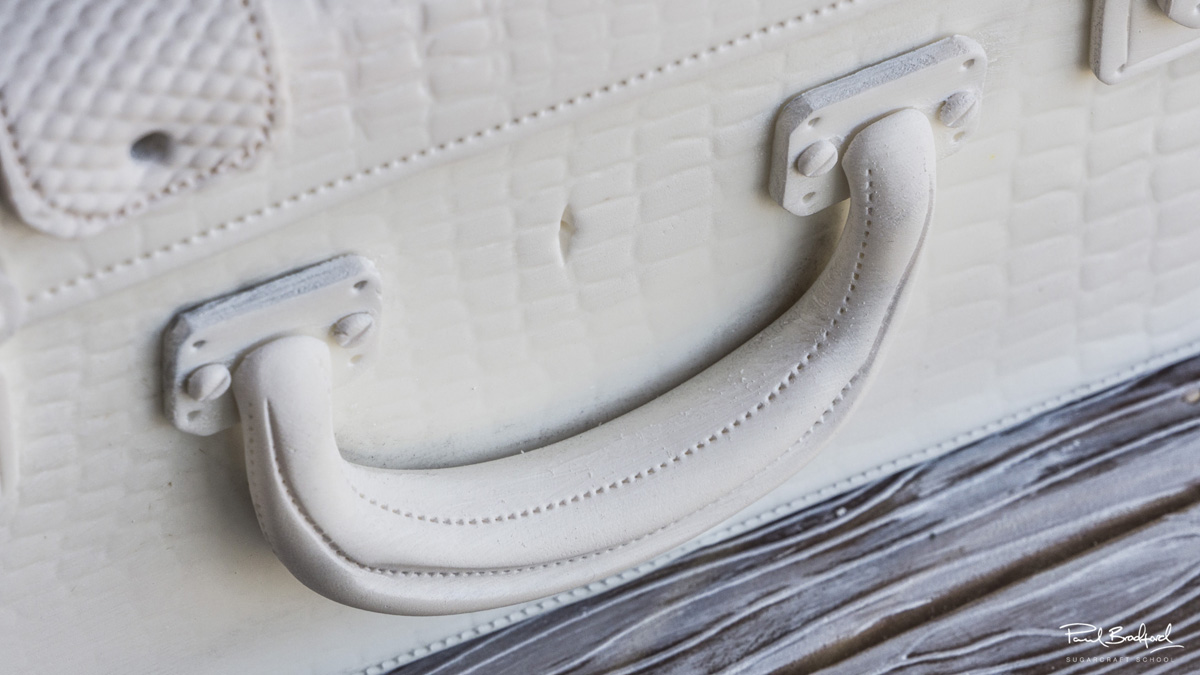
6. Decorating the Bottom Tier - Part 2
The decorating of the bottom tier is continued in this lesson with the addition of the buckles and the attaching of the handle for the suitcase. Some smaller details are added to recreate the rivets and screws too.
01:08
7. Decorating the Bottom Tier - Part 3
The stitching tool is used in full force to finalise the details on the bottom suitcase tier which makes the suitcase look just right. The dresden tool is used to neaten off the bottom edges of this tier then it’s time to move on to the next lesson and decoration of the middle tier.
20:38
8. Decorating the Middle Tier
The middle tier isn’t quite as detailed as the bottom tier, we start by adding a straight line around the cake horizontally to form a seam. Paul recommends using a rigid handle for this tier which is strengthened when attached using spaghetti sticks and also talks you through the other details on this tier.
09:57
9. Decorating the Top Tier - Part 1
The final top tier of the cake is next up and we use white sugarpaste to create a piping effect on the bottom and top of the tier (Paul shows the top area on camera) which is then attached with an edible glue. The piping is replicated three times on the top for a beautiful effect.
19:28
10. Decorating the Top Tier - Part 2
A Karen Davies brooch mould is used for the extra details of the top suitcase tier, of course you can make your own or use a mould of your liking for this section. A three piece handle is created for the very top of the cake, strengthen this using spaghetti sticks and add detail with the stitching tool.
06:35
11. The Board
The board is covered using a marbled mixture of sugarpaste colours, don’t over knead this to really enhance the marble effect. Paul goes on to create a wooden finish on the board which will then be painted to achieve a shabby chic look.
13:35
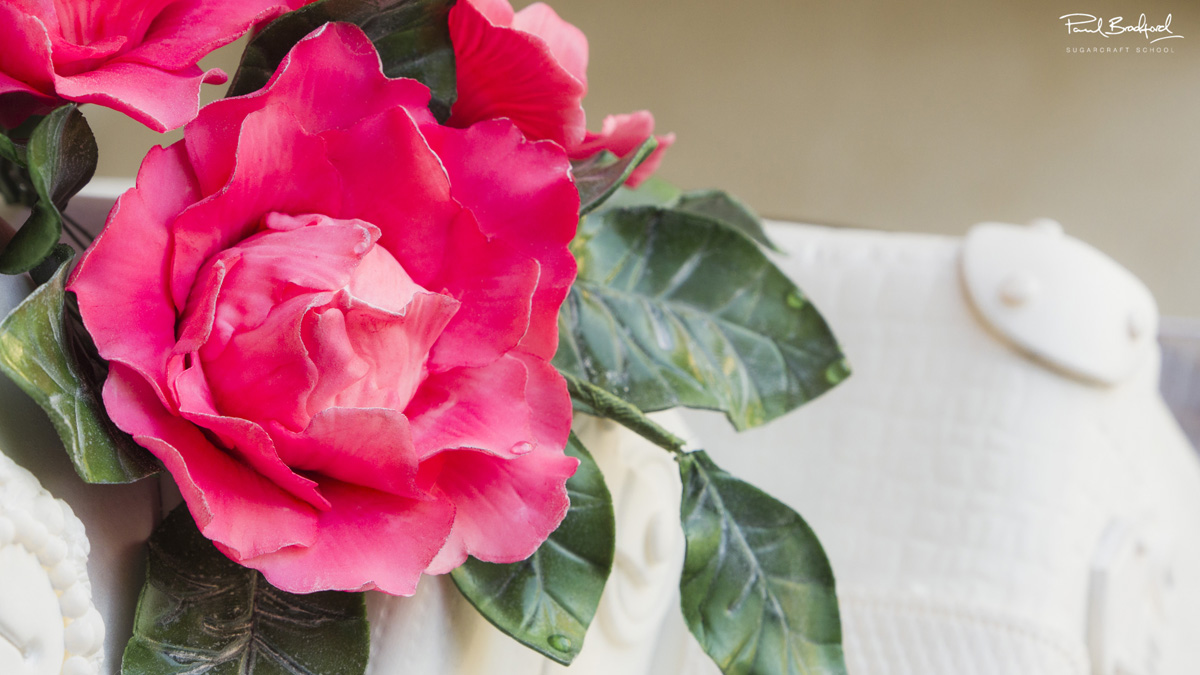
12. The Flowers
Paul creates some small Peony flowers for the cake using a pale pink flower paste (that will be dusted later on) if you’d rather use a different flower take a look at the other flower courses here
03:47
13. The Leaves
Paul continues the creation of the floral elements of the cake by creating the leaves that will accompany the small Peony flowers. Use green sugarpaste and different sized lily cutters to create the leaves and follow Paul’s advice for adding details.
07:29
14. Dusting
Paul uses strawberry coloured Rainbow Dust combined with Fuchsia (non edible dust) to apply to the flowers, remember if you do apply the non-edible dust you can’t eat the flowers afterwards! The dust is then applied to the flower and any excess dust can be removed with a quick spray from an airbrush.
01:50
15. Steaming
The flowers are now steamed to give them a great glossy finish, be careful when doing this as steam is hot! Don’t leave them over the steam for too long (a few seconds should do it).
06:44
16. Dusting and Painting
As we mentioned earlier, Paul teaches the painting of the board for a great shabby chic finish. We also look at dusting the cake to add some very subtle shading.
03:07
17. Dusting and Painting (Continued)
We now add a whitewash to the bottom tier of the cake (and the other two tiers), which is a mixture of white dust and alcohol. This mutes the colours yet retains the shadowed sections and seems to give the cake some life.
03:18
18. Stacking the Cake
Stacking the cake is nice and straight forward with the box shaped tiers, don’t forget to add a cake card between each tier if you’re using real cake.
12:30
19. Wiring the Flowers
Follow Paul’s lead to improve your flower wiring skills, the spray Paul uses is a PME clear glaze spray which adds a fantastic shine to the leaves. When attaching the flowers / leaves to the cake use a posey pick to hold them in place which will allow for easy removal.
02:04
20. Finishing Touches
After referring back to the original image which Paul took his inspiration from, the decision is made to take away a couple of the leaves and also soften the colour of the green down with a white dust. This helps the floral element blend in much better with the rest of the cake.
03:33
21. Finishing Touches (Continued)
Paul tweaks the flowers a little more as they seemed to be covering a little bit too much of the cake, of course this is all subjective and you may prefer the look with more flowers.
03:00
22. Other Ideas
Paul shares his other ideas for this cake which include colour variations, adding tags for an occasion and a great tip of using piping gel to make the leaves look extra fresh!
02:41
23. Pro Lesson
The pro lesson covers costs, realistic creation times and some great selling tips for this cake.
This simplistic three tier vintage suitcase cake is perfect for a wedding or vintage styled occasion. The cake is for our intermediate to advanced skilled members and should take a couple of days to make (inclusive of drying times).