Tutorial Preview


Highlights
Highlights from the wishing well tutorial.
1. Making the stand
Janette starts by explaining and putting together the structure as per the equipment listed in the Tools tab under ‘Stand’ then finishes by making it foodsafe.
All you need to do is drill the holes 8” apart (4” each way from the centre) on both pieces of MDF.
2. Making the flowers and decorations
To allow sufficient drying time Janette now explains how to make all the different flowers and leaves as well as the decorative wooden sign.
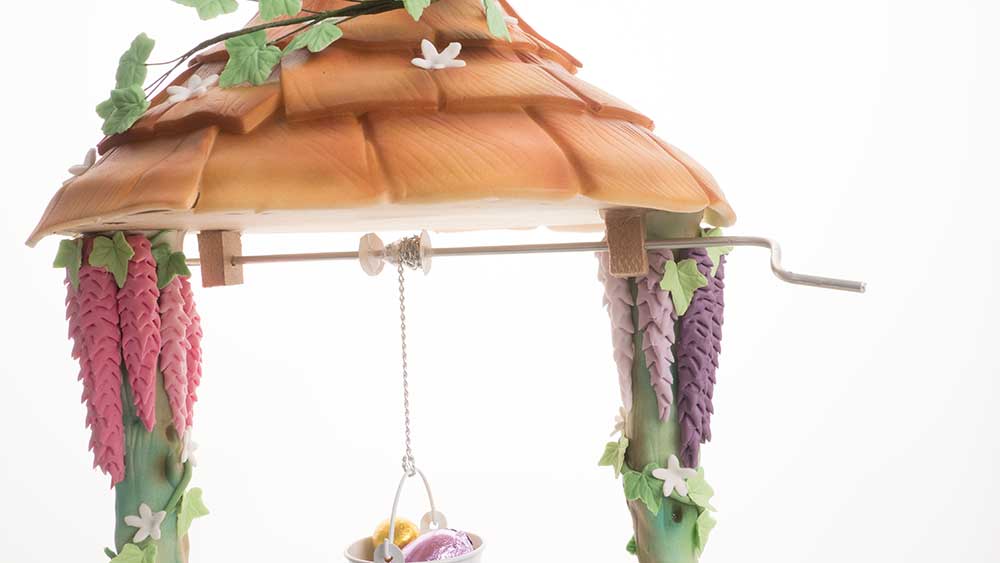
3. Explaining the bucket mechanism
Although this is a wishing well the bucket mechanism is optional. Janette gives a number of options from the working mechanism she uses to a basic bucket hanging from the roof of the well. After explaining the bucket mechanism is put to one side to be added to the cake later.
4. Creating the well
Time to get the cake out, which janette layers then cuts out the centre well before ganaching.
Lots of great hints and tips along the way with this one.
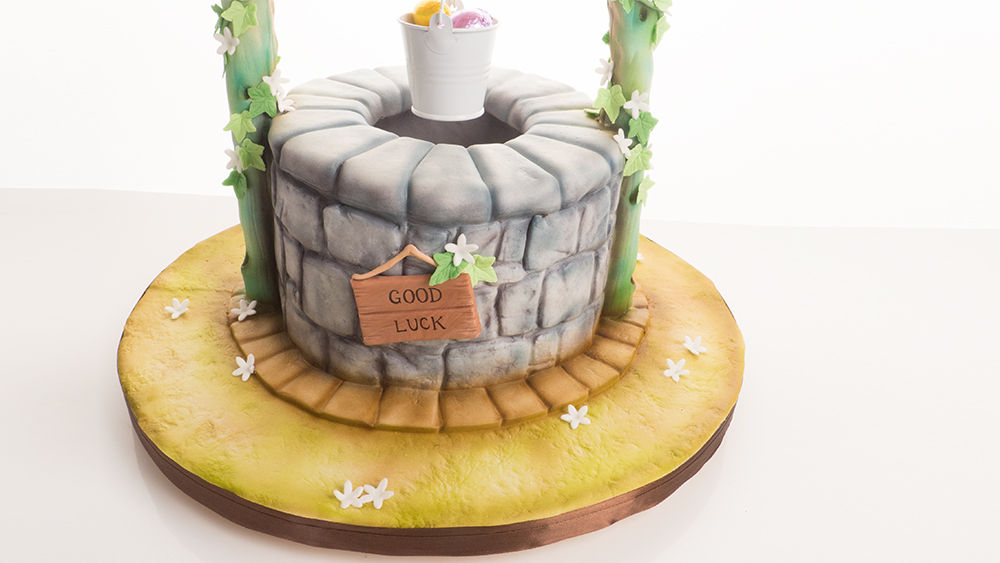
5. Covering the well and the brick effect
Janette starts by covering the inside of the well with grey sugarpaste then the whole cake in white. She then creates the brick effect on the outside making sure to offset the stones, before texturising.
6. Adding the well and decorating the pillars
After adding the well to the board Janette then adds some bulk to the pillars, before going on to decorate them.
7. Adding the tower
Using the cake extracted to make the well, plus the 1” deep 8” round, the tower is added to the top board. Janette carefully carves the shape making use of all the extra cake to get the desired shape.
8. Adding the tiles
Janette explains how to get the textured tile effect then a neat little tip on the placing of the tiles. It just takes time to carefully build up the layers before neatly finishing off with the top piece.
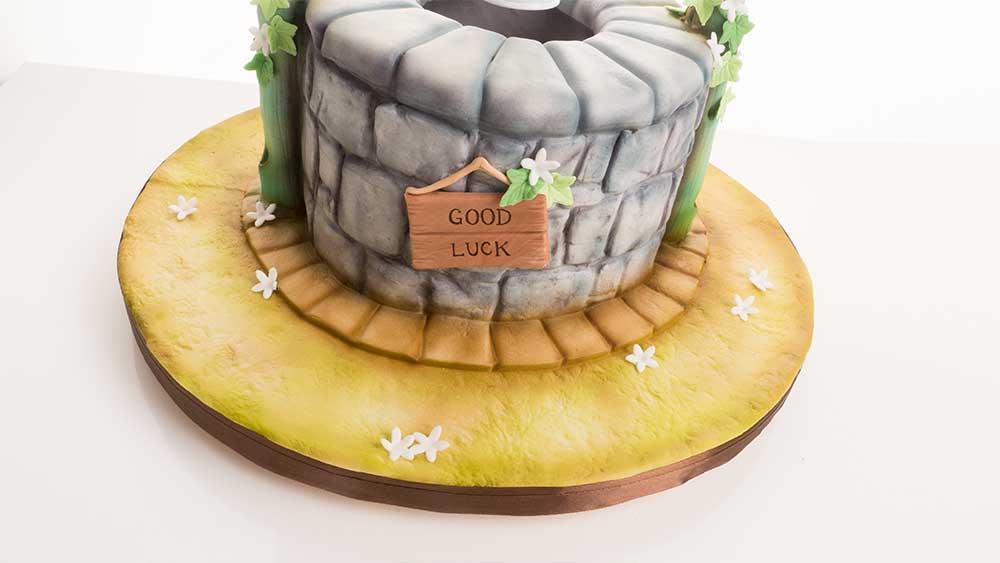
9. Covering the board
First Janette adds the ground layer to the board then adds a nice decorative finish to the bottom of the well where it meets the board.
10. Airbrushing
The whole design really comes to life as Janette adds the airbrush colours. Watch how she builds the layers up slowly with special emphasis on the shading to great effect.
11. Adding the bucket and decorations
Time to finish off with the magical finishing touches as Janette adds the bucket mechanism and the other decorations. If ever you’ll see a cake come to life in the final lesson this is it!
12. Other Ideas
Some other ideas for the wishing well cake.
13. Pro Lesson
Everything you need to know for selling a cake like this.
14. Wishing Well - Bite Sized
Watch Janette make this wishing well cake in just one minute!
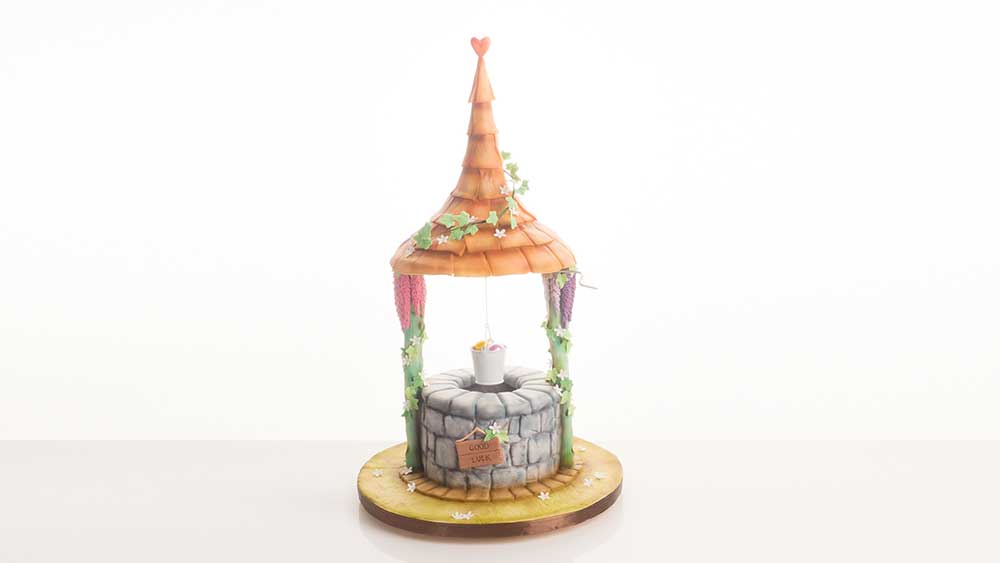
Wishing Well Cake Tutorial
In this tutorial, we are joined by the fantastic Janette McPherson of Janette MacPherson CakeCraft as she shows us how to make this lovely wishing well.
A great modelling tutorial full of fantastic tricks and techniques. In this lesson you will learn how to:
- Make an internal structure
- Airbrush
- Cover awkward shapes
- Stack and carve
- And much, much more
Don’t forget to share your interpretations of this wonderful cake with Paul and the rest of the CakeFlix community on our Facebook group.
View hundreds of more world-class tutorials only at www.cakeflix.com.