Vanilla Cake Review By Liz Richardson

Recipe 1

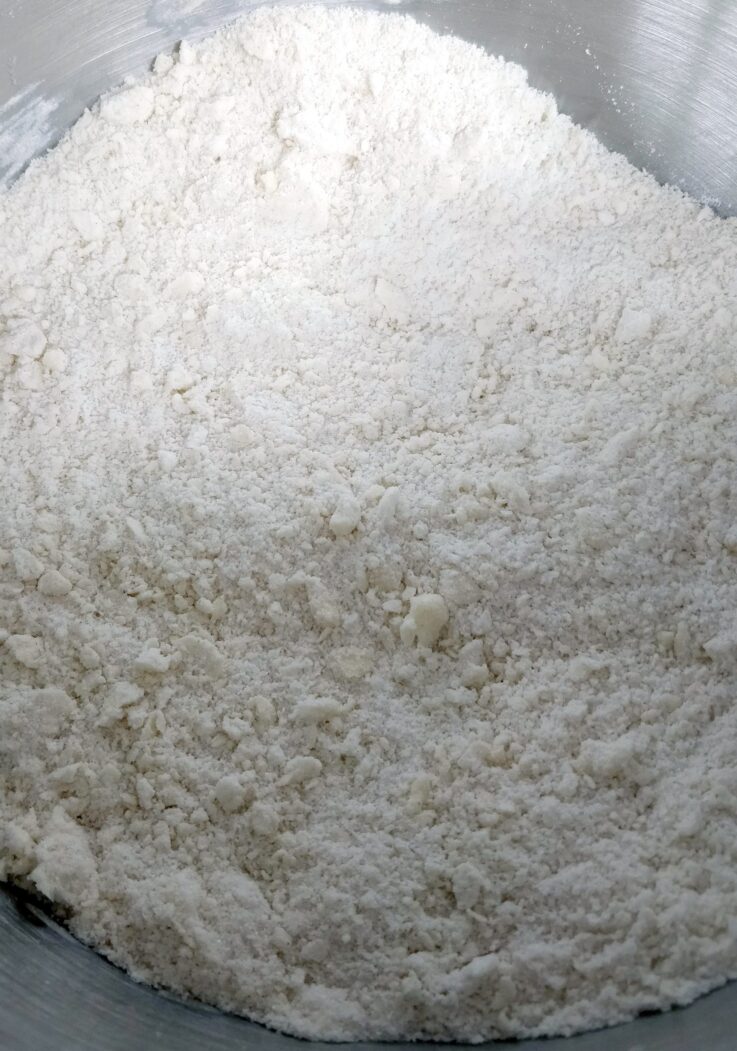
Ingredients: Flour, 250gm Caster sugar, 250gm Baking powder, 4tsp Salt, 3/4 tsp Butter, 170gm Whole milk, 225gm Vege oil, 55gm Eggs, 3 medium Vanilla, 2tsp

For Flour should be 210 plain flour/40gm cornflour

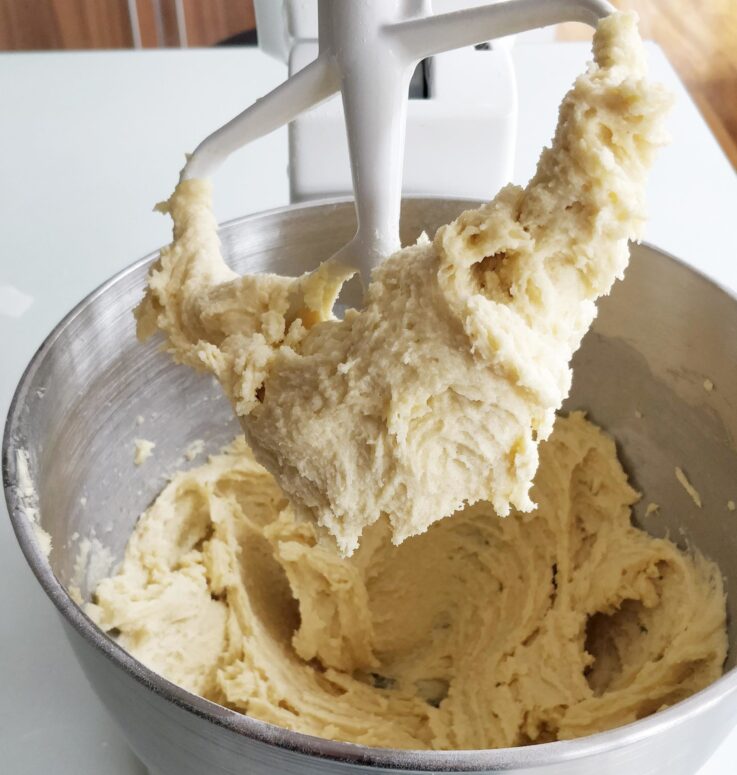
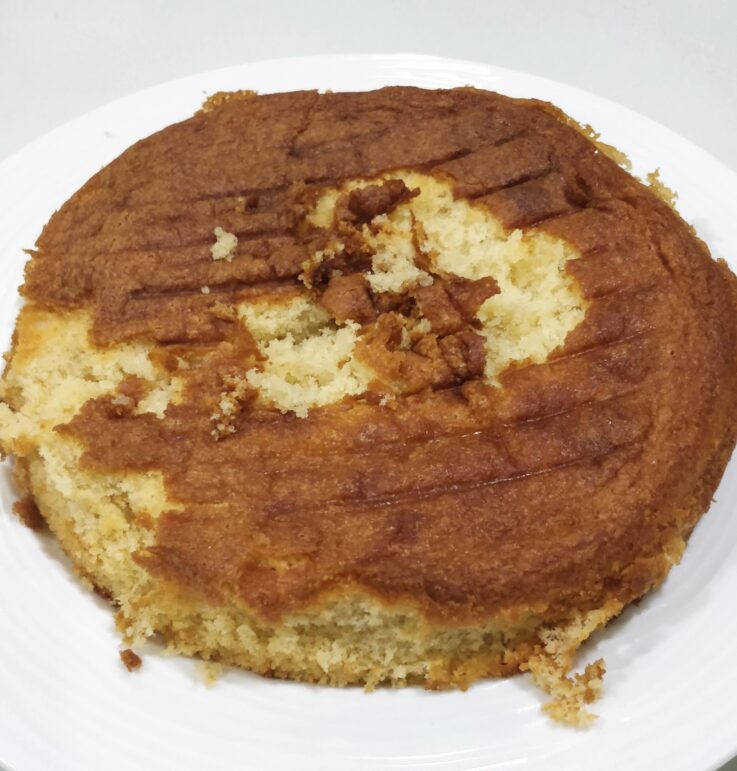
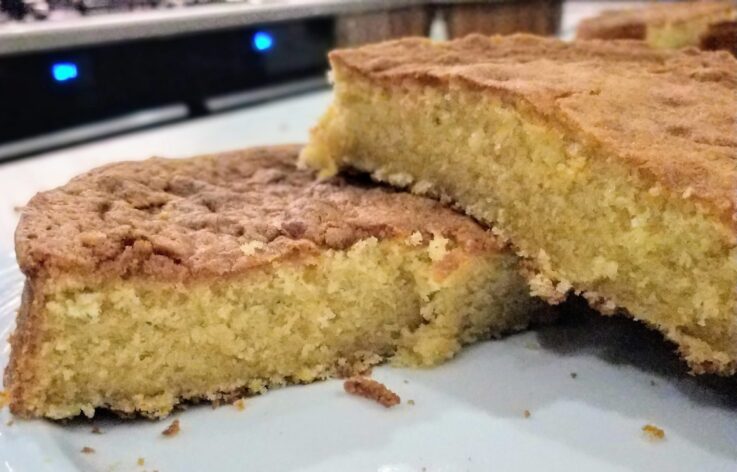
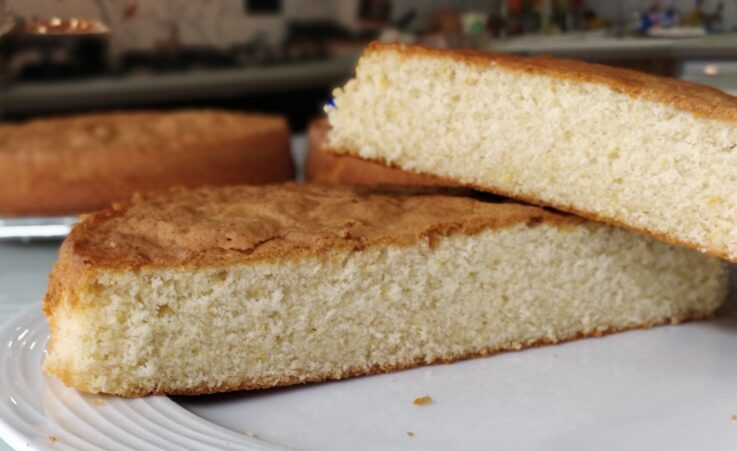
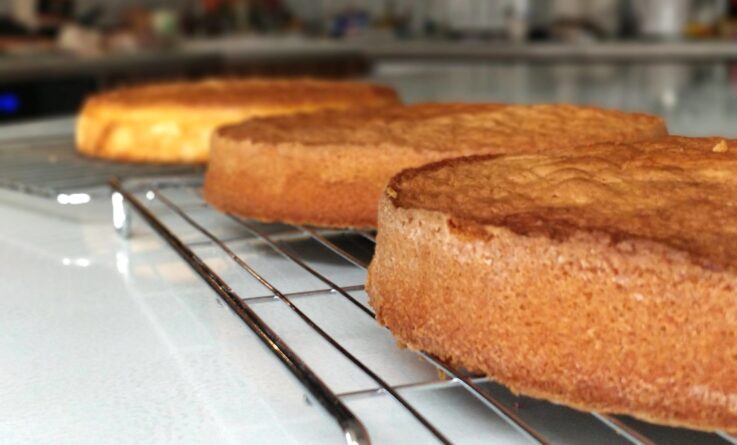
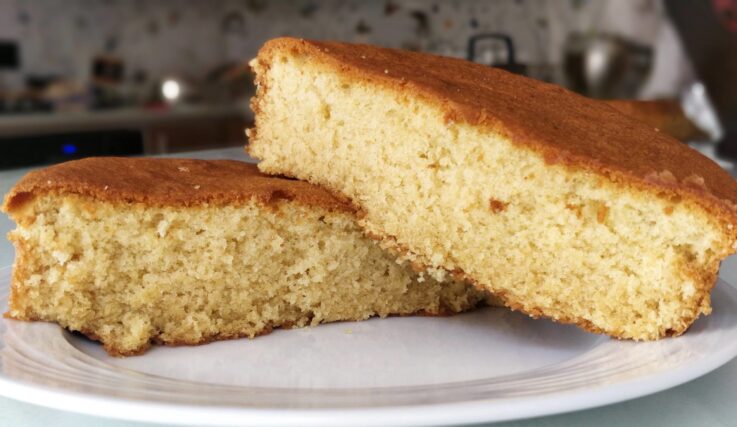
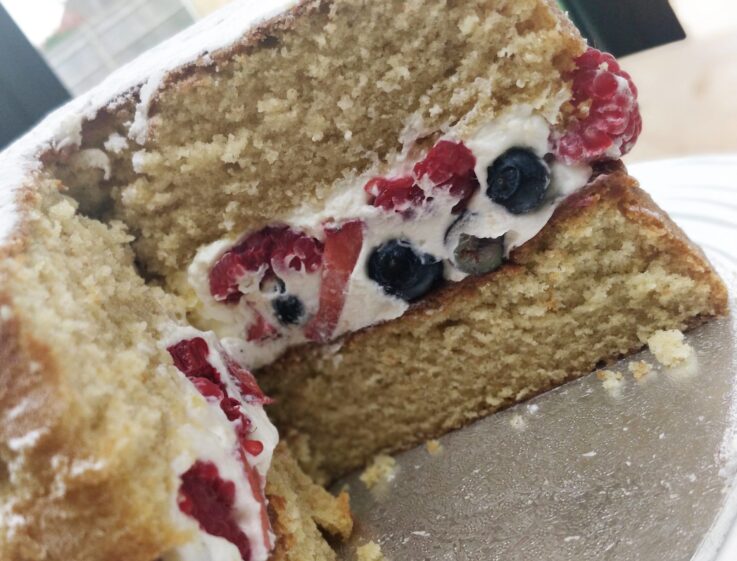
 Recipe 1 was from the Artisan Cake Company, and with 550gm batter in each tin, baked in a fan oven, it rose to about 1.5”. The taste of this was really good, although I did fell there was a slight acrid, metallic tang you get from too much baking powder. The texture was gorgeous, soft, moist, even crumbed – and I say this even though I slightly underbaked it, (as after 50 minutes – twice Liz’s recommended time- it seemed baked, but apparently could have done with another 10 minutes).
1This is how the cake mix should look once the butter has been blended in. If you press some of the mix between your fingers it should hold itself together.
2This is what you’re aiming for when you’ve added the first bit of liquid, but before beating for 2 minutes. It’ll be very stiff and quite dough-like in appearance.
3After 2 minutes your batter should look much lighter and smoother
4The cake batter is lovely and smooth, not too thick but not loose either. All the mixes were this creamy colour.
5Yeah, really don’t do anything with them whilst they’re warm! All I did here was remove baking paper, very very carefully!
6Here’s Recipe 1 all baked up. You can see at the very base this is slightly undercooked, but it still had a really good texture, very light and fluffy. This was just cool when I cut it, but if it’s properly cold (as in room temp, not from the fridge) it cuts cleaner.

Recipe 2

Ingredients:  Flour, 420gm plain, or preferably 355 plain/65 cornflour Caster sugar, 390gm Baking powder, 3tsp Salt, 1tsp Butter, 225gm Whole milk, 335gm Vege oil, 30gm Eggs, 4 medium Vanilla, 1tbsp

Recipe 2 was the first one I found from Sugar Geek Show, and with 520gm batter in 3 tins, baked in a fan oven, it rose to about 1.25”. It increases most of the ingredients by various amounts, but decreases the baking powder. This is a good cake, but I found it a tiny bit dry in comparison, and the texture was tighter. The flavour was lovely and there was no baking powder note, but given the choice of the two I liked recipe 1 more (although I’d probably reduce the baking powder a little). Having said that, if I had that as a stand-alone cake I wouldn’t have had any real complaints.

7You can see the difference in the texture with recipe 2. This is a much tighter crumb, but it was still a very good cake, and of course you may prefer the closer texture. I felt this recipe could probably benefit from a sugar syrup before using.
8Here you can see the difference in colour between the lined and unlined tins (lined is the furthest from the camera) using recipe 2.

Recipe 3

Ingredients: Flour, 390gm plain, or preferably 330plain/60 cornflour Caster sugar, 335gm Baking powder, 2tsp Bicarb of soda, 1tsp Salt, 1tsp Butter, 170gm Whole milk, 280gm Vege oil, 55gm Eggs, 3 Vanilla, 1tbsp.

Recipe 3 then was my bonus recipe, and whilst the ingredients are mainly the same, the baking powder is further reduced and there is an addition of bicarbonate of soda. This is also the recipe I baked both in a fan and a standard heat oven. This was my favourite, so I’m pretty pleased I forgot to write up the metric conversions otherwise I wouldn’t have looked for the recipe again. It had the texture and moistness of recipe 1, with the flavour of 2. The only thing I’d change across all of the recipes is to add a bit more vanilla, but then I am a bit of a vanilla fiend! It rose well, with 600gm in each 8” tin, coming to about 1.5” in a fan oven.

9As you can see the texture is very similar to recipe 1, but the flavour was better (I think due to the reduction in baking powder). This was the non-fan baked cake, and you can just see towards the top where the batter could have done with a taller tin!
10Again showing the difference between lined and unlined, this time on recipe 3 (non-fan baked again)

Seeing the cakes layered up


11This is recipe 2 layered up. This didn’t require trimming really as it baked so flat, all I did was remove the sliver of hump on top (Liz Marek simply presses this down when it comes out of the oven to eliminate any bump, but my kids would kill me if there weren’t offcuts for them!). I should point out this was only covered to go into my husband’s work, so it’s not exactly my finest finish!
12This is recipe 3 (non-fan baked) layered up, and again only required minimal trimming for this sort of simple cake. This was also sent to my husband’s work so no real effort made for décor here either!

Conventional Oven

Interestingly, I found it rose a little more in the conventional oven, baked in less time, and I think had slightly straighter sides. This is something I’ll definitely be checking out in the future as I always use fan due to its promise of better heat distribution and shorter bake times. Even though this cake was the most full, it baked fully in 40 minutes in the conventional oven. In comparison, recipes 1 and 2 took between 40 and 55 minutes to bake despite being filled less. If I was going to make this as a deeper cake I would definitely use the conventional top and bottom heat instead of fan.

To Line Or Not To Line

A note on the difference between lining and not. I found that the lined tins gave a lighter, slightly softer crust around the edge and on the base on every bake,. The problem with it is that as it pulls away from the tin during baking, you are more likely to end up with a narrower top than base. I guess it’s a trade off!

Watch out for more of Liz’s reviews in the near future!

14 Day Free Trial