Tutorial Preview
Bite Sized
Watch Paul create this flower in just 4 minutes!
Highlights
Watch an action packed summary of the tutorial.
1. Cutting out the petals
Check out how Paul cuts and shapes the petals.
2. Sticking the petals to the cone
Paul now sticks the petals to the cone to start forming the flower.
3. Creating the tubular petals
In this lesson Paul shows how to create the tubular petals.
4. Sticking the tubular petals to the cone
In this Lesson Paul shows how to stick the tubular petals to the cone.
5. Cutting out additional petals
Paul works out that he needs some extra petals which is shown in this lesson.
6. Adding wires to the petals and dusting
In this lesson Paul now adds the wires and starts dusting.
7. Creating the leaves
Paul now creates the leaves for the flower. In this lesson he uses JEM Hydrangea leaf cutters.
8. Dusting and adding the wired petals
Paul now shows how to adding the wired petals and dust them in colour.
9. Adding the remainder of the wired petals
Paul now adds the remainder of the wired petals.
10. Dusting then adding the leaf wire
It is now time to dust then add the leaf wire.
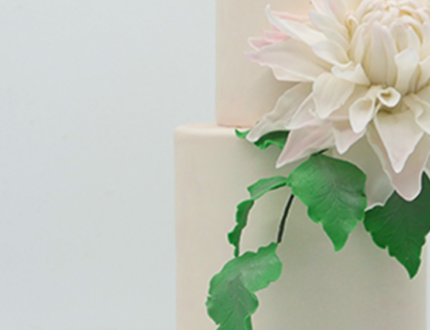
11. Adding the Dahlia to the cake
Paul now adds the Dahlia to the cake.
12. Other Ideas
Paul provides some extra tips and ideas on how best to display the Dahlia flower.
13. PRO Lesson
In this lesson, Paul talks all about pricing and selling a cake like this.
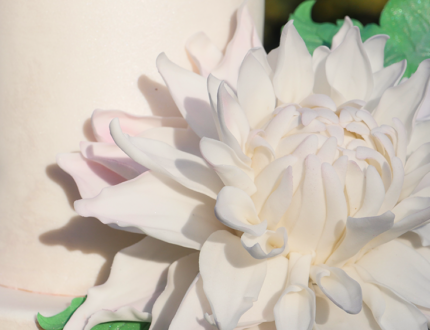
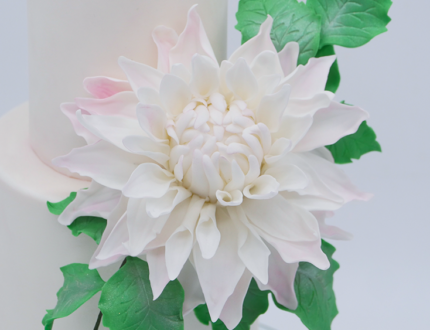
Dahlia Flower cake tutorial by Paul Bradford
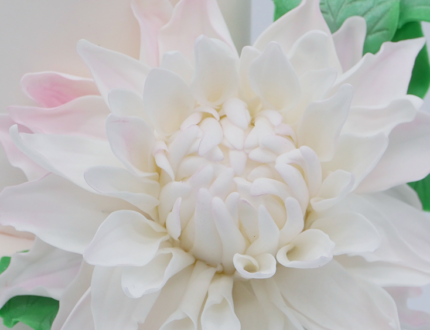
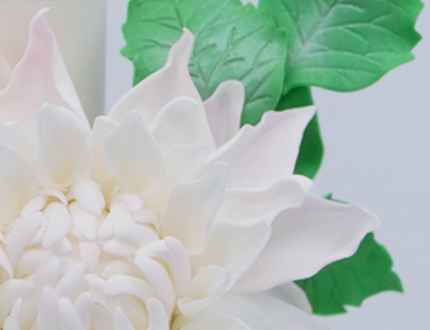
Create this beautiful dahlia flower from gum paste then set it off against colouring to show the flower out to its best.
In this tutorial you will learn how to:
- Create a lightweight flower centre
- Create different petals using cutters from more common flowers
- Quickly and easily attach florist wire
- Effectively dust and wire up a large flower
- and much, much more!
