Enchanted Castle Cake Decorating and Baking Tutorial

Tutorial Preview

Join NOW to access 1698 courses Watch Now
7 Day FREE Trial
Enchanted Castle
with Paul Bradford
Skill level: Intermediate
HD Lessons: 25
Decorating time: Two Days
Now Playing
06:30

1. Carving

Paul explains the castle design for this cake and starts to carve the shape of the base tier using a dummy cake. This section can be created using a real cake if you need lots more portions.

Tip: Cut the dummy cake (if using one) away from the kitchen, it can get messy!

Now Playing
03:01

2. Ganaching the Base

Ganache is used to stick the dummy cake down and is also used to cover the dummy cake. This makes it much easier to ice the dummy tier in the next lesson. Refrigerate the dummy cake for 10-15 minutes or until the ganache is firm and then smooth the ganache off using a hot pastry brush/palette knife as shown in this lesson.
Now Playing
05:49

3. Icing the Base

White sugarpaste is used for the icing of the dummy tier and is applied as one piece. Paul also shows us how to add extra detail to the iced tier to give a more rock like appearance which makes a perfect base for the castle.

Tip: If you don’t wish to paint the cake you can use a grey sugarpaste.

Now Playing
10:14

4. Carving the Castle

We now focus on the structure of the castle, this time using real cake for the tiers. Paul shows us how to carve and stack the cakes. Following this, ganache each of the cakes as you usually would (see the ganache lessons here) then refrigerate until firm.
Now Playing
08:06

5. Icing the Castle

Paul shows us how to ice the middle tier of the castle and also uses a textured mat to create a cobblestone effect.

Tip: Once the cake is iced, leave for 12 hours before stacking.

Now Playing
12:27

6. Stacking the Cake

Dowels at the ready! It’s time to stack the cake and Lesson 6 covers the dowel placement and how best to stack the tiers.

Tip: You could put a central column through the cakes to make the structure even safer.

Now Playing
03:02

7. Adding Detail Part 1

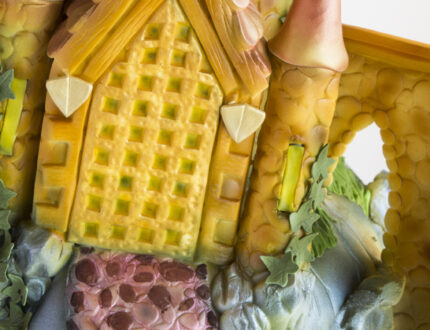
A scrumptious combination of ganache and rice crispy treats are used to create the door of the Enchanted Castle. The rice crispy door is ganached (off camera) to make a smoother texture and neater finish.

Tip: You can use solid sugarpaste instead of rice crispy treats although this will usually be more expensive.

Now Playing
16:24

8. Adding Detail Part 2

In this lesson Paul, shows us how to cover the castle door with sugarpaste and how to create an arched bridge section.
Now Playing
09:40

9. Adding Detail Part 3

Continuing the addition of more details, Paul uses a small petal cover to produce a tiled roof which will cover the doorway.

Tip: Don’t be afraid to add extra detail!

Now Playing
11:56

10. Adding Detail Part 4

Follow along with Paul to create a staircase for the tower and a neat looking latticed gate, or Yett to attach in front of the main castle door.
Now Playing
09:36

11. Adding Detail Part 5

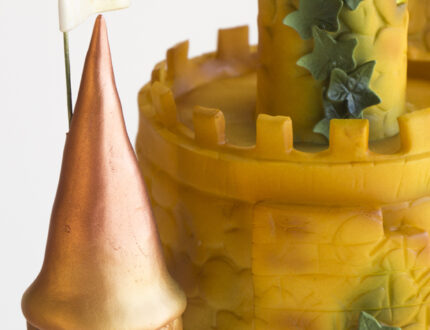
To add an extra level of realism Paul shows you how to make a crenellation on the battlement, which are the notches that provide an archer with shelter and a clear line of fire, like you see on real castle-tops.
Now Playing
10:31

12. Adding Detail Part 6

Being clever with a cake card and some dowels, we can safely create an overhanging balcony section to the enchanted castle.
Now Playing
10:19

13. The Towers

Paul prepares pipes for the towers to make them food safe, then locations are selected for each of the towers on the cake.

Tip: For a 100% edible cake you can use flower paste for the towers, it’s going to work out more expensive though!

Now Playing
10:08

14. Icing the Towers

In this lesson, Paul shows us how to ice the towers/turrets and explains how to fix any slight sloping and level issues with the cake by building up sugarpaste layers.

Tip: For a neater finish use a 50/50 sugarpaste and flower paste mix to ice the towers.

Now Playing
15:20

15. Placing the Towers

Paul explains how to attach the towers/turrets in various locations on the castle.

Tip: Stand back every time you place a new tower and make sure everything is looking level.

Now Playing
06:12

16. Airbrushing the Castle Part 1

With the addition of some roughly torn sugarpaste rocks to decorate the base of the cake we can now move on to the airbrushing phase. Paul starts this off with a bright yellow colour and concentrates the first coat on the castle itself.

Tip: You could use dry dusts to pain the cake as an alternative to airbrushing.

Now Playing
23:37

17. Airbrushing the Castle Part 2

We continue the airbrushing phase of the cake by adding different colour tones to help achieve a 3D realism on the Enchanted Castle Cake.
Now Playing
09:01

18. Airbrushing the Castle Part 3

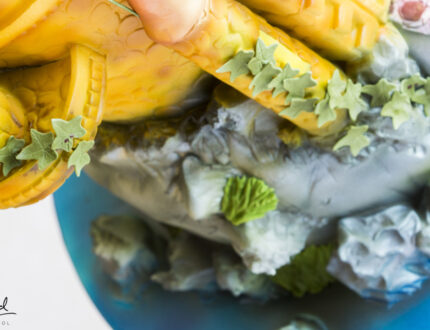
The darker colours of the base of the castle are covered some more in this lesson, along with the creation of a blue lagoon around the castle and some green colour is added to the rocks.
Now Playing
04:50

19. Making the Turrets Part 1

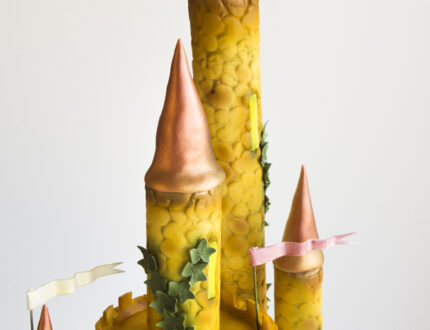
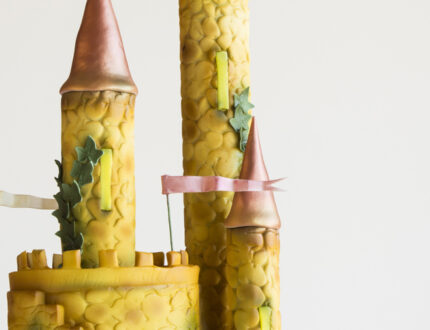
In this lesson, Paul shows us how to make the cone shaped turrets and finishes the castle windows off.
Now Playing
06:51

20. Making the Turrets Part 2

In this lesson, Paul covers some more airbrushing to finish off the colour of the turrets and uses a bent card as a guard to stop the colours spilling over to the rest of the cake.

Tip: If you don’t wish to use the airbrush, leave the turrets to dry overnight and paint them with a brush.

Now Playing
13:32

21. Final Painting

More detail is added with the addition of paint work to the path and some final colour touches to the castle…we’re almost there!
Now Playing
08:42

22. Finishing Touches Part 1

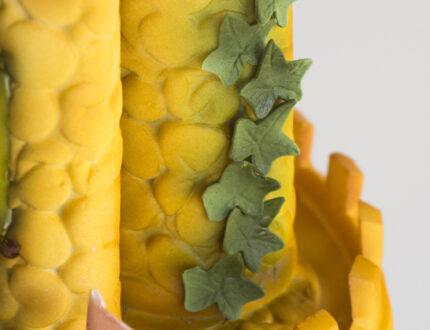
Paul creates ivy, flags and some small shields to be positioned next to the castle door.
Now Playing
13:15

23. Finishing Touches Part 2

We’re not on the final stage of the finishing touches – the gold paint is decided against on the flags and lustre dusts are used instead. Paul also paints the shields made previously and adds some finishing airbrush coats to darken the ivy and other areas of the cake….and we’re done! Wow, well done!
Now Playing
02:48

24. Other Ideas

Paul shares some other ideas to customise the Enchanted Castle Cake to your liking. We would love to see your take on the cake – please share your photos with us on our Facebook Page!
Now Playing
03:30

25. Pro Lesson

The Pro Lesson covers pricing and the time involved for making this magical Enchanted Castle Cake.

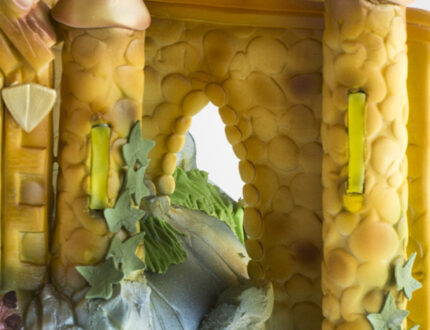
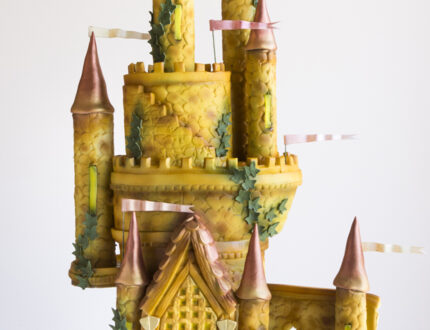
Create a magical six-tier Enchanted Castle Cake with Paul’s tutorial which provides detailed guidance each step of the way. The Enchanted Castle cake is perfect for a boy’s or girl’s celebration cake with the addition of dragons and knights or a princess, and can even be styled for other occasions such as Halloween. The course is aimed at intermediate to advanced level cake decorators and will take around two days to make.

We would love to see your take on this cake – don’t forget to share your Enchanted Castle Cake snaps with us on our Facebook Page!
Paul Bradford

Paul Bradford

Paul Bradford´s mission is to ‘Empower people to achieve their cake decorating dreams’ by providing a range of cake decorating courses and online tutorials through their website, which currently teaches 195,000+ students.  
* indicates a required field
7 Day Free trial