Tutorial Preview





Highlights
Here, we’ve carefully selected the key parts from the entire tutorial and condensed it into a 6 min long video. More than enough to get you started without taking too much time.
1. Lesson 1 - The design
In this lesson Paul discusses the design and all the bits and bobs he will be using including where he purchased them from. Some handy tips and words or warning along the way so well worth a watch.
2. Ganaching the cakes
Here Paul layers and dowels the middle tier cakes and then covers them in a neat layer of ganache. Not too neat however. Remember, no one is going to see the ganache as it will be covered so let’s’ not get carried away.
3. Covering the cakes
Paul demonstrates covering the largest cake in this lesson and then gets busy covering the rest off camera. Same applies here in that you don’t have to spend hours trying to get sharp edges etc as it will all be covered in decorations.
4. Making the royal icing
Paul makes up a huge batch of royal icing which will be used to attach the wafer decorations
5. Attaching the wafer decorations
Here, Paul cuts up the wafer paper into shard like pieces using a craft knife and then gets attaching them to the cake using royal icing and a rather makeshift piping bag.
6. Making the flowers
In this lesson Paul shows us how to make the delicate flowers in three different sizes using edible wafer paper. You could you a punch cutter to make life easier but Paul ops for the scissors.
7. Assembling the top tier
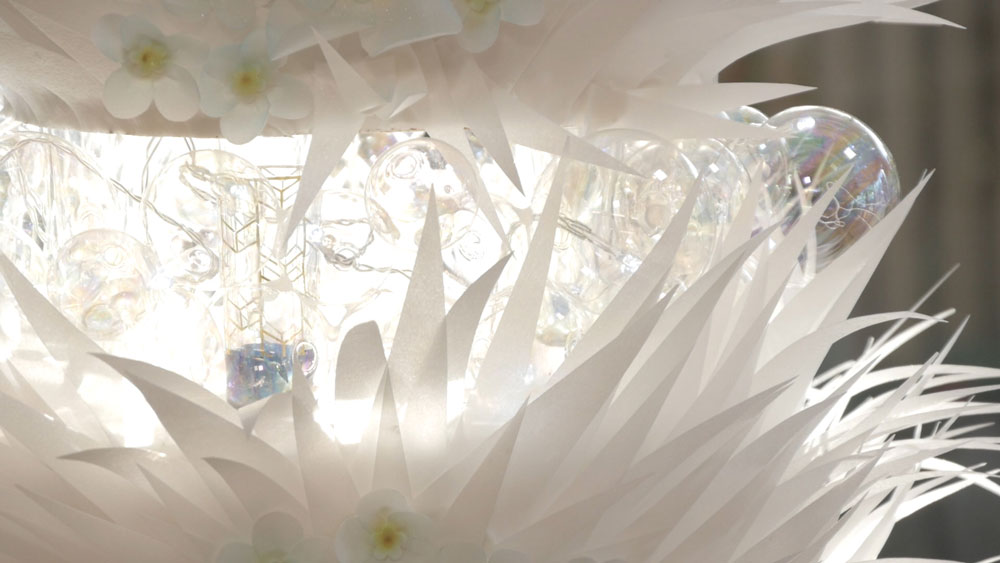
Time to get the glass bobbles and hot glue gun out and just make sure to do this in a carpeted area or at least just be very very careful. Here, we learn how to make the stunning cake separators and you’ll see why Paul uses a cake dummy and not a real cake.
8. Assembling the middle tier
Here we see Paul get busy with the hot glue gun and makes the separator using shot glasses and various sized glass bobbles.
9. Making the final separator
In this lesson Paul makes a much bigger separator making sure there is plenty of room for the battery powered led lights.
10. Putting it all together
Here, we see Paul add the final set of lights to the bottom of the cake and then stacks the entire cake. You may want to get a second pair of hands at this stage and most probably a ladder.
11. Finishing touches`
Here, we see Paul add the forget me not flowers to the cake and then starts to bring them to life with a little airbrush work.
12. Other ideas
Paul shares some other ideas you can try out during this project. We’re sure you’ve some of your own, and we’d love to see what brilliant alterations you’ve made.
Share your pics with us on our Facebook page.
13. Pro lesson
In this lesson, Paul shares some insider information about the cost of make this cake. He also discusses pricing, portions and other vital information for any professional cake designer.
Forget Me Not Wedding Cake Tutorial: Create a Stunning Wafer Paper Wedding Cake
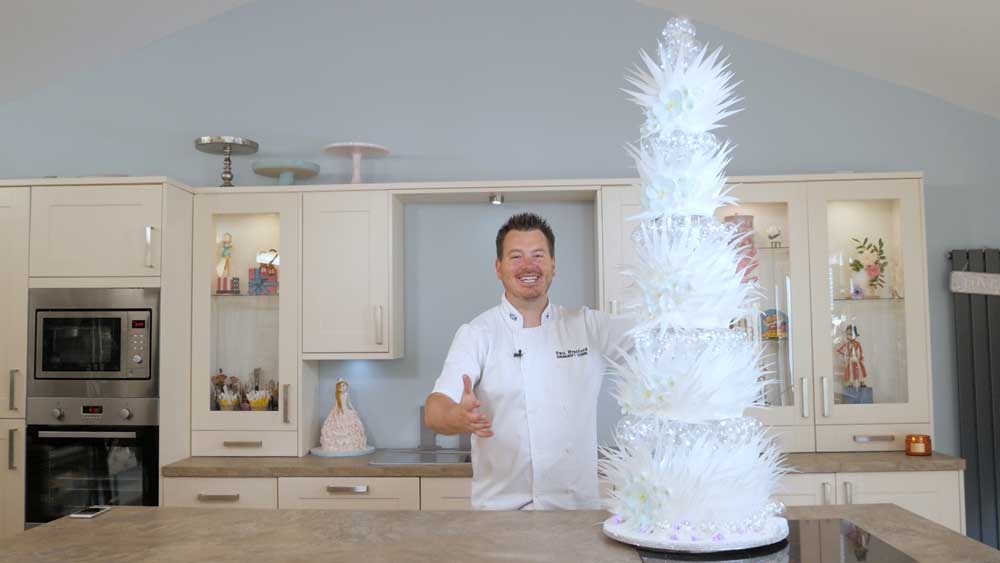
If you’re looking for a spectacular wedding cake project, this Forget Me Not Wedding Cake Tutorial is for you. In this lesson, Paul shows you how to create a breathtaking five-tier wedding cake. The design features elegant wafer paper flowers, dramatic decorative sprays and flawless finishing techniques.
Paul originally created this cake for Alzheimer’s Scotland. The charity auctioned it at their Forget Me Not Ball, where it helped raise more than £25,000. Therefore, this cake is not only beautiful but also has a very special story behind it.
Throughout the tutorial, Paul explains every step clearly. First, you’ll learn how to build a tall cake with confidence. Then, you’ll discover how to support and stack each tier correctly. These methods will help you create stable cakes that are both safe and impressive.
Next, Paul demonstrates how to work with chocolate ganache. He explains how to achieve smooth sides and sharp edges before covering the cake. As a result, you’ll find it much easier to produce a professional finish.
After that, you’ll move on to the decorative elements. Paul teaches you how to make elegant wafer paper flowers from scratch. He also shows you how to create eye-catching wafer paper sprays that add height, texture and movement. Finally, you’ll learn his dusting techniques, which bring every decoration to life.
Although this is an advanced-looking design, Paul breaks each technique into simple steps. Consequently, you can follow along at your own pace. You can also pause, rewind and practise each stage whenever you need to.
What you’ll learn
- Support and stack a tall wedding cake
- Work confidently with chocolate ganache
- Ice large cakes with a smooth finish
- Create elegant wafer paper decorations
- Make realistic wafer paper flowers
- Add colour with professional dust work
- Design a striking five-tier wedding cake
- Improve your confidence with advanced techniques
This Forget Me Not Wedding Cake Tutorial is ideal for intermediate cake decorators. However, ambitious beginners will also benefit from the clear demonstrations and detailed explanations. The techniques you learn can also be used on many other wedding and celebration cakes.
Whether you bake for family, friends or paying customers, this tutorial will help you improve your skills. More importantly, it will give you the confidence to tackle larger cake projects with ease.
If you want to create elegant wedding cakes that stand out from the crowd, this Forget Me Not Wedding Cake Tutorial is an excellent choice. You’ll learn valuable techniques, build your confidence and discover professional methods that you can use again and again.
Don’t forget to share your interpretations of this wonderful cake with Paul and rest of the Sugarcraft community on our CakeFlix Family Facebook group.
Who knows? You may even end up featured in one of our monthly members’ cake blogs.