Tutorial Preview
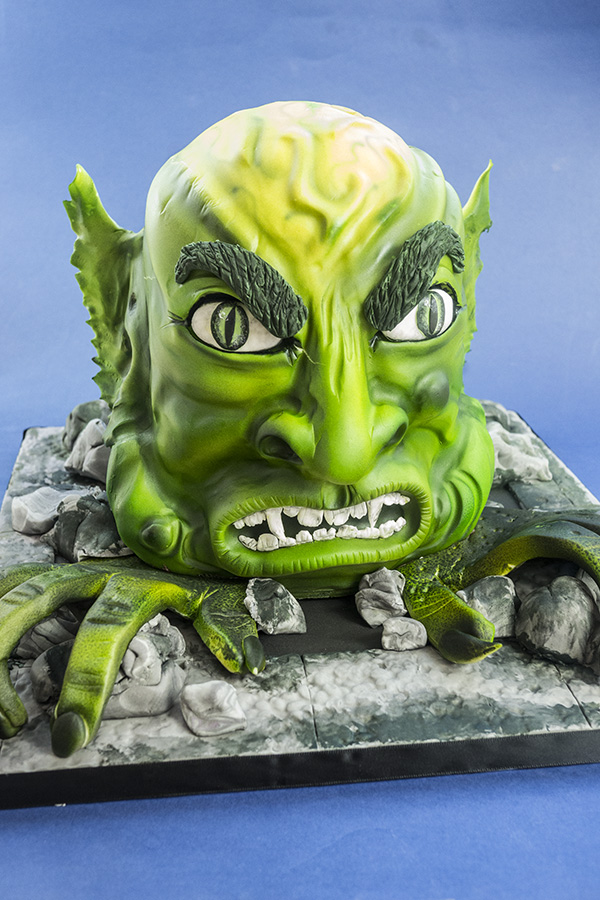
Halloween Monster
with Paul Bradford
Skill level:
Intermediate
HD Lessons:
21
06:39
1. Preparing the Cake
Using a mix of modelling chocolate and fondant Paul creates a mix to help with the shaping of the monsters face. The only reason for the mix is that modelling chocolate is expensive and the mix works just as well when used as an underlying shaping material and doesn’t dry too quickly which gives you the malleability to get the shapes just right.
09:35
2. Facial Features - Part 1
This is where the face starts to come to life and highlights the importance in spending time placing the shapes during the shaping process. You should spend a lot of time getting the lines and detail just right which is important when you are going for the ghoulish look.
12:34
3. Facial Features - Part 2
This is where the face starts to come to life and highlights the importance in spending time placing the shapes during the shaping process. You should spend a lot of time getting the lines and detail just right which is important when you are going for the ghoulish look.
18:27
4. Covering the Face - Part 1
This is where the face starts to come to life and highlights the importance in spending time placing the shapes during the shaping process. You should spend a lot of time getting the lines and detail just right which is important when you are going for the ghoulish look.
04:33
5. Covering the Face - Part 2
This is where you get to play a plastic surgeon with sugarpaste, but without the patient risk! This simply shows you how to cover the back of the head without having to worry about the join as it will form a natural scar.
07:51
6. Making the Ears
A hugely important feature in making the monster scary, but normally quite a simple process. Paul adds too much glue causing the ear to slip but you’ll see how he recovers to get the desired finish.
06:27
7. Making the Hands
Another simple process where you’ll learn how to turn your own hand shape into something quite monster like!
11:10
8. Airbrushing - Part 1
You can use paint but the airbrush gives the monster that depth of character and deep coloured finish. Building up the layers can take a bit of time, but as Paul mentions as its a monster you don’t have to be technically spot on so a good design to have a go at airbrushing as any mistakes just add character!
03:46
9. Airbrushing - Part 2
You can use paint but the airbrush gives the monster that depth of character and deep coloured finish. Building up the layers can take a bit of time, but as Paul mentions as its a monster you don’t have to be technically spot on so a good design to have a go at airbrushing as any mistakes just add character!
05:49
10. Airbrushing - Part 3
You can use paint but the airbrush gives the monster that depth of character and deep coloured finish. Building up the layers can take a bit of time, but as Paul mentions as its a monster you don’t have to be technically spot on so a good design to have a go at airbrushing as any mistakes just add character!
04:34
11. Airbrushing the Hand
As the previous lesson, but remember to give a bit of shading under the hands as although not in direct view it helps with the 360 degree view.
03:23
12. Placing the Eyes
Using simple techniques you get to add the character and level of fear you want the viewers to experience. The eyes are worth spending time on as it really does set the character.
12:10
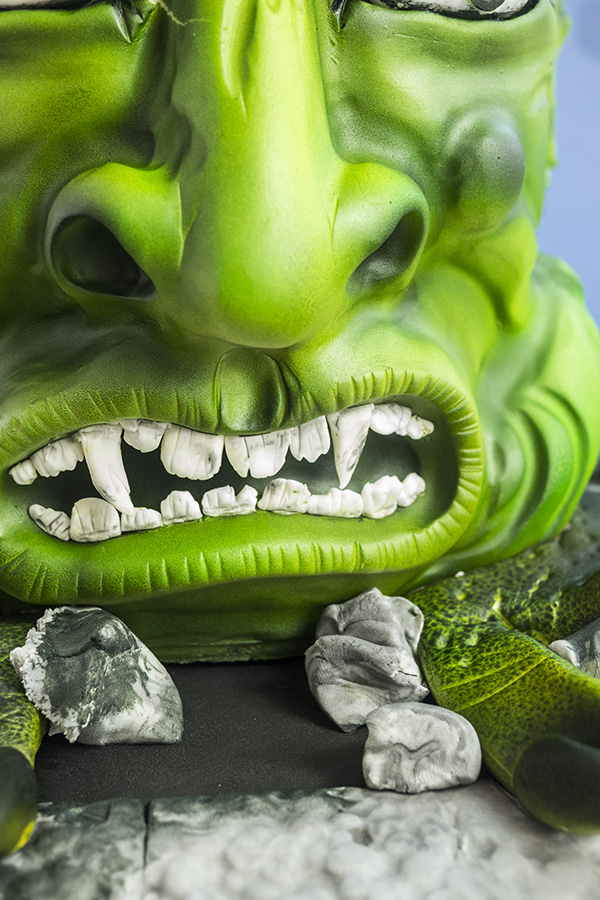
13. Adding the Teeth
Avoid the Simon Cowell look here (unless you find his teeth scary) and just using simple sugarpaste shapes create the horrific smile that would have any dentist running!
12:22
14. Painting the Eyes
Same importance as before with the eyes. This bit is quite intricate so if you don’t have a steady hand look to maybe colour with a food pen.
06:48
15. Eyebrows and Shading
By this stage you will have the character of your monster so add the eyebrows and shading to give some extra special feature.
04:46
16. Lesson 16 - Colouring the Teeth
No monster can have clean, shiny teeth so just shade them down.
11:14
17. Icing the Board
You can spend as much or little time as you like with this, but following Paul’s techniques it gives that special effect of the monster bursting out from the ground with grey sugarpaste lumps providing the rocks effect.
10:32
18. Transferring the Cake
The bit you’ve been dreading all day! Get someone to give you a hand if you’re at all worried, but with it being a scary scene you have a bit of poetic license to make a mess as its easily hidden with extra decorations.
05:09
19. Finishing Touches
Almost there! Paul guides you over the last hurdle of this mammoth cake with some simple finishing touches to really set the monster loose!
01:14
20. Other Ideas
Paul shares some other ways to alter this cake to suit other age groups and occasions.
01:54
21. Pro Lesson
The Pro Lesson goes over the costing of this cake, profits involved and some nice ideas of using this cake in a window / shop display.
Halloween is just around the corner and if you need an excuse to make this occasion a ‘cake occasion’ look no further! Paul teaches you how to make this scary Halloween Monster cake using fantastic colours and 3D realism guaranteed to scare! The course teaches 3D layering skills as well as some great airbrush layering and shading techniques.