Tutorial Preview


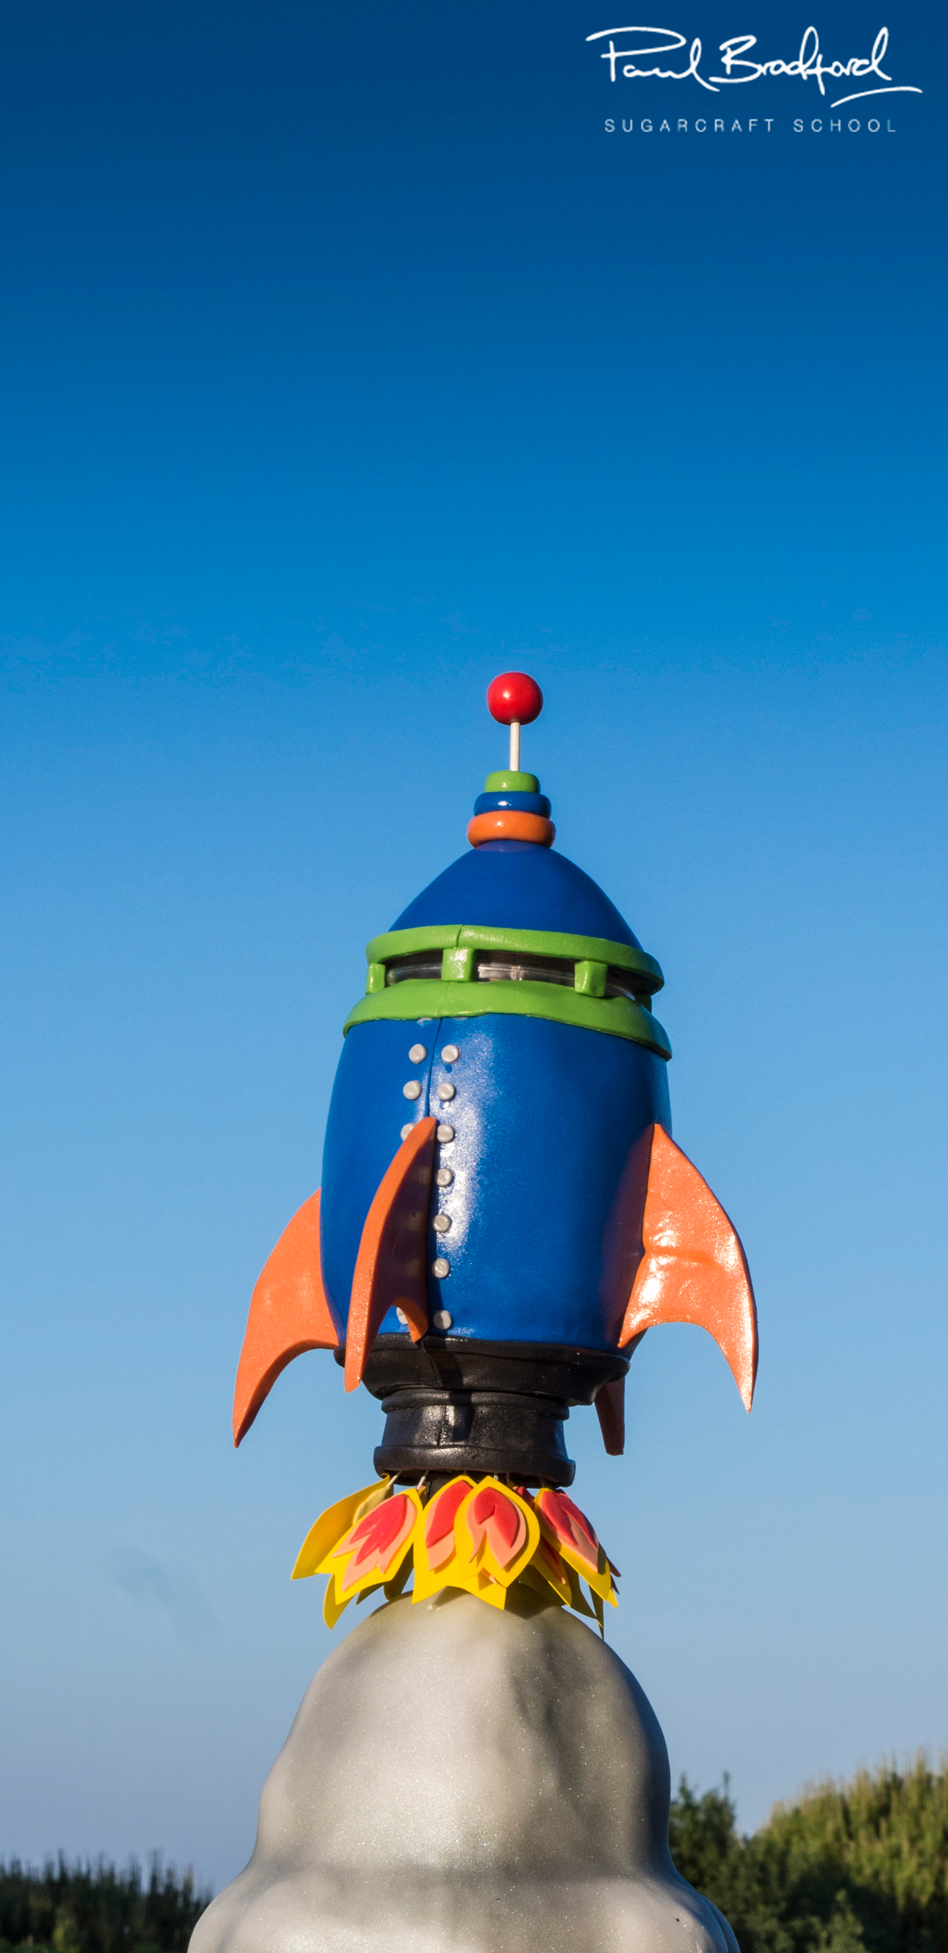
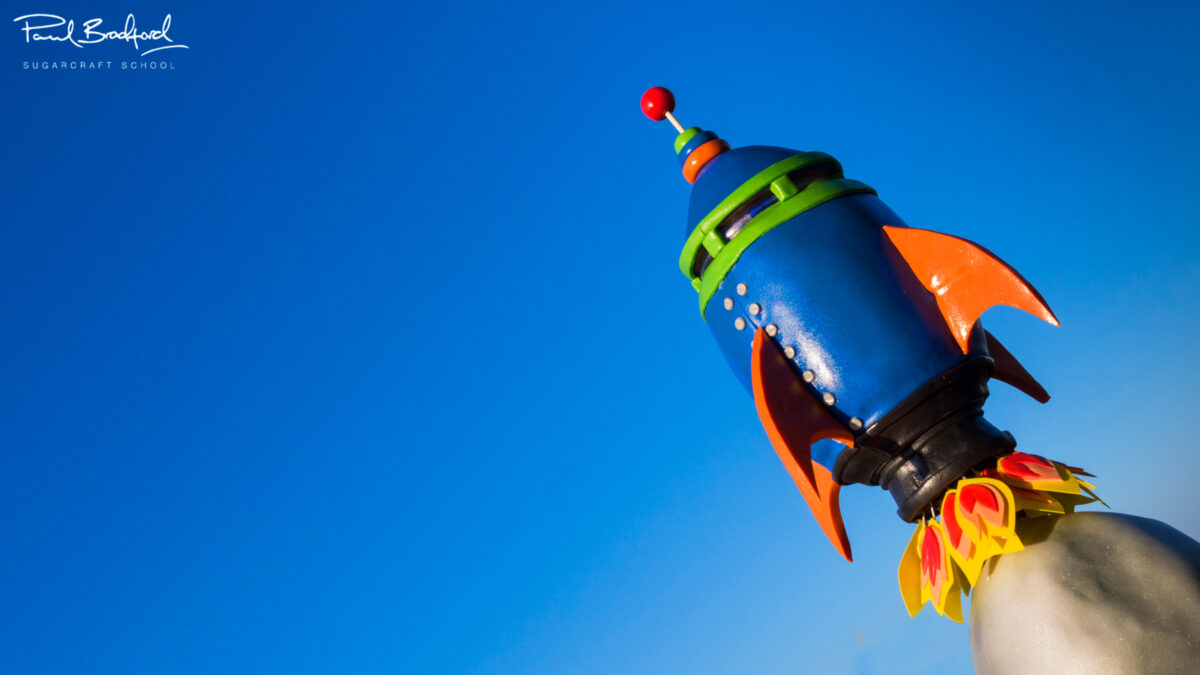
How to Make a Rocket
with Mayen Orido
Skill level:
Intermediate
HD Lessons:
18
16:12
1. Structure
The first lesson starts with the all important structure for the Rocket Cake. Mayen talks us through creating the structure along with implementing the electronics that produce the Rocket sounds into foam core to neatly hide the wires away. You can download the templates from the Tools tab.
15:58
2. Structure (Continued)
Mayen continues the building of the structure and shares some advice on materials used.
08:30
3. Carving the Cake
Cake time! Lesson 3 covers the carving of the cake starting with the smoke section. Mayen advises carving the cake while it’s already in position on the stand, this is due to the irregularities of the smoke design and ensures a much easier time carving this section. Mayen opts to wrap the PVC pipe section in foil to isolate the stand from the cake.
03:55
4. Carving the Cake (Continued)
After preparing the stand and stacking the two cakes the carving of the smoke section can begin.
NOTE: Apologies for the audio quality on part of this course (we had some microphone issues!)
02:37
5. Ganaching
Once you’re happy with the carved cake (which isn’t going to be looking the prettiest at this point!) you can then use ganache to prepare this section for icing.
02:24
6. Finishing the Ganache
Follow Mayen’s advice to smooth the ganache using acetate sheets (Mayen made hers from placemats!) or a pastry brush.
06:47
7. Carving the Top
The top rocket part of the cake is next up for carving while your smoke section is in the fridge cooling! The cakes are first stacked (using ganache between the layers) and then carved into the rocket shape.
07:51
8. Ganaching the Top
Before ganaching the cake in this lesson, the LED Light coaster is added – if you’re adding one to your cake, you can find out more about this in the Tools tab above.
01:41
9. Spackle the Cake
Mayen shows you how to spackle this cake (or smoothing the ganache as we’ve called it in the past!)
08:19
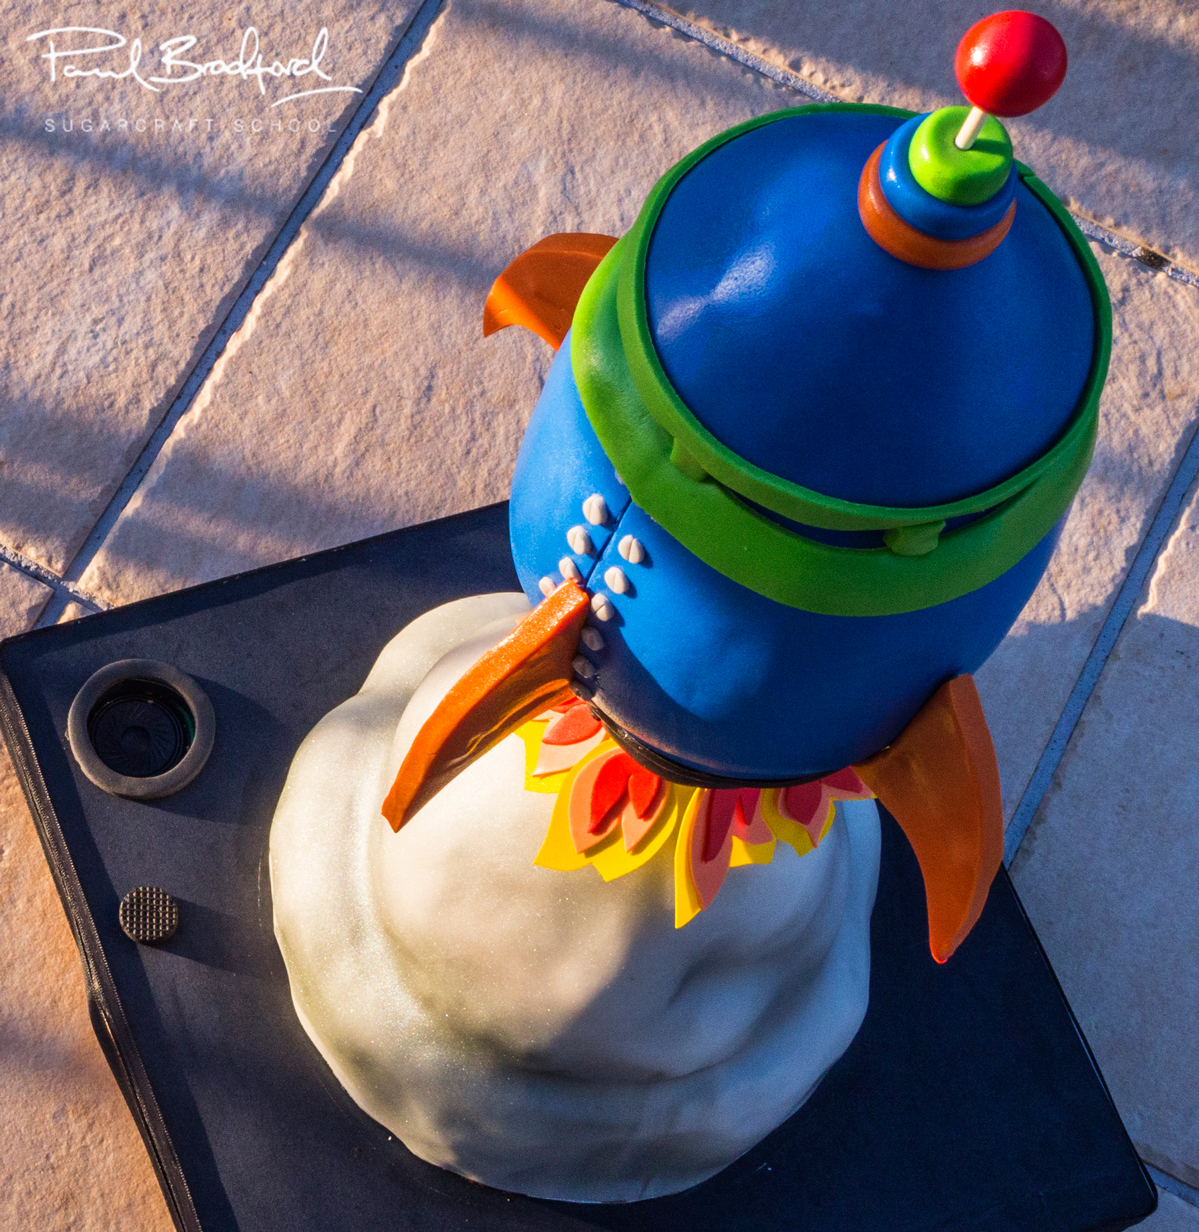
10. Covering the Smoke
The smoke base tiers of the cake are now covered using white sugarpaste/fondant (Carma Massa Ticino fondant). Follow Mayen’s advice to cover this tricky shape.
04:16
11. Airbrush
Airbrush time! Mayen adds layers of silver edible airbrush paint and black shading to enhance the smoke effect on the bottom layer.
05:06
12. Icing the Rocket
Mayen shows the method of icing the rocket in two halves which makes things much easier with a great finished result.
25:03
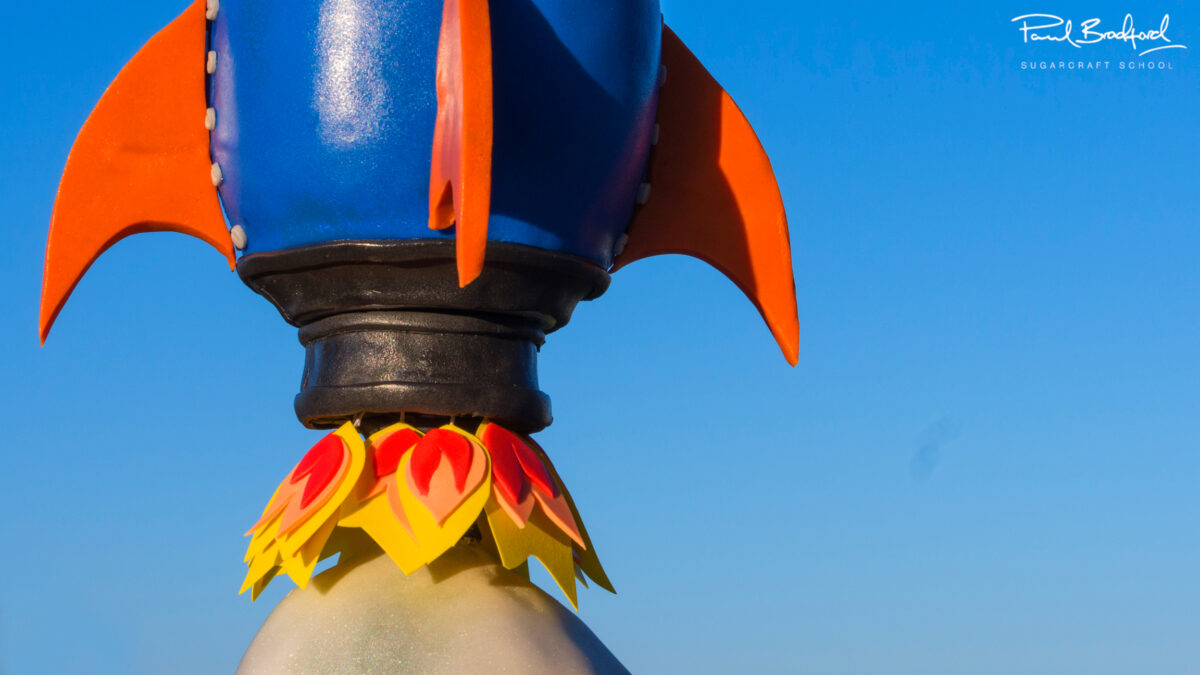
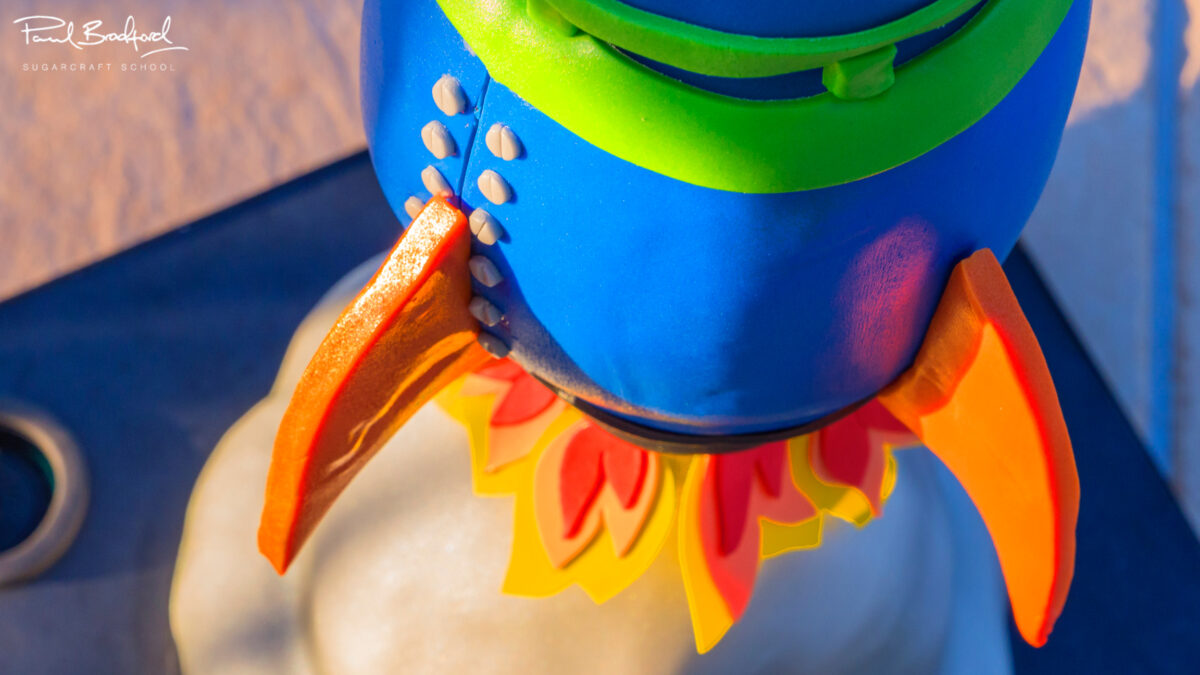
13. Final Construction
The construction stage of the course sees the rocket really start to take off (see what we did there!) Mayen fixes the rocket to the smoke section and also adds the flames and other design extras.
04:45
14. Finishing Touches Part 1
Mayen begins the finishing touches by creating bolts for the rocket and the feet/flights for the base of the rocket (templates available in the Tools tab)
10:45
15. Finishing Touches Part 2
For the second part of finishing touches, Mayen adds an LED coaster (making it easy to hide, due to its size) between the top two sections of the rocket. This is made much neater by using green sugarpaste trims that pass over the coaster – this gives the illusion that the top section is one solid piece.
02:53
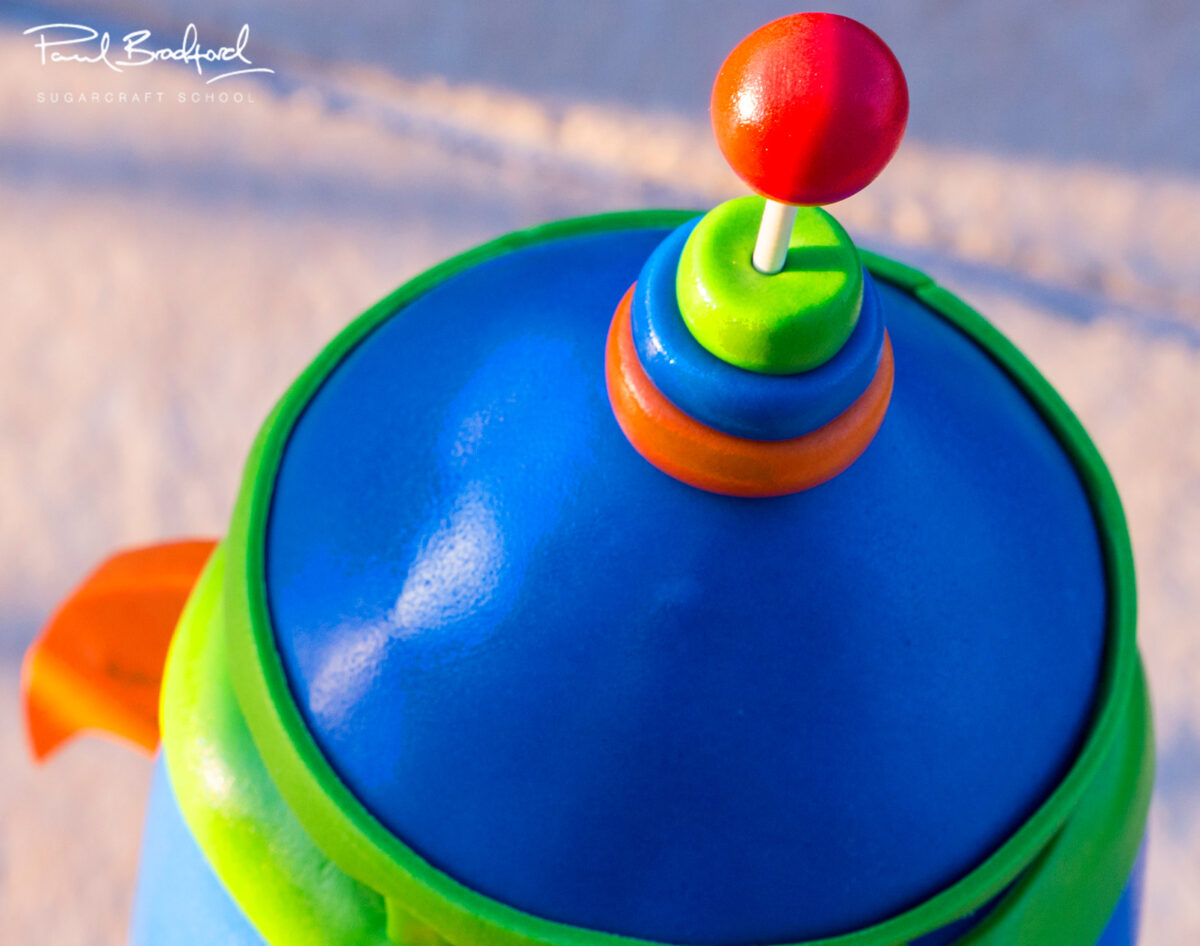
16. Finishing Touches Part 3
Almost done! The cake’s looking like it’s almost there at this point and just needs a simple antenna for the top to give that cartoon look. (You could even use an actual lolly pop for the antenna!)
03:48
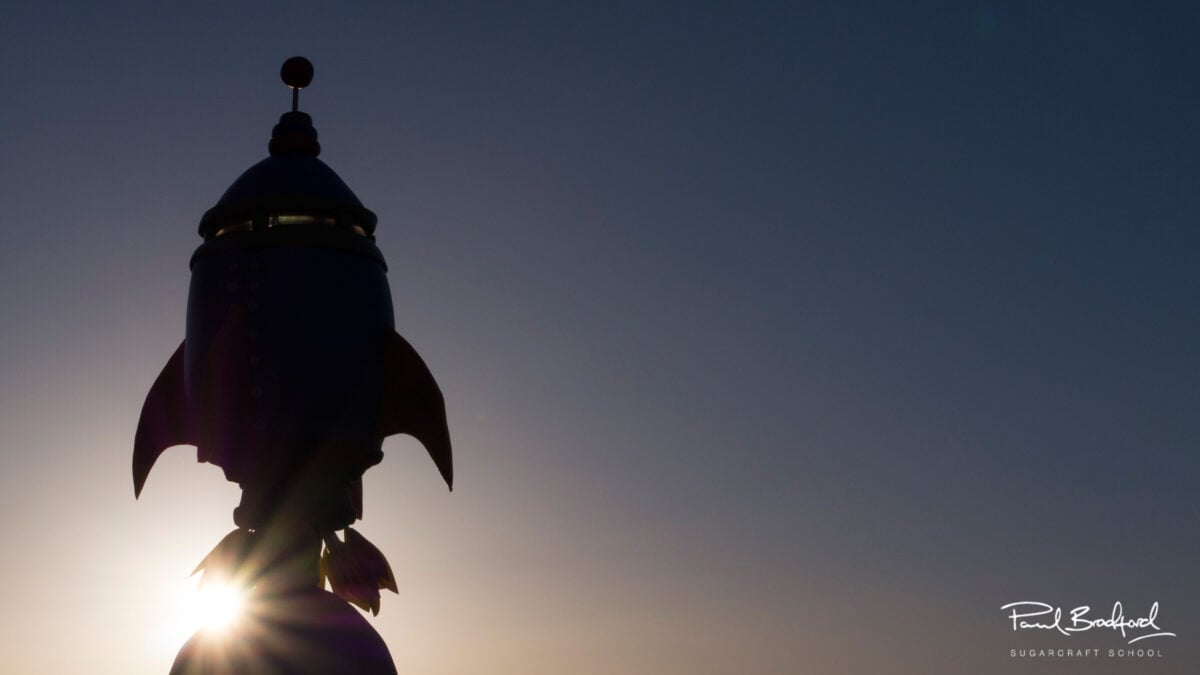
17. Battery and Launch
A final spray glaze is added to give the cake a fantastic toy rocket look. Mayen also shares some other tips in this lesson… then it’s time for BLAST OFF!!
01:16
18. Rocket Cake - Other Ideas
Mayen shares some other designs of cakes you could create using the same structure, along with some additional extras that could be added to the rocket. We would love to see your take on the Rocket Cake – please share your photos with us on our Facebook Page or over on Mayen’s.
Blast Off! Learn how to make this awesome Rocket Cake taught by Mayen of Way Beyond Cakes – perfect for any kid (or kid at heart) that would love an awesome rocket cake. Watch out for the very clever integration of lights and sound effects in the design!
We would love to see your take on the Rocket Cake – please share your photos with us on our Facebook Page or over on Mayen’s.