Tutorial Preview


Highlights
In this condensed version of the tutorial, we have carefully selected all the key points that will enable you to make this cake if you don’t have the time to watch all the lessons.
1. Covering the Board
Struggling for time? Why not watch all the highlights in under 15 mins!
To kick things off, Danielle starts by rolling out and cutting four strips of sugarpaste in total and creating the union jack shape. You may decide to choose another flag to make but the principals will generally be the same. The first two strips are a little wider than the ones that sit diagonally across. In total, she uses 150g of Sugarpaste for the strips. Danielle cuts the strips freehand and manages to get nice straight lines and advises that cutting quickly helps keep it accurate, but feel free to use a metal ruler or another straight edge. The same applies for cutting out the blue triangles. If you aren’t confident doing it by eye you can always create a template with paper or cardboard.
2. Making the Decorations
Danielle has gone ahead and covered a 10”, 8” and 4” cake in the same colour of sugarpaste as used for the flag. If you are unfamiliar with covering a cake then you may want to refer to our Icing Cakes tutorial. In this lesson, Danielle shows us how to make cute and effective little decorations for the cake. It’s definitely a good idea to make the decorations as soon as possible as you want to give them plenty of time to dry. Danielle does it all freehand again and it’s definitely a good thing to practise as it will save you a great deal of time eventually. Danielle is using her very own strong sugarpaste which can be purchased here. But if you would rather use what you have then flower paste or sugarpaste mixed with CMC will do the trick.
3. 2D Marmalade Jar
In this lesson, Danielle shows us how to make an adorable little 2D marmalade jar which will sit on the second tier of the cake. Danielle decides to place it so that it goes over the ribbon of the second tier. Danielle starts off by creating a marbled effect using the same colours as for the sandwich fillings and then cutting it to shape and rounding the edges to give it a jar feel. When creating the paper style lid of the jar, you can use a ball tool to frill the edges if you find that easier. Danielle shows us how to make it look even more realistic later in the tutorial.
4. Painting the Decorations
This lesson involves fairly basic painting and if you’re not a confident painter, Danielle suggests making the paint extra watery so that you make lighter marks and gradually thickening it as you grow in confidence. If you don’t feel you can paint roses on the marmalade lid then you can alternatively paint groups of three dots, stripes or anything just to add decoration. When cleaning your brush to change colour try and not use water as this repels the colour but instead use what you used to create the paint i.e alcohol or rejuvenator.
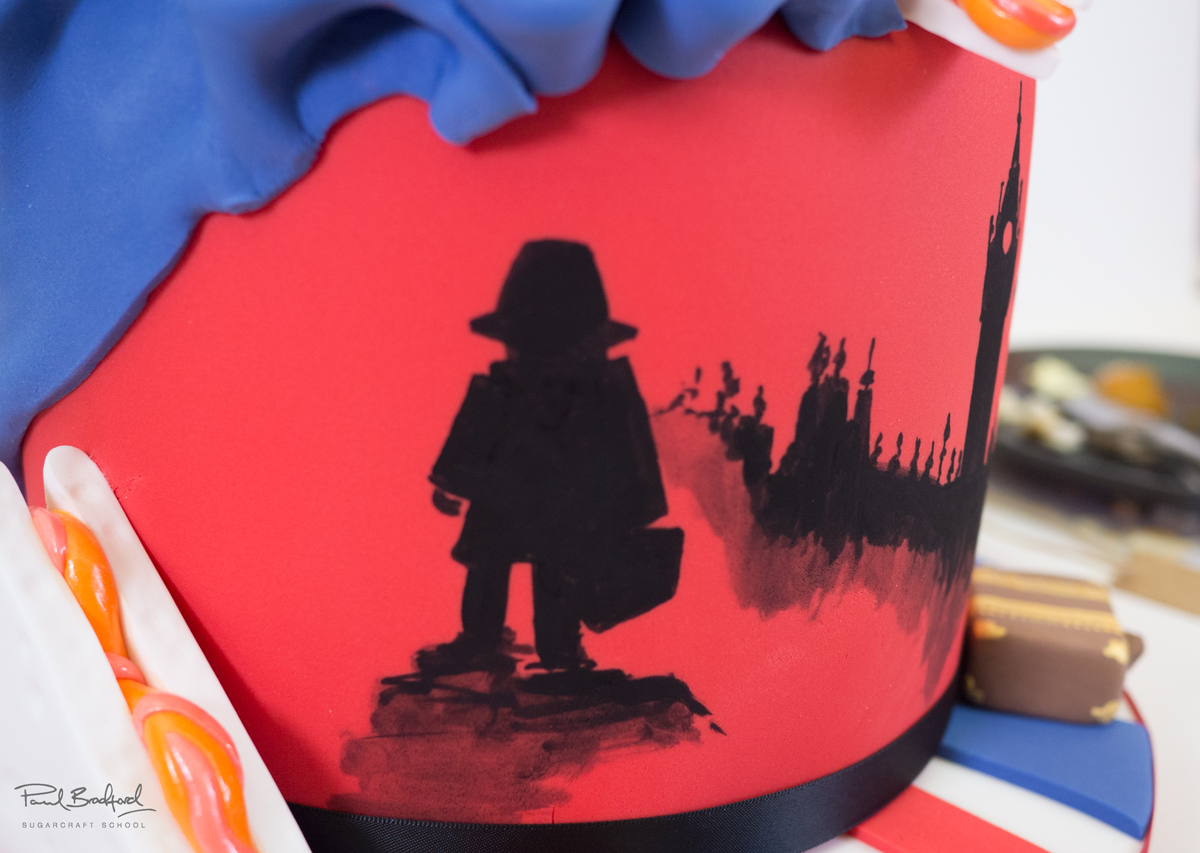
5. Lesson 5 - Painting the Cake
As you can see, Danielle has drawn a rough sketch of what she would like to paint so she can refer to it as she goes along. You can either copy what Danielle has painted or print a picture that you like and copy that. Danielle advises that it’s always best to work from the background to the foreground when painting and seeing as we will only be painting silhouettes this section shouldn’t be too difficult…although she does make it look almost too easy! Once you have decided on the design, just remember to start off with watery paint and gradually thicken it.
6. The Wrap Technique
Danielle’s sought after wrap technique has drawn a lot of attention to her and her unique cake designs. You will be amazed and relieved to see just how simple it is. As long as you roll out the correct shape and thickness of sugarpaste, you cannot fail. Create a fat lip shape (or a croissant shape) of sugarpaste in your hand and then roll it out. Once you have done this, cut away the excess and fold in the edges to create nice rounded edges, then a crease down the centre using your middle finger positioned underneath, while pinching it with your thumb and index finger with your other hand. And you’re done! Now it’s just a case of attaching it to the cake with some water (if you’re fast) or some edible glue.
7. Finishing Touches
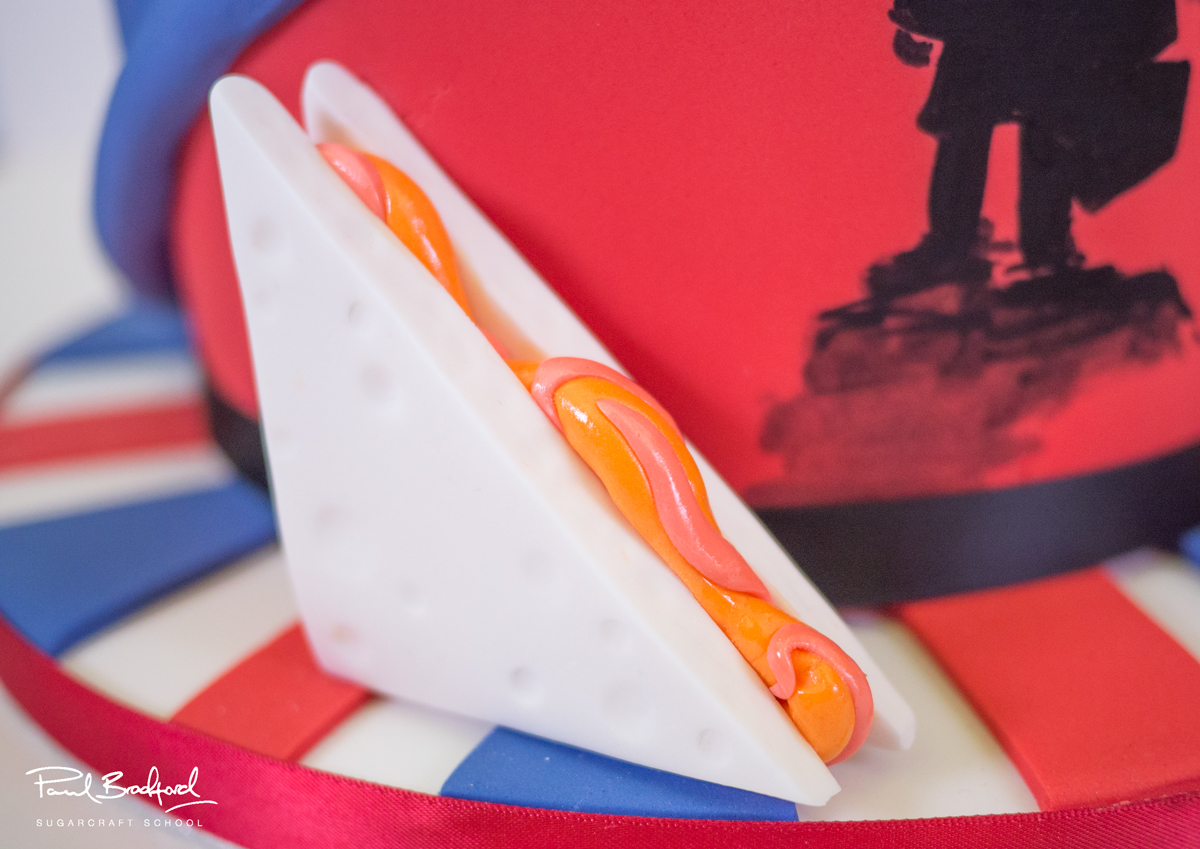
It’s time to finish those decorations off and first of all we will be working on the sandwiches. Danielle uses confectioner’s glaze on the marmalade to give the impression of moisture which looks great. She does the same with the marmalade jar which gives it a nice glass look. When using confectioners glaze, try and work quickly as it will dry on the brush and Danielle advises using a glaze cleaner unless you don’t mind throwing the brush away, as unfortunately the glaze will damage it.
8. Other Ideas
In this lesson Danielle shares some other ideas you can implement when making this cake to make it unique to you. We would love to see your designs so please share your snaps with us on our Facebook Page as well as Danielle’s.
9. Pro Lesson
In this lesson, Danielle goes into great detail about the cost of making this cake as well as what you should be charging your customers for a cake like this. Vital information for any professional cake designer.
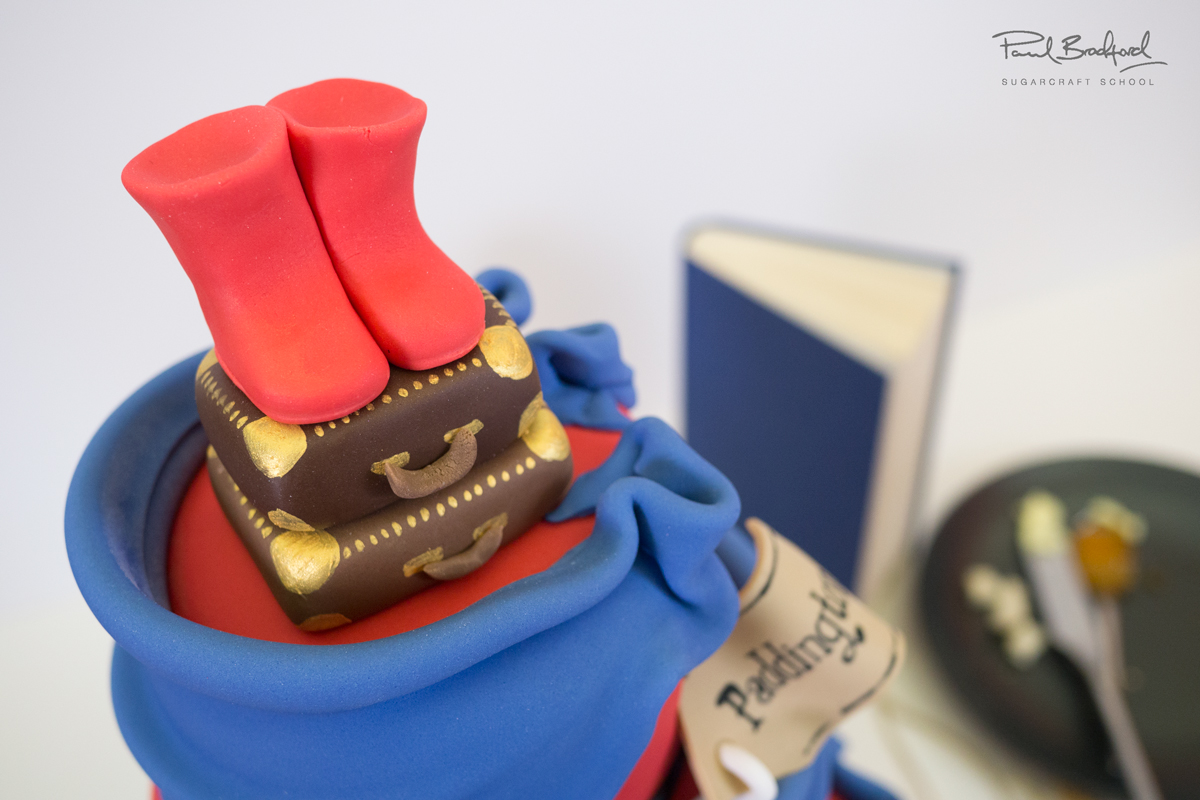
The talented Danielle Gotheridge introduces us to her brilliant London Bear Cake which incorporates her famous wrap technique. This tutorial is full of a variety of creative modelling and painting skills that can be translated to a wide range of cake designs. This is a fantastic cake for fans of Paddington Bear as it takes inspiration from many memorable moments in the story. It is suitable for all skill levels as it can be made as simple or as complicated as you like and takes around two half days to make, allowing for drying time.
The London Bear cake is based loosely on the beloved Paddington Bear
Paddington Bear was created by British author Michael Bond in 1958. The inspiration for Paddington came from a teddy bear that Bond saw on a shelf in a store near Paddington Station in London. The bear was wearing a tag that said “Please look after this bear.” Bond bought the bear and named him Paddington after the station.A Family of Bears
In Bond’s stories, Paddington is a young bear from darkest Peru who travels to London in search of a new home. He is adopted by the Brown family, who live at 32 Windsor Gardens. Paddington is a curious and mischievous bear who often gets into trouble, but he is always kind and helpful.A Beloved Character
Paddington Bear has become a beloved character around the world. He has been featured in books, television shows, and movies. He has also been used as a mascot for various organizations, including the British Red Cross.The Real Paddington Bear
Interestingly, there is a real Paddington Bear. In 2001, a stuffed bear was found in the attic of a house in London. The bear was wearing a tag that said “Please look after this bear.” The bear is now on display at the Victoria and Albert Museum in London.
Don’t forget to share your interpretations of this wonderful cake with Paul and the rest of the CakeFlix community on our Facebook group.
View hundreds of more world-class tutorials only at www.cakeflix.com.
Danielle Gotheridge
Multi Award Winner Danielle Gotheridge has been designing wow factor cakes for over 10 years and has taught herself and created techniques for 5 years. Danielle’s fresh approach to edible art has attracted thousands over the years, leading her to produce cakes for many celebrities including Justin Beiber, Pauline Quirk, The Wanted and many more!