- You cannot add another "Monsters in Bed" to your basket. View basket Continue shopping
Tutorial Preview


1. Covering the Board
2. Headboard and Footboard: Part 1
Tip: Laminate the printed templates after cutting them out for a template that can be used over and over again.
3. Headboard and Footboard: Part 2
Before leaving to them to dry, add some details to the headboard and footboard. Brenda uses a pattern creating tool which can be found here, however you can use a small heart or floral cutter for this section.
Tip: Use a cutting mat with measurements to make everything symmetrical.
4. The Bed
You can then use a bulbous tool (or ball tool) to create the frilled edges and finish this by attaching layered frills to the base of the bed. Brenda finishes this section by attaching the headboard to the bed – don’t do the footboard yet as it can get in the way!
5. Fake Bodies
Once you’ve attached the ruffles created in Lesson 4 (attach them around 1.5” high in layers as shown) you can now create the fake bodies for the bed. Using sugarpaste balls at around 1” (2.5cm) in diameter, you can create the body shapes to your liking. Place the bodies 2.5” to 3” towards the centre of the bed which will leave room for pillows and the monster heads.
Tip: You can make unusual shapes for the bodies – think outside of the box!
6. The Bedding
7. The Pillow
Roll out some sugarpaste in the colour of your choice, approximately 3” (7.5cm) wide and 1.5” tall (3.8cm), to create your pillows. Roll this out to approx 0.5” (1.3cm) thick, or as thick as required. Smooth off the edges using your fingers, then pinch the corners. Extra details can be added to the corners by using a dresden tool to make indentations.
Tip: If you don’t have enough height with the two pillows, make four!
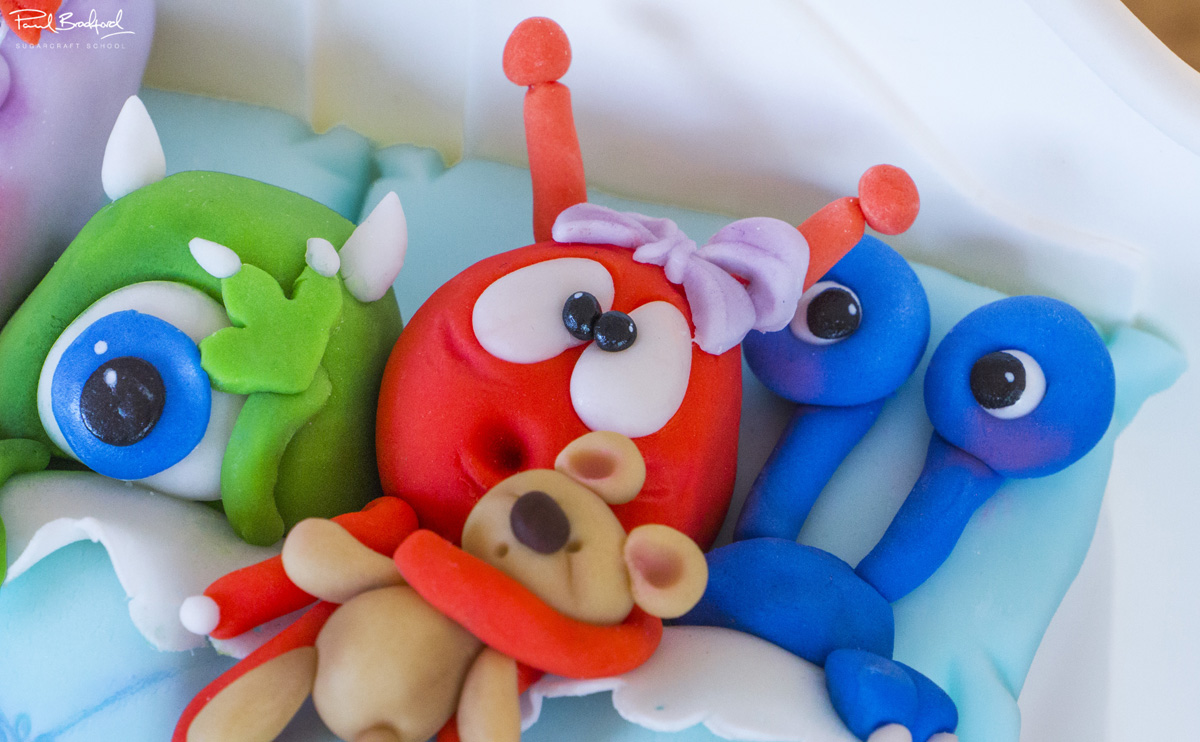
8. The Faces: Part 1
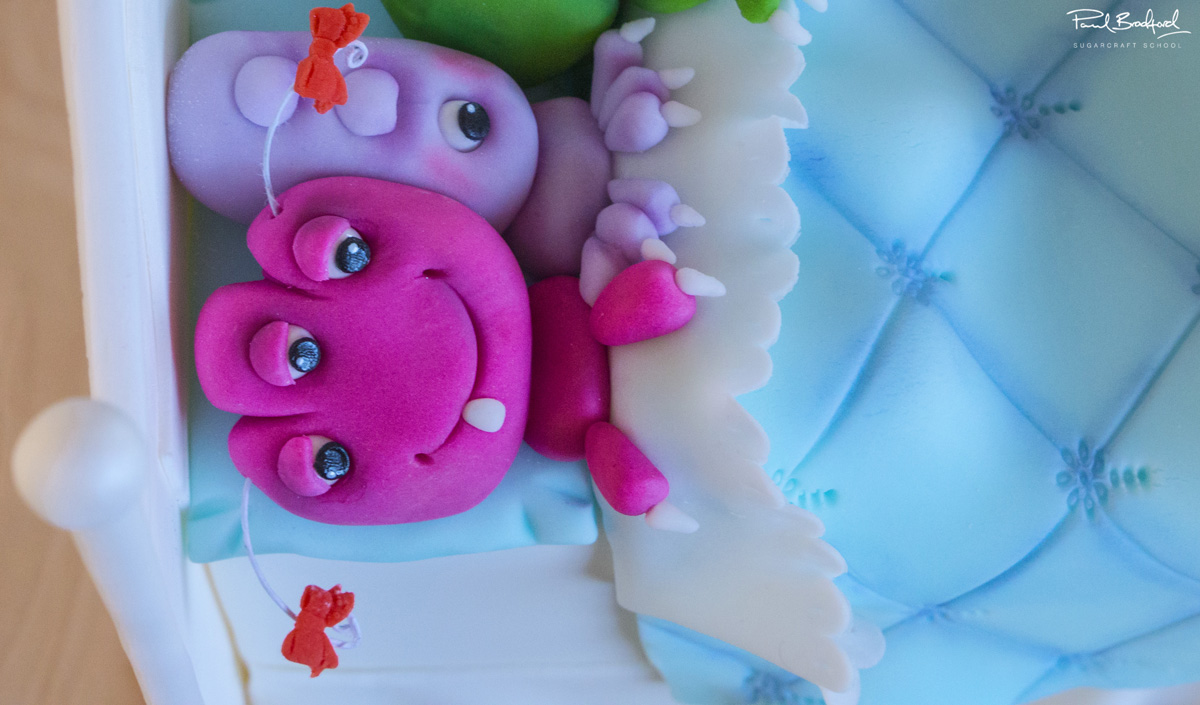
Brenda covers some great techniques and designs to create her monsters, which will certainly help you to create your own. Try and make these as fun as possible and find out the lucky little recipient’s favourite colours and monsters to recreate these for a customised cake!
Tip: Always start from the middle monster and work your way outwards.
9. The Faces: Part 2
10. Fingernails
Arms and extra bits are created for the monsters using sugarpaste in each monster’s colour. Remember to do what you’re comfortable with and make the design your own. Fingernails are then created using a tiny ball tool (or back of your paint brush) and then tiny sugarpaste teardrop shapes or balls are glued onto the fingers to create the fingernails!
Tip: Change the colour of the fingernails for something more funky!
11. Face Detail
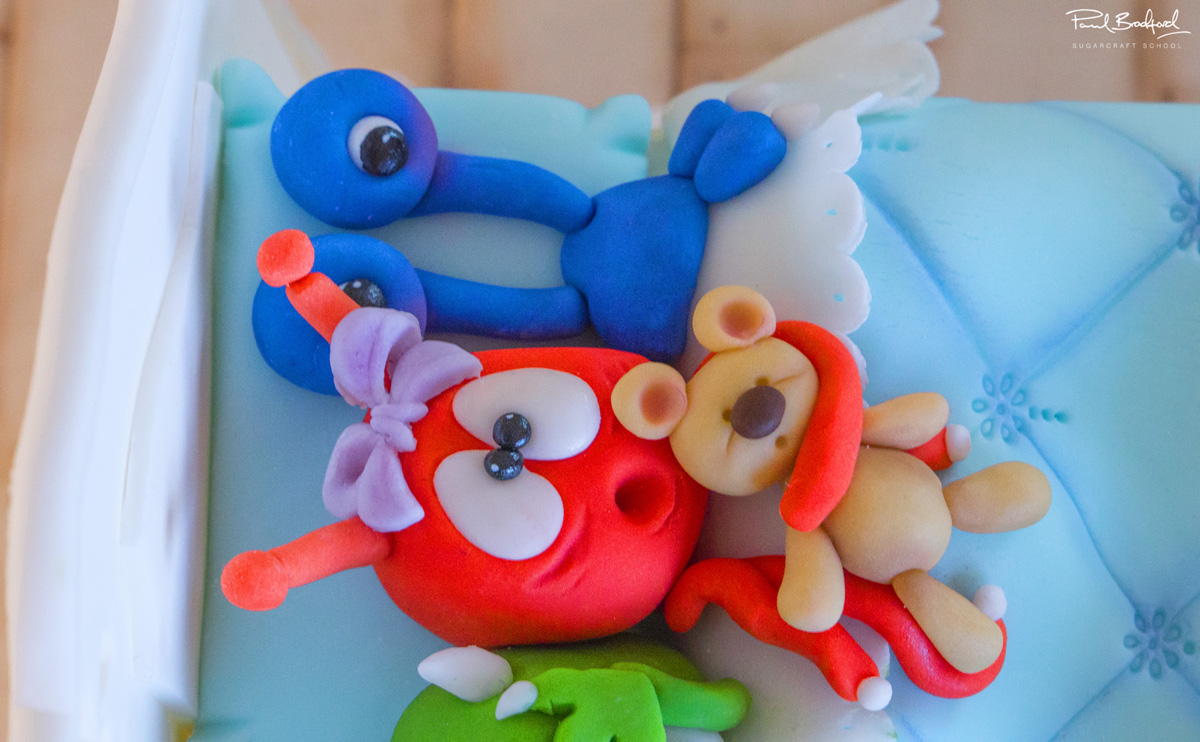
Brenda starts the facial details by rolling out black sugarpaste (as thin as you can!) followed by cutting this out using a number 5 or 6 circular piping tip. This creates some great pupils for the eyes!
Using 22 gauge florists wire, antennae can be created then wrapped with sugarpaste or an impression mould can be used to create shapes for the antennae.
Tip: Have fun with the expressions!
12. Bed Posts
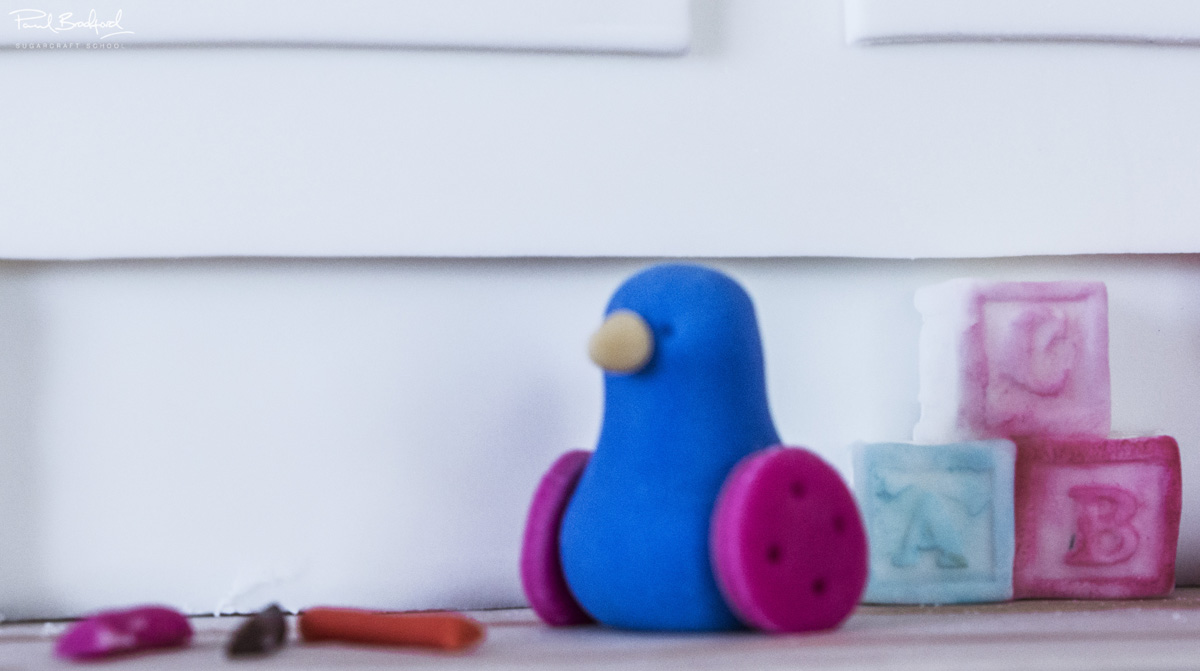
13. The Toys: Part 1
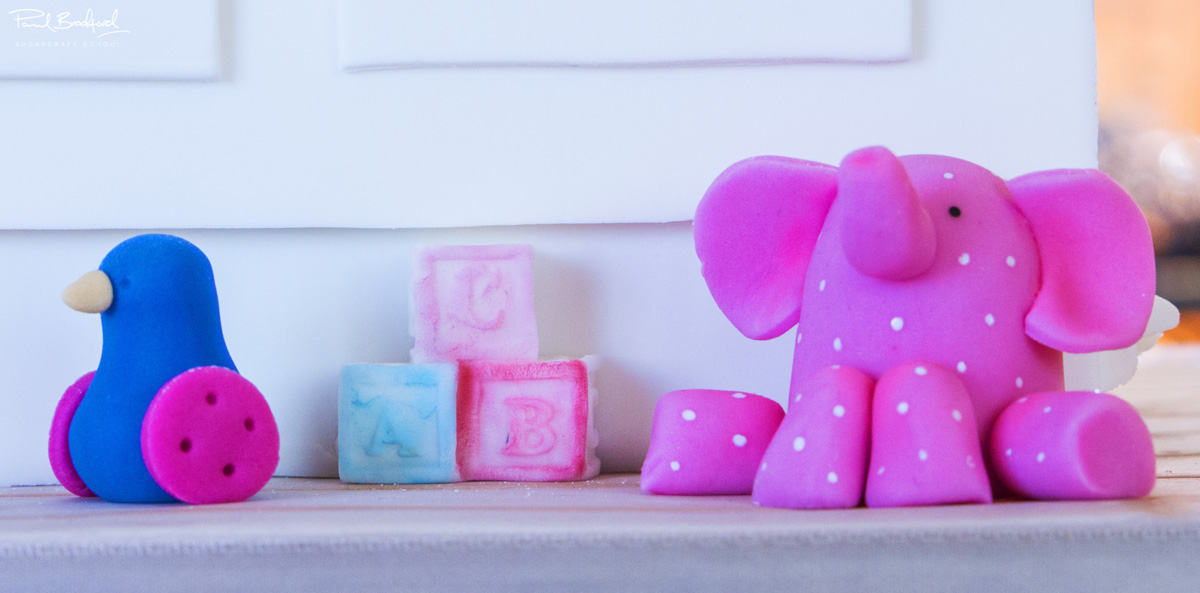
Simple and cute is the key to the toys scattered around the bed. Brenda shows us how to make various toys starting with a teddy bear.
Tip: Kids birthday? Try and make their favourite toys for this!
14. The Toys: Part 2
15. Shading Detail
The shading covered in this lesson will transform your cake and make the colours pop! A Petal Crafts Petaldust palette is used for the shading which features plenty of shades of light to dark colours which look extremely eye-catching.
Once you’re happy with your shading you can finally attach the footboard of the bed, and your cake is almost done!
Tip: Remember to create shading using a darker colour of the same tone, it gives extra depth.
16. Finishing Touches
Thinly rolled sausage shaped strips of sugarpaste are added to the headboard and footboard of the bed to finish them off. Glazing the eyes (Brenda uses a confectioners glaze) adds a great shine and realism and using a small ball tool you can add a tiny white dot to each eye ball (as shown) which makes a huge difference for such a small decoration. And with that final detail, the cake is now complete…well done!
Tip: Use glaze to give the eyes sparkle!
17. Other Ideas
Brenda shares some other ideas which you can incorporate in to this fantastic cake design. We would love to see your take on the Monsters in Bed Cake – please share your snaps with us on our Facebook Page and Brenda’s where you will also find a fantastic cake community!
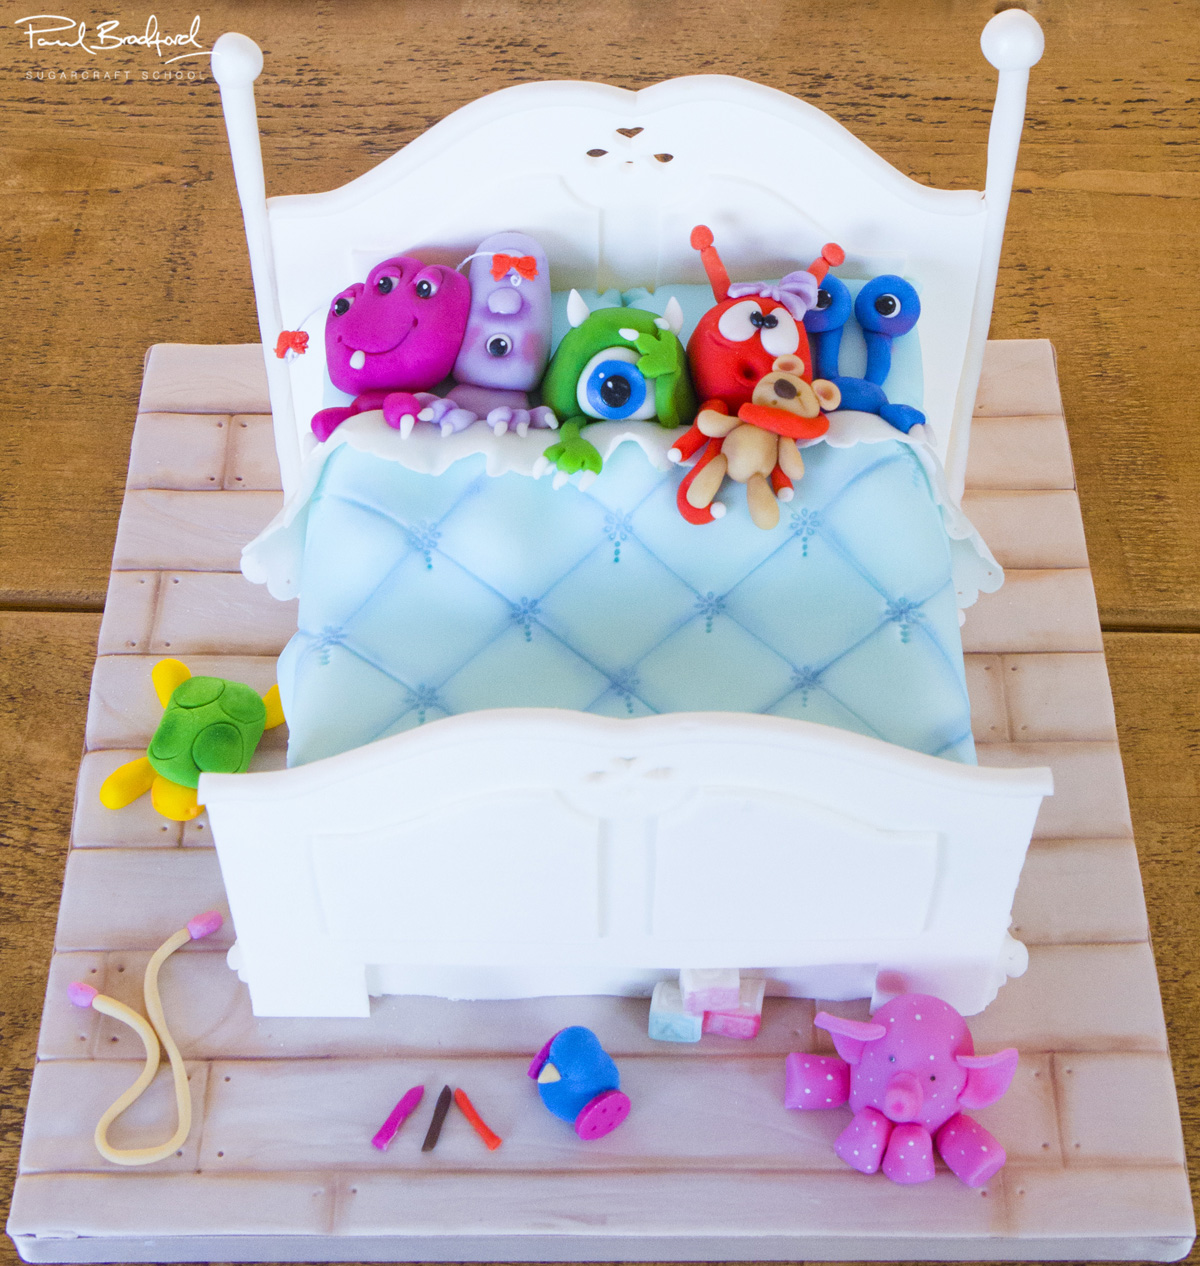
Brenda Walton of Sugar High teaches us how to create her fantastic Monsters in Bed Cake. A perfect cake for a birthday party, it can be customised with ease to create the perfect treat for a boy or girl’s celebration by adjusting the colours and the details on the quirky little monsters. Perfect for intermediate level decorators, this cake takes one full day to complete.
We would love to see your take on the Monsters in Bed Cake – please share your snaps with us on our Facebook Page and Brenda’s where you will also find a fantastic cake community!