Tutorial Preview
Highlights
Here, we’ve carefully selected the key parts from the entire tutorial and condensed it into an 7 min long video. More than enough to get you started without taking too much time.
1. Assembling the stand
Janette shows off her DIY skills and puts her super sturdy stand together. Don’t worry… it’s all quite simple and if you don’t have the equipment, your local DIY shop will.
2. Making it food safe
Janette shows us how to keep it all food safe using some great techniques that keep it all very clean and simple.
3. Carving the cake off the stand
In this lesson, Janette begins to create the basic shape of the shark before putting it on the stand. This will make it much easier to work with later on.
4. Carving on the stand
Janette adds the cake to the stand, securing it with ganache and then begins to fine tune the shape in preparation for it being ganached.
5. Ganaching the cake
Janette covers the entire cake in ganache, including the rice krispie treats, and gets rid of any join marks as she goes.
6. Covering the cake
In this lesson Janette shows us how to cover the cake. It looks quite daunting, but follow this lesson and you’ll be just fine. Make sure you work quickly with the paste, not allowing it to dry out.
7. Adding details
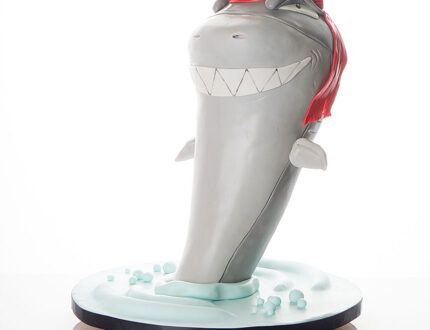
Janette adds some details such as the fins, the smile and some markings to add character.
8. Making the hat
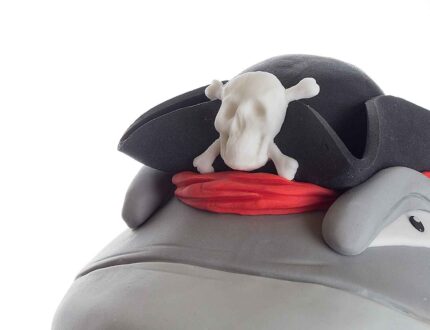
Here Janette shows us how to make a cute pirate hat that sits nicely on the shark’s head. Just remember and use something like cmc in the sugarpaste to help strengthen it.
9. Adding details
Janette adds some fun details to give the shark a big dose of character.
10. Adding the fin
In this lesson, Janette shows us how to add the shark fin so there’s no mistaking what sea creature it is.
11. Covering the board
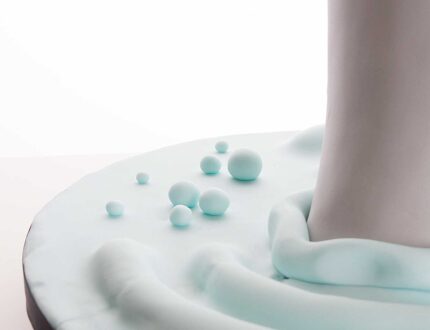
Janette covers the board by adding a cool ripple effect complete with bubbles coming to the surface.
12. Finishing touches
In this lesson Janette adds the shark’s teeth and some extra little details to the board to finish it all off.
13. Other ideas
Paul shares some other ideas you can try out during this project. We’re sure you’ve some of your own and we’d love to see what brilliant alterations you’ve made.
Share your pics with us on our Facebook page.
14. Pro lesson
In this lesson, Paul shares some insider information about the cost to make this cake, as well as pricing, portions and other vital information for any professional cake designer.
Don’t forget to share your interpretations of this wonderful cake with Paul and the rest of the CakeFlix Family on our Facebook group.
View hundreds of more world-class tutorials only at www.cakeflix.com.


