Tutorial Preview
Highlights
Here, we’ve carefully selected the key parts from the entire tutorial and condensed it into an 12 min long video. More than enough to get you started without taking too much time.
1. Preparing the stand
Karen has already cut the MDF board to shape and put the stand together but fear not as it is very simple assembly as you will see.
2. Cutting the cake
In this lesson you’ll learn how to cut and carve the cake into shape in preparation for being covered in ganache.
3. Ganaching the cake
Karen now adds a layer of ganache and smooths it off using a flexi smoother. Just make sure not to flatten out the area where the eyes have been cut out.
4. Building the face pt 1
Here Karen begins to build up the facial features using modelling chocolate using a select few modelling tools. You’ll be surprised at just how easy it looks, although of course in practice might be a little trickier.
5. Building the face pt 2
Karen continues adding extra pieces of modelling chocolate to form more wrinkles as well as emphasising the chin a little more, before allowing it all to set.
6. Covering the board
Karen then rolls out some red sugarpaste to around 3mm and covers the board allowing it to dry a little before covering the face.
7. Covering the face
The face now starts to come to life as Karen rolls out flesh coloured sugarpaste to around 2mm then covers the face. Using sugar shapers and a dresden tool she brings the features to life.
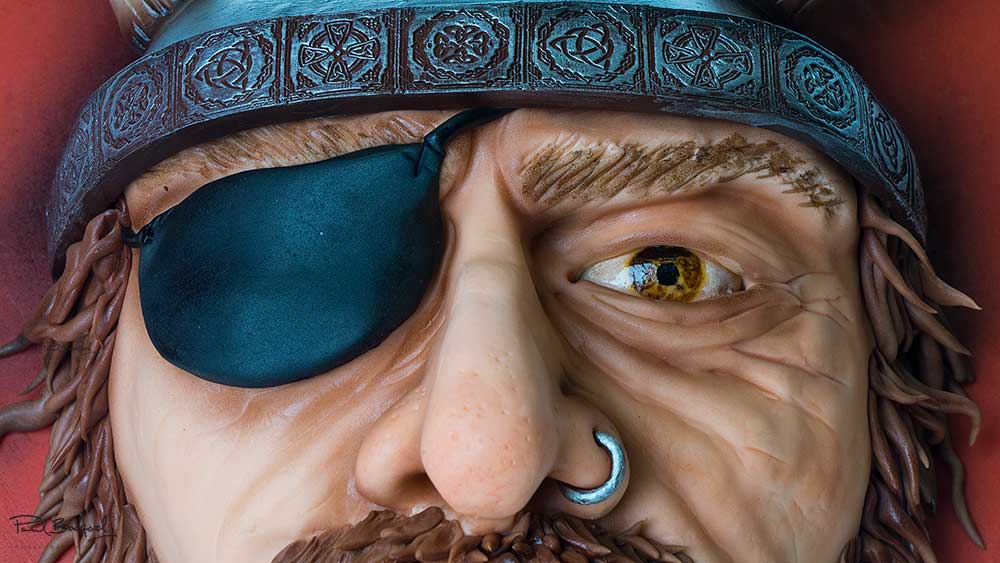
8. Painting the eyes
Always a tricky part of any design, but watch how Karen carefully paints in the features to the point where you think he’s actually watching you!
9. Making the helmet
Using dark modelling chocolate and a very cool Celtic impression rolling pin Karen makes a helmet for our Viking.
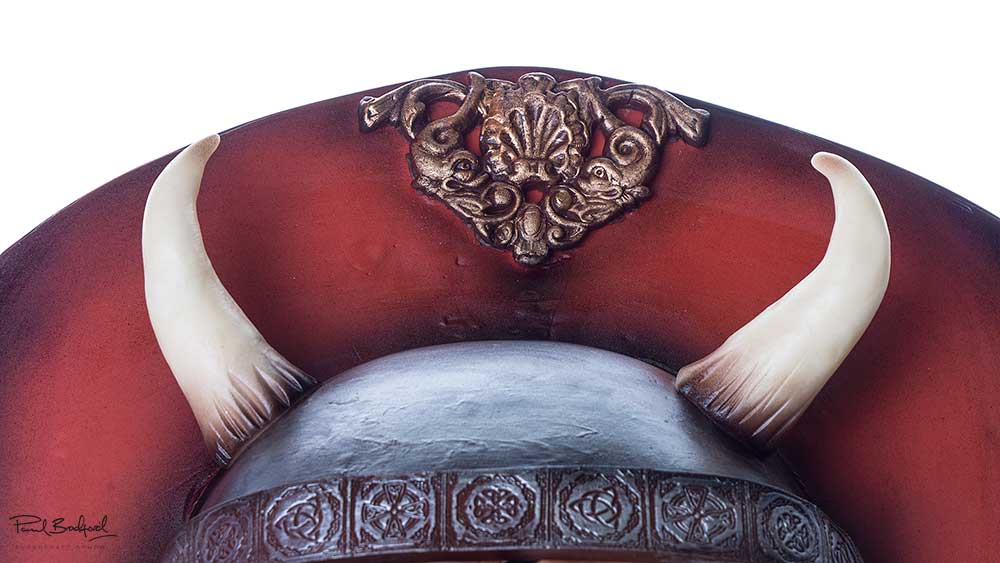
10. Finishing the helmet
Using a silver dust mixed with alcohol Karen gets a lovely silver tone for the helmet, which she brushes over the Celtic impression lightly so as not to lose any detail. She then goes on to make horns using white modelling chocolate.
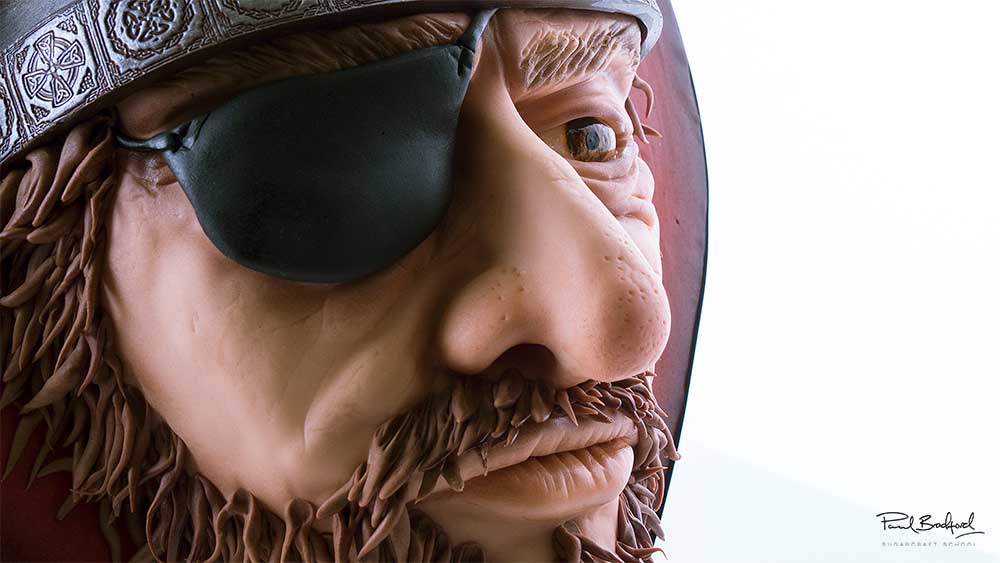
11. Finishing touches
Getting down to the finishing touches, this is where you’ll learn how Karen makes the realistic facial hair. Shen then gets the airbrush out with a little glaze and finishes it all off.
12. Other ideas
Karen shares some other ideas you can try out during this project. We’re sure you’ve some of your own, and we’d love to see what brilliant alterations you’ve made.
Share your pics with us on our Facebook page
13. Pro lesson
In this lesson, Paul shares some insider information about the cost to make this cake, as well as pricing, portions and other vital information for any professional cake designer.
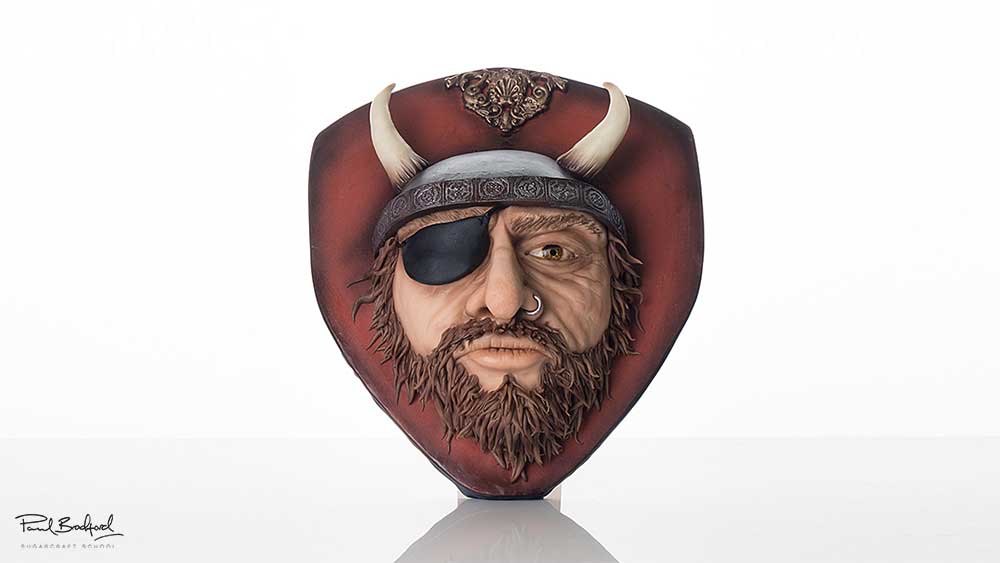
We’d love to see your take on Victor the Viking – so make sure you share your photos with us on our Facebook page.