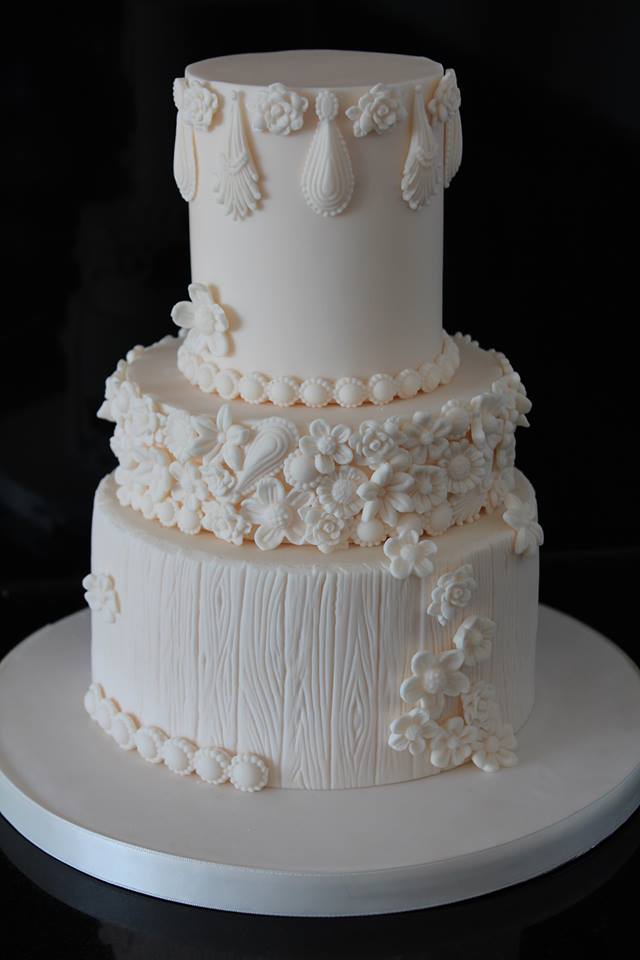
What is bas-relief and how can you create this effect?
Bas-relief is becoming an ever more used effect in the world of cake so we thought we’d ask Cakeflix artist and Cake International Gold award winner Rose Macefield.
What is bas-relief?
Bas-relief is a sculpture in which the figure projects slightly from the background and it is a useful technique which works well on pastillage plaques so that the design can be created before a cake is made and can then be transferred onto the top of a cake as a cake topper. This allows the cake decorator plenty of time to create the plaque without having to rush the design after the cake is made. The topper can then be removed easily from the cake by the recipient allowing them to keep it as a keepsake.
Bas-relief is an art form that has been used by artists for centuries dating back to ancient Egyptian times, it was particularly popular during the Italian Renaissance. Throughout history, this wonderful technique has been used widely to decorate religious buildings and palaces to add to its grandeur. Bas-relief sculptures have developed into a popular craft and art for professional and amateur artists alike.
Bas-relief in the cake world…
In sugarcraft, creating a bas-relief involves using a template and padding out a figure or object to achieve a 2-dimensional effect that is raised from the plaque or cake top. Almost any design can be transformed into a bas-relief to create a beautiful cake topper or side design and it is now becoming a popular cake decorating technique. From novel scenes to elaborate elegant cake designs this technique is quite versatile and usually easier to achieve than modelling 3D figures.
Many other sugarcraft techniques work well with bas-relief; applique, embossing, hand painting and royal icing to name a few. You can achieve an infinite variety of designs by combining techniques.

How to create a bas-relief effect.
To create a bas-relief on a plaque or cake you first need to decide on a design, you can google images, use photos of your own or from magazines, or even draw your own design.
Trace the main elements of the design onto tracing paper, you don’t need to pick up all the fine detail as this will be created as you build the relief and add the finishing touches.
Transfer the design onto the plaque or cake using a cell stick or scriber to score it onto the icing, the pastillage or icing needs to be firm before you can do this.
Colour up small amounts of modelling paste to match the design – using sugarpaste mixed with CMC powder works well as its not too firm and can be easily blended together for neat joins.
Cut around the template and then roll out modelling paste thinly. Use the template to cut out the shape from the modelling paste. Pad out the areas of the design depending on how raised they need to be. Cover the padding over with a final layer of modelling paste; it is important to bear in mind that the final cover of modelling paste will cover the padding and add more depth to the finished piece, so don’t overdo the padding. Finally, use other techniques such as embossing, dusting or painting to enhance the design.
If you’re looking to try out the bas-relief technique for yourself then why not try out Rose’s FREE bas-relief honey bear cake topper step by step? Or access over 800+ multi-award winning cake tutorial at Cakeflix with a FREE 7-day trial.

