Tutorial Preview





Bite Sized
Watch Paul make the whole cake in just 2 mins 20 seconds!
Highlights
Watch an action packed summary of this whole tutorial.
1. Carving and ganaching the cake
Let’s get started by carving and ganaching the cake.
2. Covering and adding texture
In this lesson Paul shows how to cover and add texture to the sugarpaste.
3. Making the jacket
It’s now time to make the jacket.
4. Adding details to the jacket
Paul now adds some details to add to the jacket look.
5. Making the bobblehead
6. Making the arms
Now it’s time to add the arms.
7. Hiding the secret
In this lesson Paul hides away the mechanism that makes the head bobble leaving guests saying…how did they do that!
8. Carving the head - Part 1
The Pumpkin head is the key feature of this design and in this lesson Paul gets started by carving the shape.
9. Carving the head - Part 2
Paul now completes the carving of the head.
10. Ganaching the head
Time to get messy by applying the ganache to the head.
11. Covering the head - Part 1
Covering the head is in two parts, in this lesson you’ll see part 1.
12. Covering the head - Part 2
This is the second part to covering the head where the Pumpkin look really comes to life.
13. Adding details to the head
Paul now spends some time adding features to the Pumpkin face.
14. Painting the head - Part 1
Time to get the brushes out and start painting the head.
15. Painting the head - Part 2
The details are all now coming to life as Paul continues painting the face.
16. Painting the head and body
Paul now moves on to paint the head and body in this lesson.
17. Making the hands
Time now to create add the hands.
18. Painting and adding the stock
Nearly there, Paul now paints and adds the stock.
19. Finishing Touches
Well done! Time now just to add those all important finishing touches.
20. Other Ideas
Paul provides some extra hints and tips on how to use the skills and techniques taught.
21. Pro Lesson
In this lesson, Paul talks all about pricing and selling a cake like this.
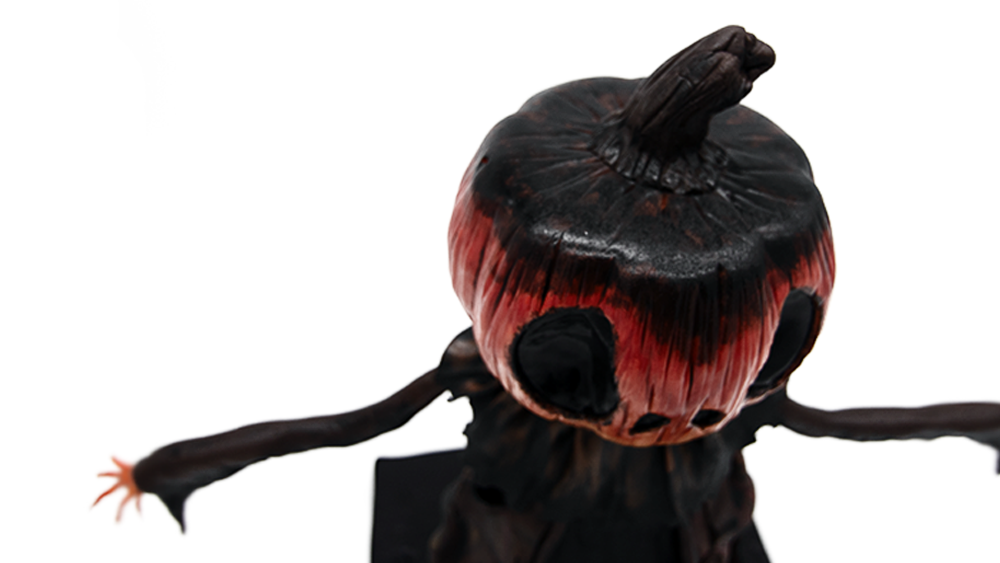
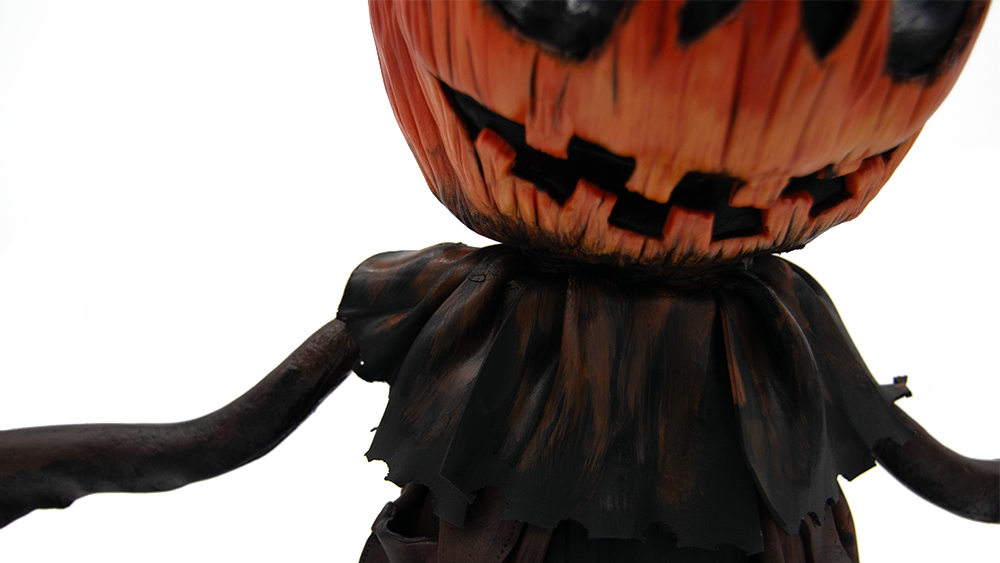
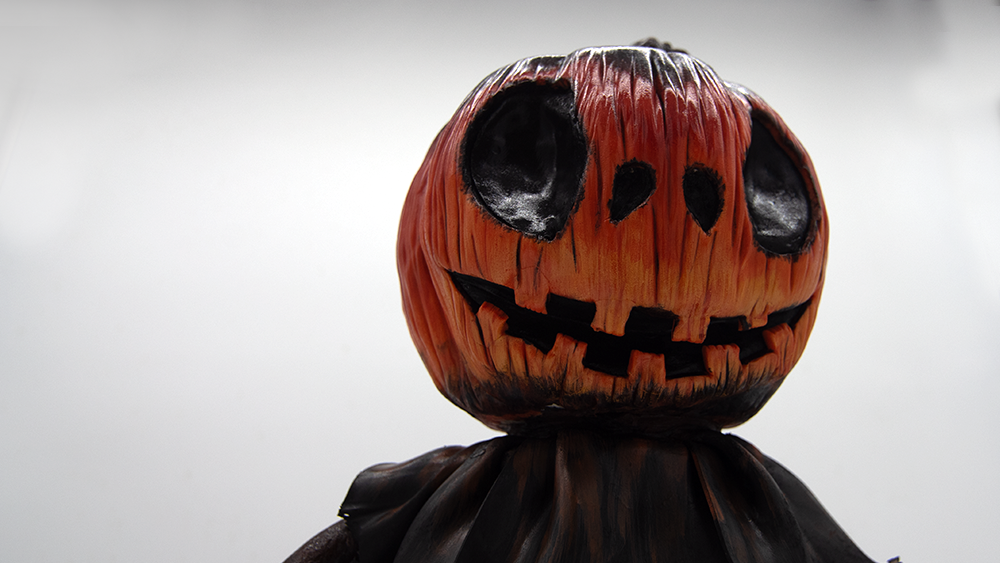
Meet a Halloween character who simply won’t sit still! In this Halloween Pumpkin Man cake tutorial, Paul Bradford creates a spooky figure with a pumpkin head, a ragged coat and a wonderfully unexpected wobble. He looks full of mischief before he even starts moving, but that bobblehead effect is what makes this design so memorable.
The secret lies in the balance and structure. Paul shows you how to create the support behind the movement, turning a sculpted character into a cake with an extra surprise. If you’ve wondered how cake decorators introduce moving elements into their designs, this is a fun opportunity to explore the technique.
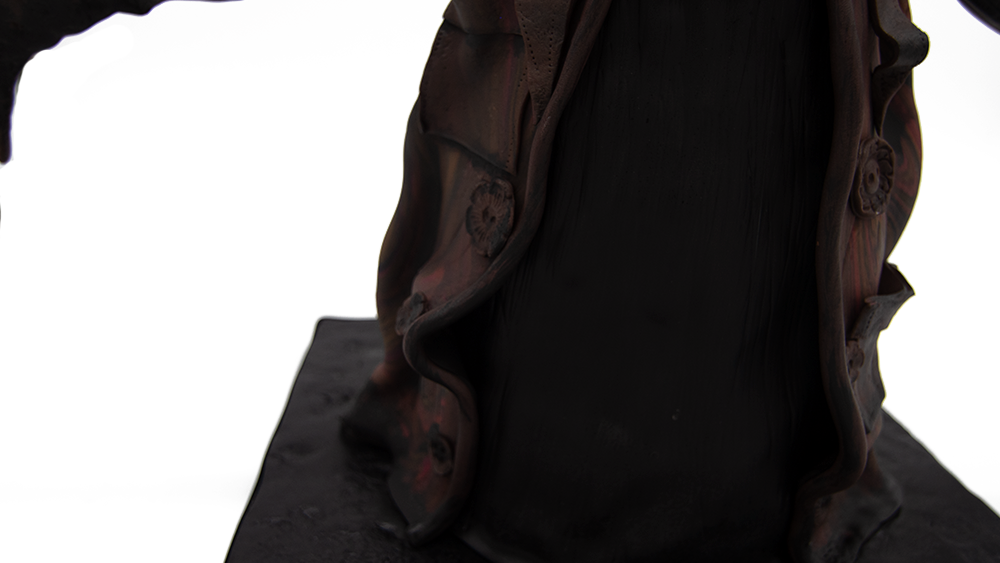
There’s plenty to learn beyond the wobble, too. Follow Paul as he carves the 3D cake, builds the character’s appearance and sculpts the pumpkin head. The dark outfit contrasts beautifully with the orange pumpkin, while the facial features give your Halloween guest his own cheeky personality.
In this tutorial, you’ll learn how to:
- Carve a 3D cake to create a character shape.
- Construct the support needed for the wobble effect.
- Sculpt a pumpkin head with expressive features.
- Create clothing details that add character.
- Use painting and dusting techniques to develop colour, shading and depth.
It’s a design that encourages you to think about both how a cake looks and how it behaves. The carving, sculpting and finishing techniques also give you ideas to take into future character cakes. Perhaps your next creation will have a friend with an equally mischievous expression?
Planning a Halloween party around your finished cake? Browse Good Food’s Halloween recipes for treats to serve alongside him. For more decorating inspiration, explore our Halloween cake tutorials, or discover another moving character in Paul’s Two-Faced Vampire cake tutorial.
Watch the Pumpkin Man wobble, follow Paul’s guidance and enjoy creating a Halloween centrepiece with movement as well as personality. We’d love to see your version!