- You cannot add another "Concrete Geode" to your basket. View basket Continue shopping
Tutorial Preview
Bite Sized
Watch Marc Suarez make his Concrete Geode cake in just one minute!
Highlights
Here, we’ve carefully selected the key parts from the entire tutorial and condensed it into a 15 min long video. More than enough to get you started without taking up too much of your time.
1. Making the isomalt
To start off, Marc slowly melts down the isomalt in preparation for later. It is very important that the temperature remains low so as not to burn the isomalt and remember to be careful as it gets HOT.
2. Hand made gold leaf
In this lesson, Marc shows you how to create the gold leaf effect using a combination of luster dust and confectioners glaze.
3. Carving geode holes
Now, using polystyrene dummy cake; Marc carves out the shape where the geode will be.
4. Colouring the fondant
Marc takes you through his process for achieving the desired colour for your sugarpaste/fondant.
5. Concrete fondant texture
In this lesson, Marc shows you his technique for creating the concrete texture for your cake. Then at the end of the lesson he removes the now dry gold leaf from the baking paper sheet.
6. Covering the cakes
Now that our sugarpaste/fondant is prepared, Marc shows you the final step to achieving the concrete look. Marc then demonstrates how to cover your cakes to attain a neat, sharp edge finish.
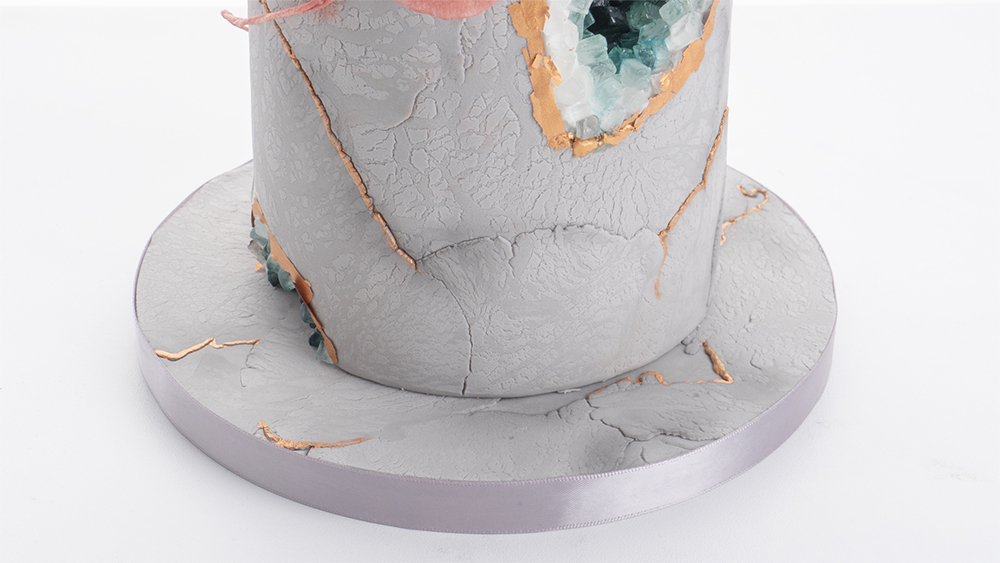
7. Covering the board
Marc shows you how to cover the board keeping in theme with the concrete look.
8. Covering the geode holes
In this lesson, Marc uses white sugarpaste/fondant to cover the holes in preparation for adding the geodes to the cake.
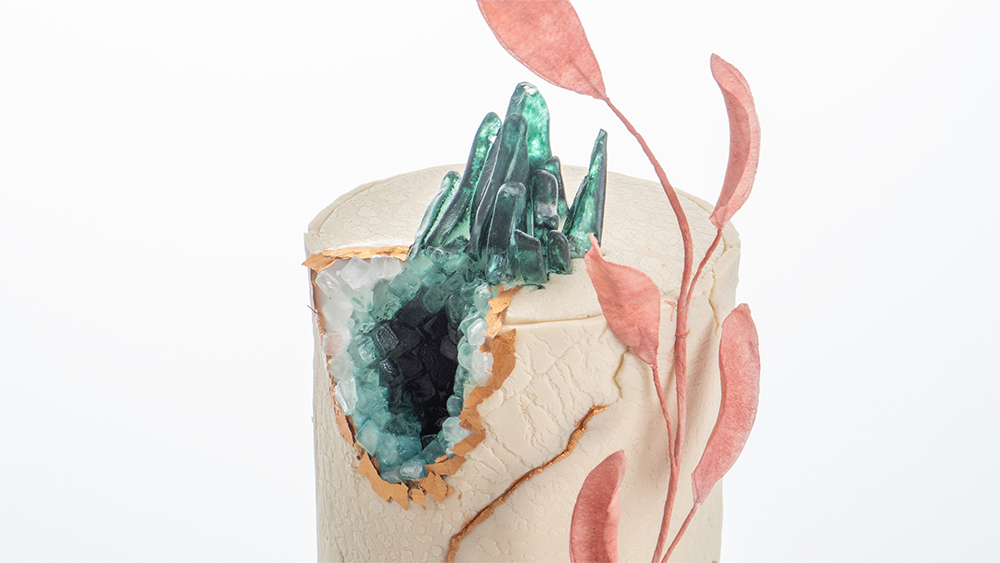
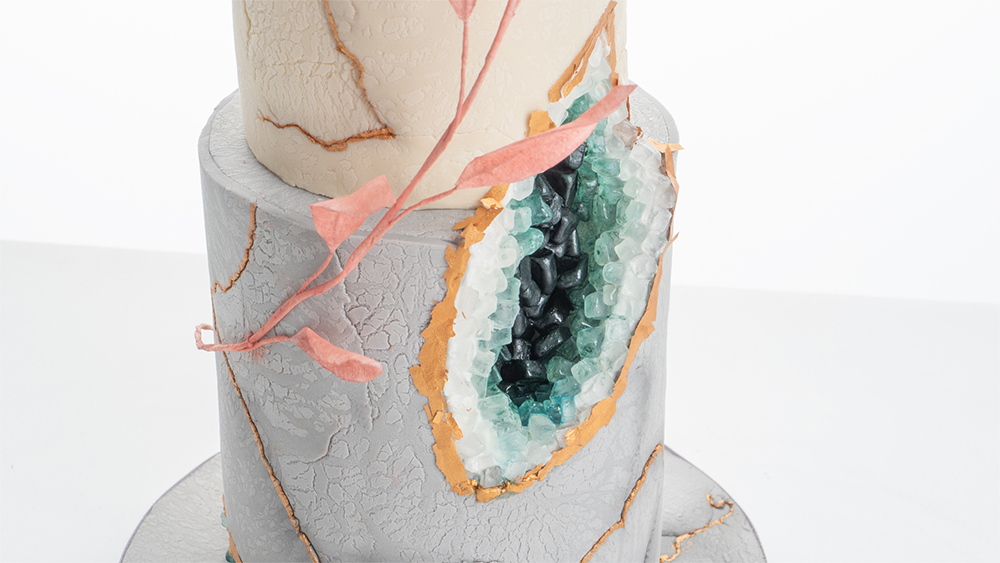
9. Applying the geodes
In this lesson, you will learn how to create the geodes using the isomalt that was prepared in the first lesson. This is a fantastic technique to learn and a first for CakeFlix!
10. Painting the geodes
Now that the geodes are set in place, it’s time to paint!
11. Applying the gold leaf
12. Creating the wafer branch
In this lesson, Marc takes you through the first steps to creating the wafer paper branch which wraps around the cake.
13. Assembling the branch
Now that the leaves are made, it’s time to bring it all together and position the branch on the cake in an elegant fashion.
14. Finishing touches
To complete the cake, Marc highlights and shadows the concrete effect using luster dust to add a final layer which really completes the cake.
15. Other Ideas
Marc shares some other ideas you can try out during this project. We’re sure you’ve some of your own, and we’d love to see what brilliant alterations you’ve made.
16. Pro Lesson
Marc shares some insider information about the cost to make this cake. He also shares his advice on pricing and other vital information necessary for any professional cake designer.
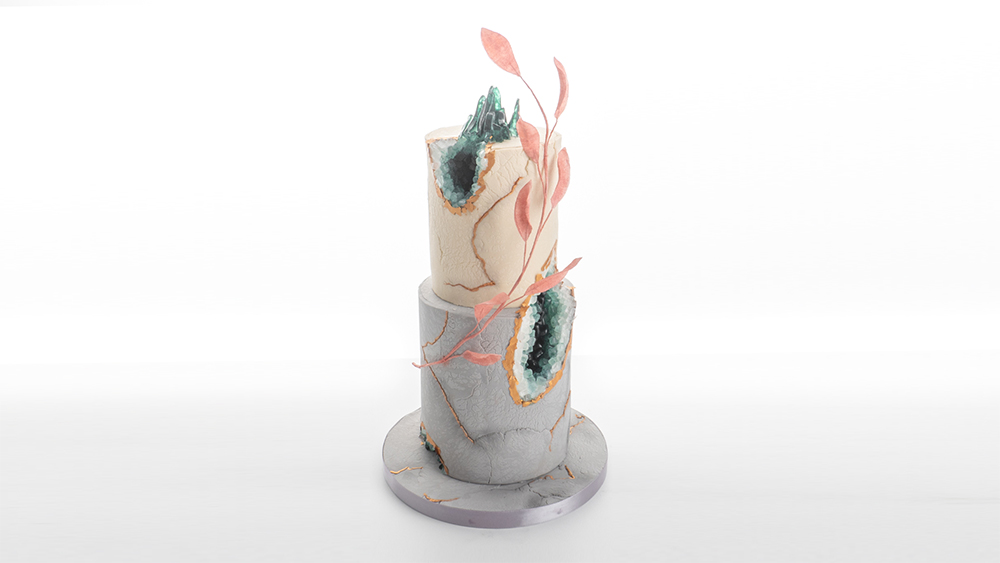
Concrete Geode Cake Tutorial
In this tutorial, we learn how to make this amazing Concrete Geode wedding cake design. Marc Suarez adds lots of helpful hints and tips along the way.
In the following tutorial, you will learn how to…
- Temper isomalt
- Concrete textured fondant
- Hand make isomalt geodes
- Hand make gold leaf
- and much, much more
Don’t forget to share your interpretations of this wonderful cake with Paul and the rest of the CakeFlix community on our Facebook group.
View hundreds of more world-class tutorials only at www.cakeflix.com.