Tutorial Preview
Highlights
If you are struggling to find the time to watch each and every lesson then this is the video for you. Here we have selected all the key points and condensed the whole tutorial into a 10 min video. More than enough to get you started!
1. The Design and Creating the Heart Shape
Paul takes us through the design of this cake and as the cake underneath will be quite simple and require almost no carving he recommends that we get straight to making all the decorations as they will need time to dry. He starts us off by showing us how to create the template for the heart that will hang on the cake.
2. Making the Driftwood for the Heart
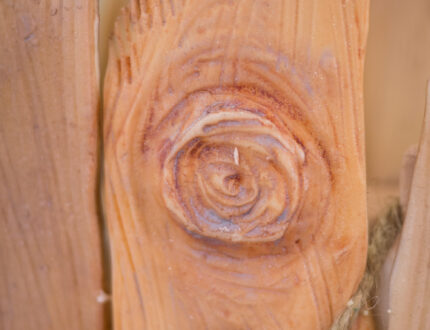
For the edible driftwood Paul uses a 50/50 mix of white modelling chocolate and flower paste. He then rolls it into a long thick sausage which he then cuts into smaller pieces. He demonstrates making various shapes and textures by ripping the pieces and marking them with a PME modelling tools and using scrunched up baking paper.
3. Covering the Heart
Paul shows us how to cover the heart in preparation for adding the decorations onto it. Paul uses white modelling chocolate rolled very thin and then covers it in strips with a little edible glue to secure it. Modelling chocolate is very strong and can be rolled very thinly but it was tough so you may want to use a pasta roller.
4. Making the Roses for the Heart
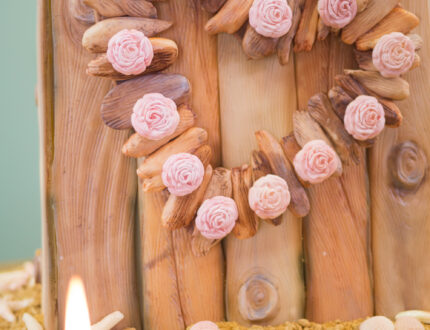
Paul receives an exciting package from his friend Mish full of lovely cake decorating goodies such as moulds, ribbon and dusts. Paul demonstrates how he will be making the roses by simply dusting the mould with some edible pearl lustre and dropping in a small ball of modelling chocolate and pressing it in. The lustre helps the rose fall out with ease and it also adds a lovely glitter effect.
5. Lesson 5 - Making the Decorations
For all the moulds Paul’s uses the 50/50 mixture again and demonstrates how to use all the various moulds with the help of lovely dusts.
6. Making the Large Driftwood
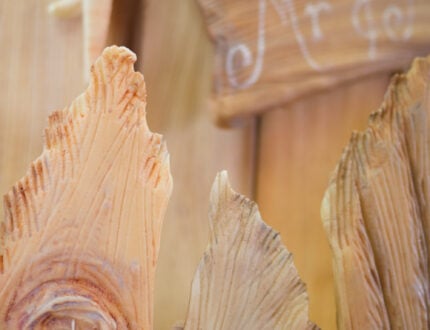
In this lesson Paul shows us how to make the large pieces of driftwood that will cover the cake. Paul rolls out the 50/50 mix and cuts it into pieces that are 2” wide and 14” long and approx 5mm thick. He then textures them using various modelling tools and by adding smaller pieces of modelling chocolate and blending them in. All will be revealed and it looks fantastic!
7. Making Additional Decorations
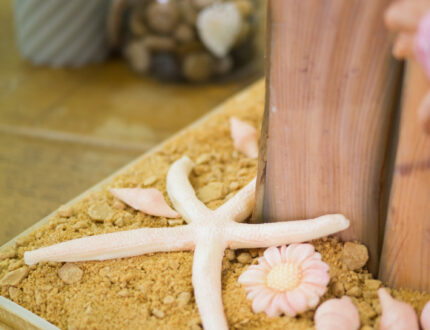
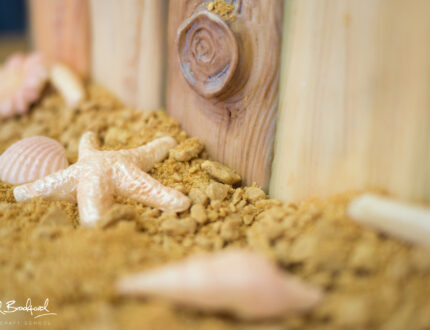
Paul shows us how to use the starfish moulds using lustre and sausages of modelling paste. They pop out easy enough with the use of a sharp knife or tool but come out even easier if put in a freezer for 5 – 10 mins.
8. Preparing the Cake
In this lesson Paul gets started on the cake and you’ll be pleased to know that there’s nothing to it. Basically just cutting it in halves and filling it with ganache and sticking in a few dowels as you go. Next is then covering the whole thing in ganache.
9. Ganaching the Cake
This may be starting to look quite intimidating but don’t let the size scare you. The shape is very simple and as long as you don’t use white chocolate ganache (doesn’t set as well) you will be fine. Take your time and try and allow each section to set before moving onto the next. Paul then shows us how to stack the rest of the cake…yes there is more.
10. Covering the Cake and Painting the wood
Paul shows us how to cover this monster and reminds us not to get too concerned with it looking perfect as it will be surrounded by pieces of edible driftwood and won’t actually be seen. He then goes onto demonstrate painting the pieces of driftwood using two different dusts mixed with high percentage alcohol and later will be lightly painted with a silver colour as well.
11. Painting and Dusting the Decorations
In this lesson Paul takes us through all the various paints and dusts used for the decorations. He shows us how to mix them to get all the lovely shades and how to create a realistic distressed wood effect. You may want to wear a mask for this part as it It get’s very dusty indeed!
12. Finishing the Heart
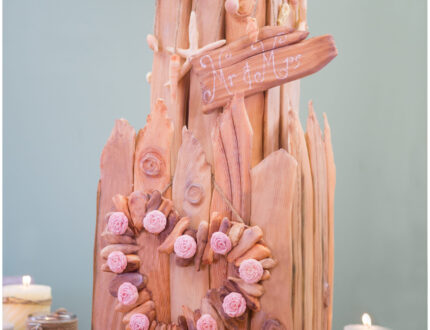
Paul shows us how to arrange the little pieces of driftwood onto the heart that we made earlier. He secures them with some royal icing (he advises you could use brown royal icing) and then gets rid of any excess with a damp paintbrush.
13. Attaching the Wood to the Cake
In this lesson Paul shows us how to finish off the large pieces of wood with a little more dusting and then shows us how to secure them to the cake.
14. Airbrushing the Cake
In this lesson Paul shows us how to airbrush the cake to get rid of any obvious white through the gaps between the wood and general how to bring it all to life. If you don’t have an airbrush you can always just paint with a brush but the airbrush is quick and gives you a lot of control.
15. Stacking the Cake
This part is actually quite scary and you may want a second pair of hand or even a step ladder when adding the second tier. Use plenty of dowels to ensure it doesn’t collapse and you may want to use a little royal icing or ganache to help stick it down.
16. Making the Sand
Paul shows us how to make some realistic edible sand to add around the bottom of the cake using sugarpaste, brown sugar and various dusts.
17. Preparing the Decorations
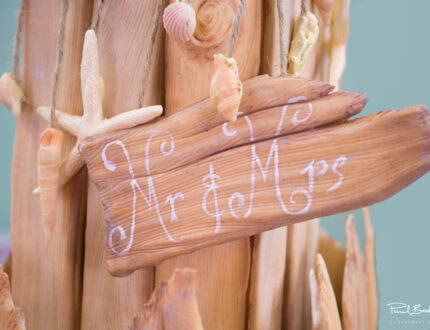
Paul starts of by adding the edible sand to the bottom of the board and as there will be a slight lip once everything is ready there is no need to secure it with ganache or edible glue. The it’s onto preparing the decorations that will hang on the cake. Paul uses some lovely hessian string attached with a little melted white chocolate ganache. Very tasty edible glue indeed.
18. Finishing Touches
Now it’s time to add all the lovely decorations and finish it all off. Paul shows us how to hang the decorations in a way that is not only food safe but will ensure that nothing falls off or gets damaged in transit.
19. Other Ideas
In this lesson Paul shares some ideas that you can implement when making this cake to make it unique to you. We would love to see your versions of this cake so please share your pictures with us on our facebook page.
20. Pro Lesson
In this lesson Paul gives some insider info for this cake including the cost to make it as well as how much you should price the cake at when selling it. Vital information for any professional cake designer.
Paul introduces us to this stunning Driftwood Wedding Cake, which is perfect for seaside celebrations or to add rustic charm to a special event. This tutorial incorporates many different techniques including preparing and covering a large tiered cake, working with moulds, dusting, edible painting, creating wood textures with modelling chocolate and much more. A beautiful cake which is ideal for a large event or wedding, this is one that will surely impress. Aimed at advanced level cake decorators, this design will take two to three days to complete allowing for drying time.
We would love to see your take on the Driftwood Wedding Cake – please share your photos with us on our Facebook Page!
