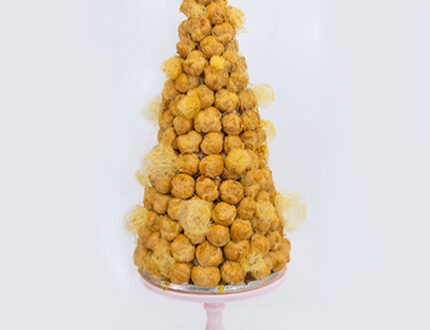
Tutorial Preview
Highlights
Here we have carefully selected all the key parts that should be more than enough to get you started. Perfect for those of us who are struggling to find time to watch the entire tutorial.
1. Filling the Profiterole
Paul is going to be challenging himself in this tutorial and facing his old nemesis – spun sugar! It can be tricky to get right and especially when under pressure but Paul is determined that we can all do it with ease. Paul starts off by making a lovely thick cream which he then uses to fill the profiteroles using a large plastic piping bag.
2. Preparing the Tower and making the Caramel
In this lesson Paul shows us how to prepare the large cone which will then be covered in cream filled profiteroles! Before that however we need to make the caramel. This can be quite tricky but as long as you are attentive and keep checking it as you go you should be fine. Paul keeps the sugar and water on a high heat for a good 18 mins or so but this may depend on the thickness of the pan and so on.
3. Attaching the Profiteroles
So now that Paul has made the caramel it is time to start attaching the profiteroles to the cone. Just be careful when doing this as the caramel is very hot. As well something that Paul will mention later on is that this has an effect on the cream inside the profiterole but I’ll let Paul explain!
4. Attaching the Profiteroles and Spinning the Sugar
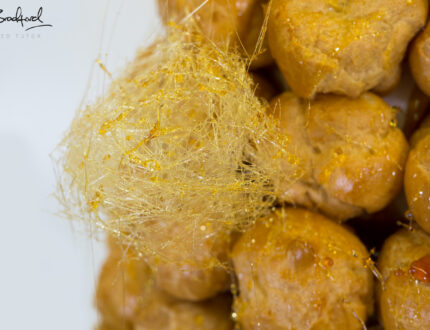
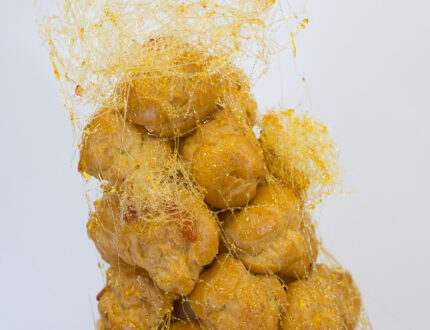
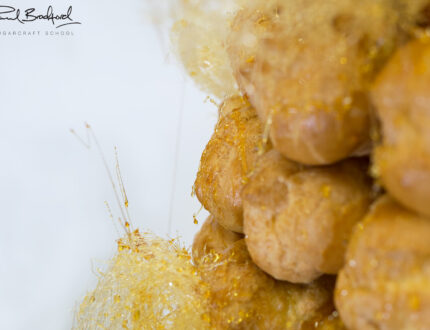
So now we’re onto having a bit more fun with the sugar and Paul uses a clever technique of holding two forks together back to back, dipping into the caramel and shaking the sugar onto the cake. Within seconds it begins to dry and form lovely shapes and web like textures. Paul then shows us how to create balls with the sugar which will eventually be attached to the cake.
5. Creating Various Shapes
In this lesson Paul has fun creating different shapes using the spun sugar technique over different objects. The idea is to find surfaces that will allow the sugar to be easily lifted once set and ones that will create interesting shapes and textures.
6. Finishing Touches
In this final lesson Paul attaches the spun balls to the cake and gives the whole tower just one last little drizzle to finish it all off.
7. Other Ideas
In this lesson Paul shares some further tips as well as some other ideas you can incorporate when making this cake to make it unique to you.
We would love to see your take on this Croquembouche – Please share your pictures with us on our Facebook page!
8. Pro Lesson
Here Paul shares some insider information including portions, time to make and pricing and so on. Vital information for any professional cake designer.
In this tutorial, Paul demonstrates how to make a tasty filling for profiteroles as well as how to create spun sugar, which has previously been his nemesis causing many a headache and stressful situations. But Paul has summoned the courage to face it once more and shows us an easy and reliable way to create the caramel and various shapes to really have fun with it!
The French Croquembouche can be adapted to suit a number of occasions and the technique of creating and working with spun sugar can be used time and time again.
We would love to see your version of the French Croquembouche – please share your snaps with us on our Facebook Page!


