Tutorial Preview


Highlights
Here we have selected some of the key parts of this tutorial and condensed it into a short video. More than enough to get you started for those of you struggling to find the time to watch the whole tutorial.
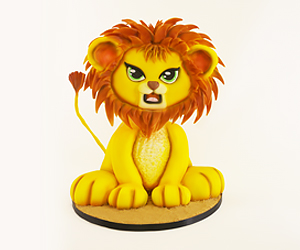
1. The Design and Carving the Cake
Paul introduces us to his idea and he has been getting creative and made some cute drawings to bring the idea to life. Paul then creates a template for himself to cut out sections of cake to form the body and then again for the feet. These templates are available for download in the “templates” section.
2. Ganaching the Cake
Now it’s time to ganache the cake. Just make sure the ganache is melted enough that it doesn’t tear the sponge. If it does, just a few seconds in the microwave and you’ll be fine. Put on a nice thick layer of ganache and don’t worry about it being neat. Let it set for a few minutes and get a palette knife and smooth it off with warm water.
3. Covering the Cake
Here Paul shows us how to cover the entire body in one big piece of sugarpaste. Paul uses his rolling pin to gauge the size of sugarpaste he’ll need to roll out by measuring it against the cake. He then rolls out a large piece around 2mm thick and lifts it over the cake where he then works away the pleats by rubbing the pulling the sugarpaste.
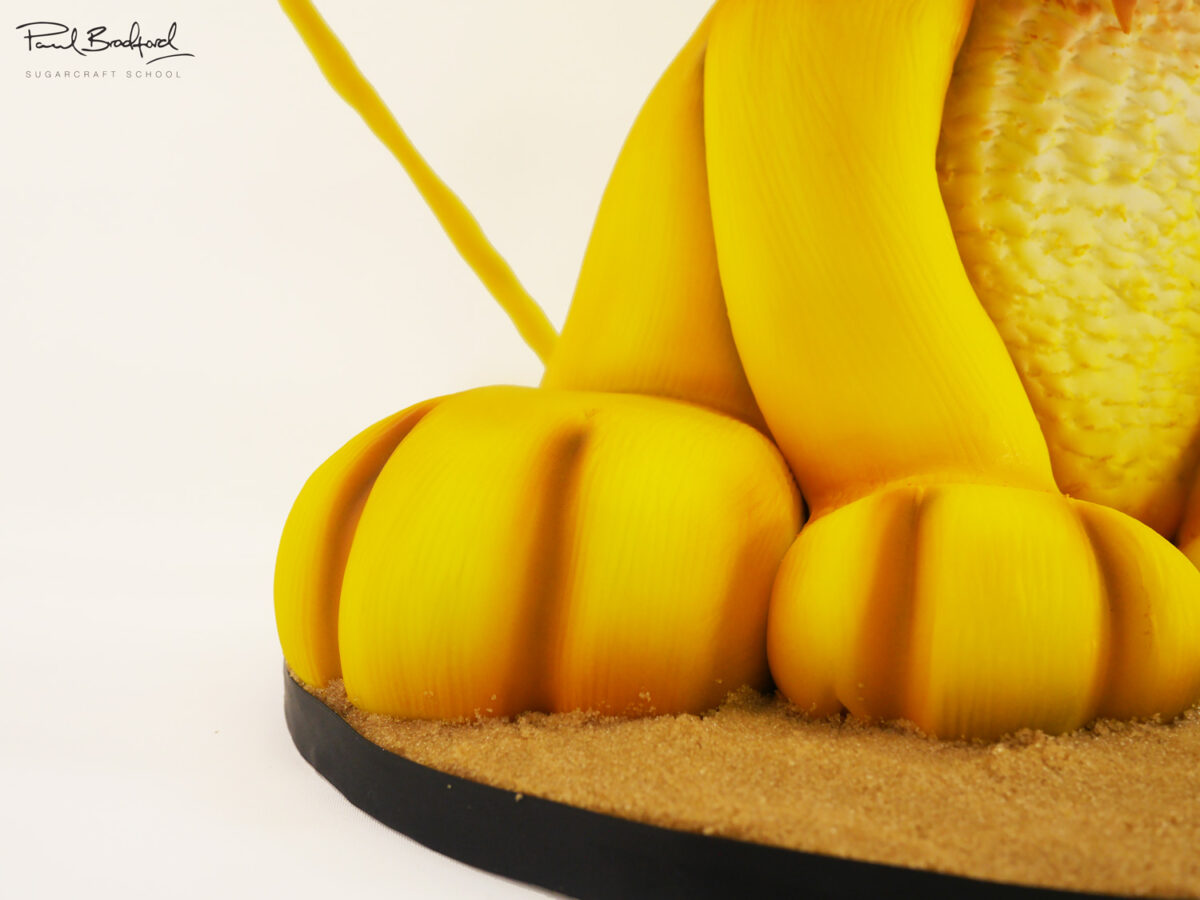
4. Making the Legs
For the legs, Paul rolls out a large thick sausage of sugarpaste, cuts it half and then creates a suction like part at one end which then cups over the feet so he can blend them in. Just make sure both legs are the same thickness and obviously rolling out one large sausage helps make this easier.
5. Lesson 5 Creating the Chest Hair
To create the hair/fluffy texture, Paul adds an additional piece of rolled out sugarpaste to cover the front of the body which he then textures by cutting into the small nail scissors.
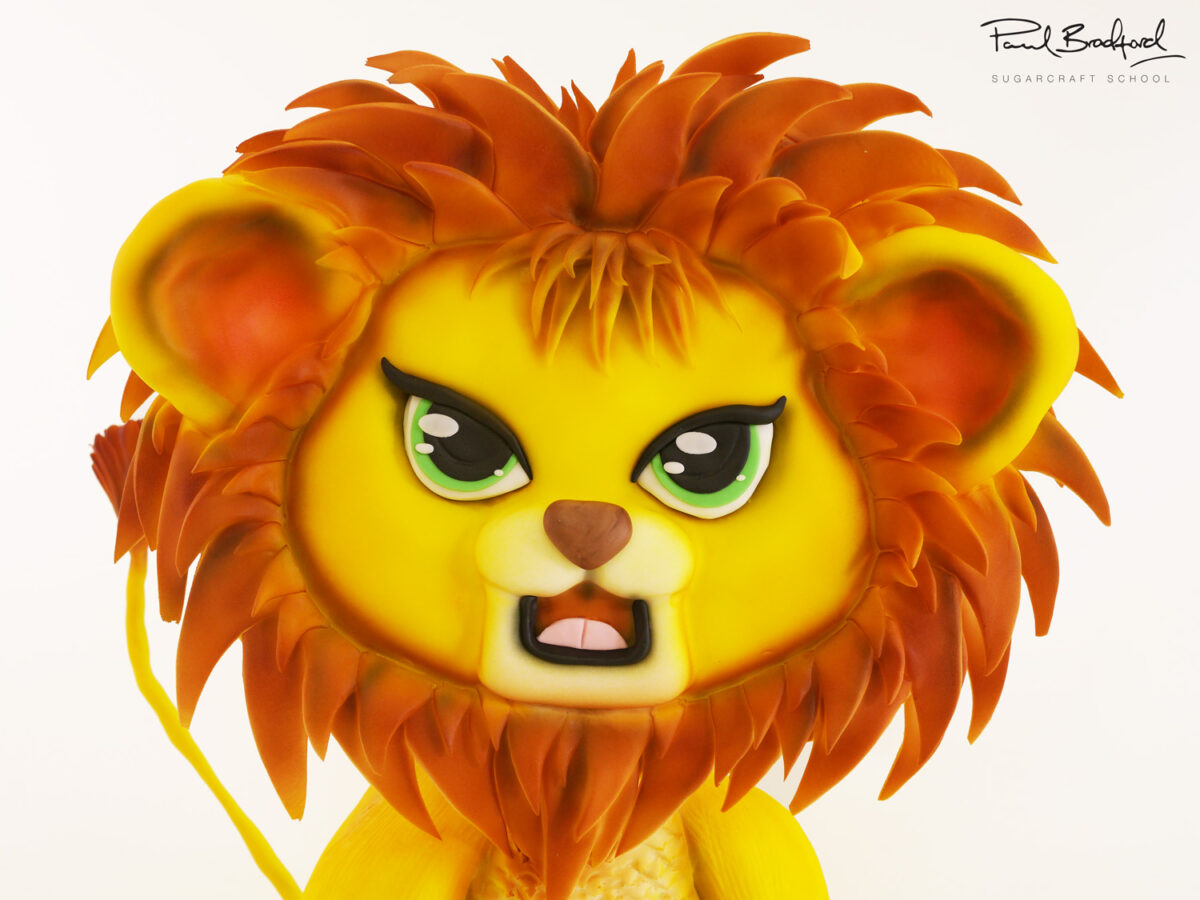
6. Building Up the Face
For the head Paul uses cake dummy which he then carves into the desired shape. To help keep him right he first draws out a face on a piece of paper and then closely traces the outer shape with a pen on the cake dummy which he then uses as a guide for carving. Just make sure you do this somewhere where you can make a mess without contaminating your cake.
7. Attaching the head
Here Paul begins to bring the head to life by again mapping out what he’s going to do by drawing onto the cake dummy with an edible pen. He then rolls out sausages of sugarpaste and gradually builds up the features. He then rolls out a large thin piece of sugarpaste which he drops onto them and brings them out using a ball tool. Paul then realises that he should have covered the whole front of dummy in one go as opposed to cutting away the excess and so corrects himself. Paul uses a wooden dowel to support the head.
8. Covering the Back of the Head
Paul now covers the back of the head and textures it lightly with the shell tool like the rest of the body in preparation for the mane.
9. Lesson 9 - Creating the Lion Mane and the Ears
Here Paul adds the ears and the lion’s mane. Now of course a young lion wouldn’t have a mane but this is the cake world… so feel free to use your imagination 🙂 Paul creates the mane by rolling out little tapered sausages and then cutting them to a point and placing them on with some edible glue.
10. Finishing the Mane Adding the Tail
Paul finishes of the mane by adding lots of smaller tapered sausages toward the bottom of the face and then gets clever with a wire coat hanger to make the tail. Watch to find out!
11. Airbrushing Pt 1
Now it’s onto the airbrushing and Paul starts off by adding yellow as a base layer but leaving the chest and parts of the face. He then applies a little brown and begins to darken the overall colour.
12. Airbrushing Pt 2
Here Paul finishes off all the airbrushing first of all with airbrushing black onto certain parts to shade it and really bring out the 3D look. Then it’s the finer details like adding pink to the ears and mouth and so on.
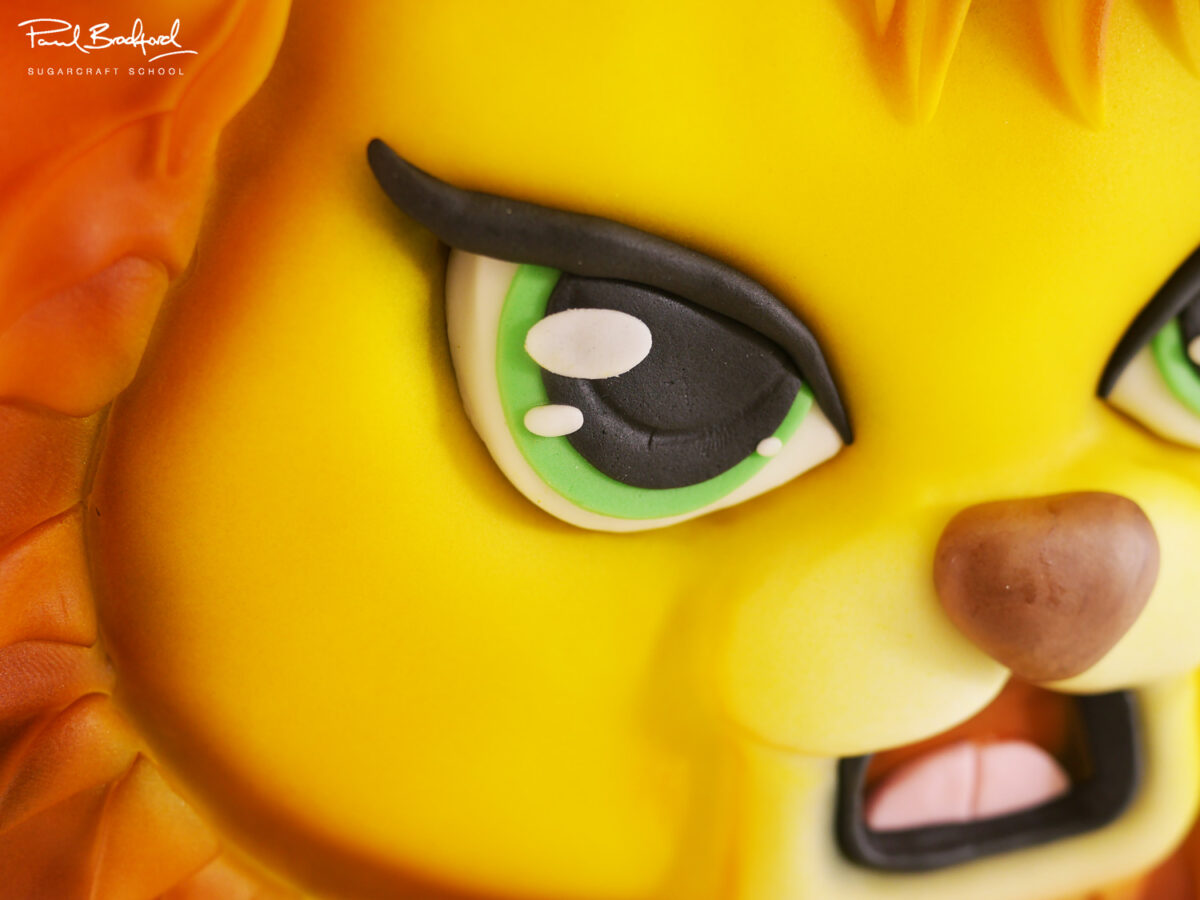
13. Adding the Eyes
Now Paul starts on the eyes using white, green and black sugarpaste and using little balls of white to give the illusion of a reflection. Paul uses the eye template but finds that it is a little too big as the sugarpaste covering the face will have reduced the size so please bare this in mind.
14. Finishing the Eyes and the Mouth
To finish of the eyes Paul uses a very small plunger cutter to add a nice shine effect with little bits of white sugarpaste. He then goes onto add a cute little tongue using a mixture of pink and brown sugarpaste and uses a circle cutter to get a nice shape.
15. Finishing Touches
Paul shows us how to cover the board in a nice quick and easy way, albeit it slightly messy! Then it’s simply a case of picking a nice ribbon and then deciding what other little bits you might like to add. Of course you could also add whiskers. Paul opts not to but advises you could use white wire to make some nice whiskers.
16. Other Ideas
Here Paul shares some other ideas you can incorporate when you make this cake to make it unique to you.
We would love to see your take on the Lion Cub Cake – Please share you pictures with us on our facebook page.
17. Pro Lesson
In this lesson Paul shares some insider information on how to price up this cake. Costs are an important factor when it comes to pricing as is portion control. Vital information for any professional cake designer.
We would love to see your take on the Lion Cub Cake – please share your pictures with us on our Facebook Page!