Tutorial Preview
Highlights
Here, we’ve carefully selected the key parts from the entire tutorial and condensed it into an 10 min long video. More than enough to get you started without taking too much time.
1. Assembling the stand
In this lesson Marianne shows us how to assemble the gravity defying board. You may want a little help from your local DIY shop, but it’s surprisingly a very easy stand to put together.
2. Making the stand food safe
Now it’s time to make sure there’s no contamination when carving the cake on the stand. Marianne shows us how to safely make the whole stand food safe using modelling chocolate, straws and cling film.
3. Carving the cake
In this lesson we see the flamingo shape take form. Marianne also shows us a very clever way of building up shape using cake crumbs, where nothing goes to waste.
4. Ganaching the cake
Marianne now covers the cake in thin layers of ganache allowing it to dry between each. She then goes over it with a flexi smoother. The result is one lovely, smooth-looking cake.
5. Working on the body
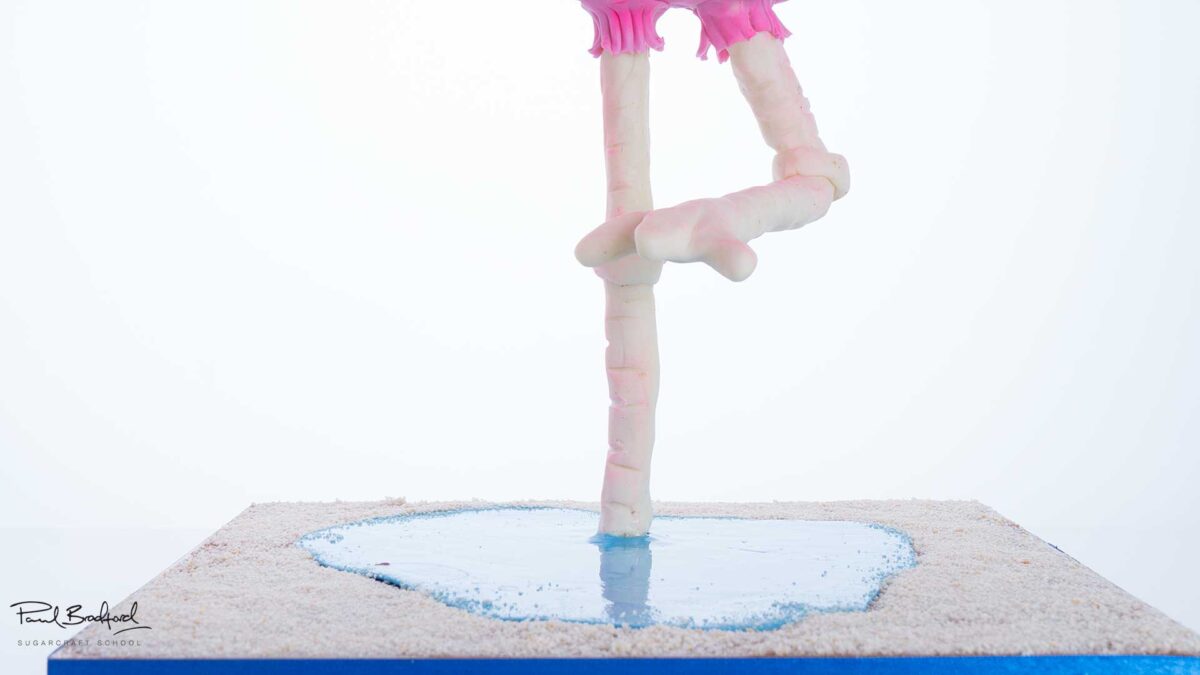
Marianne builds up the head and legs using modelling chocolate and tin foil, which will later be covered in sugarpaste.
6. Covering the body
In this lesson Marianne shows us how to cover the body and get rid of joins along the way.
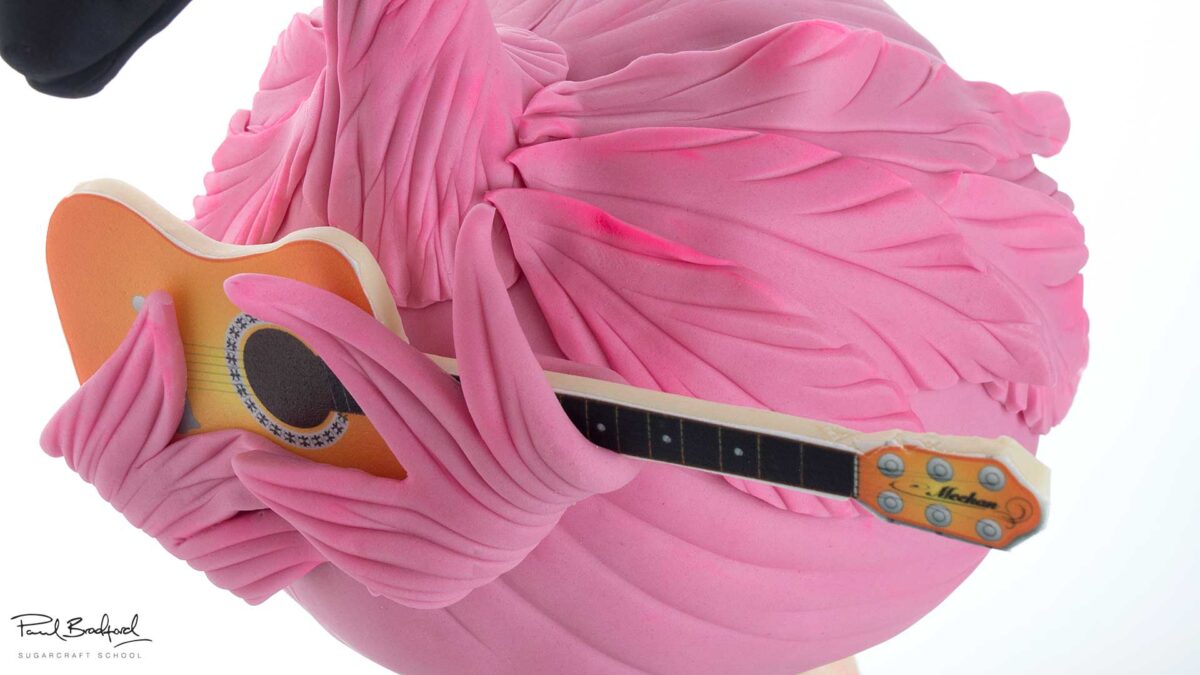
7. Adding the feathers
In this lesson you’ll learn about covering the neck and head, and making feathers for the body. Marianne also demonstrates how to get rid of obvious joins.
8. Lesson 8 - Adding detail
Marianne now adds the final feathers, as well some little extra ones, to create a little hairdo. Then she adds some nice dust work to make the feathers pop.
9. Adding the eyes and covering the board
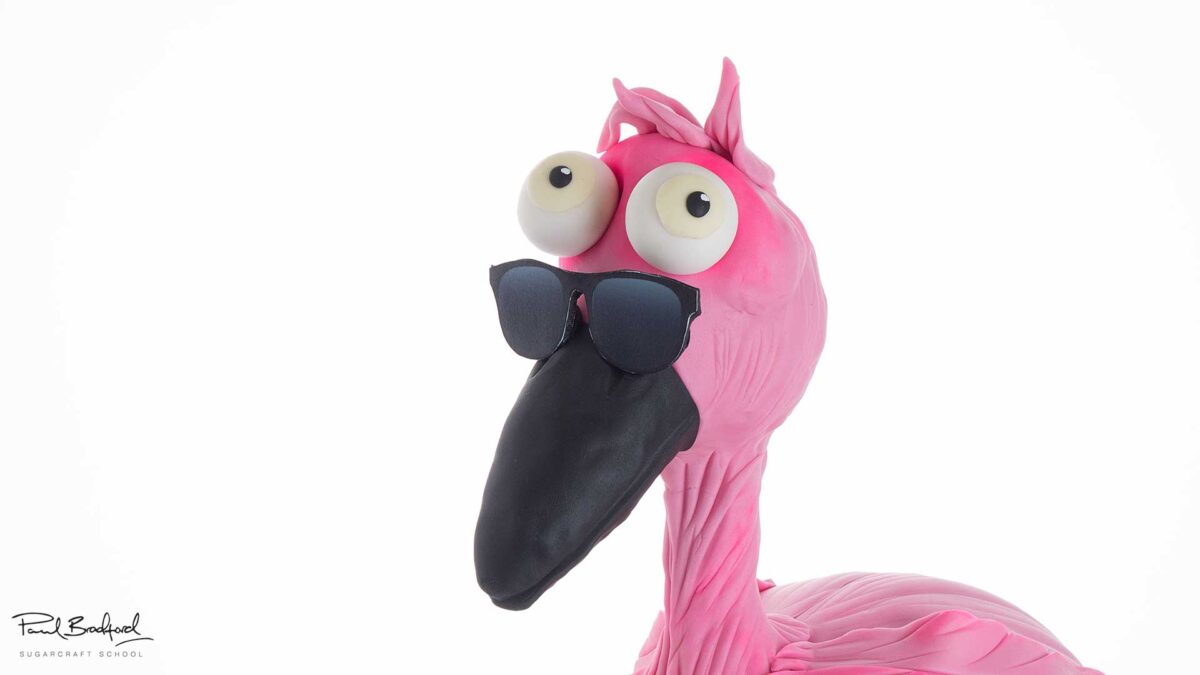
In this lesson Marianne adds some crazy eyes, and then shows us a great way to get a wet shiny surface using a homemade recipe.
10. Finishing touches
Now it’s time to finish it all off with some cool sunglasses and a cute little acoustic guitar. The templates for these are available below.
11. Other ideas
Marianne shares some other ideas you can try out during this project. We’re sure you’ve some of your own, and we’d love to see what brilliant alterations you’ve made.
Share your pics with us on our Facebook page.
12. Pro lesson
In this lesson, Paul shares some insider information about the cost to make this cake, as well as pricing, portions and other vital information for any professional cake designer.
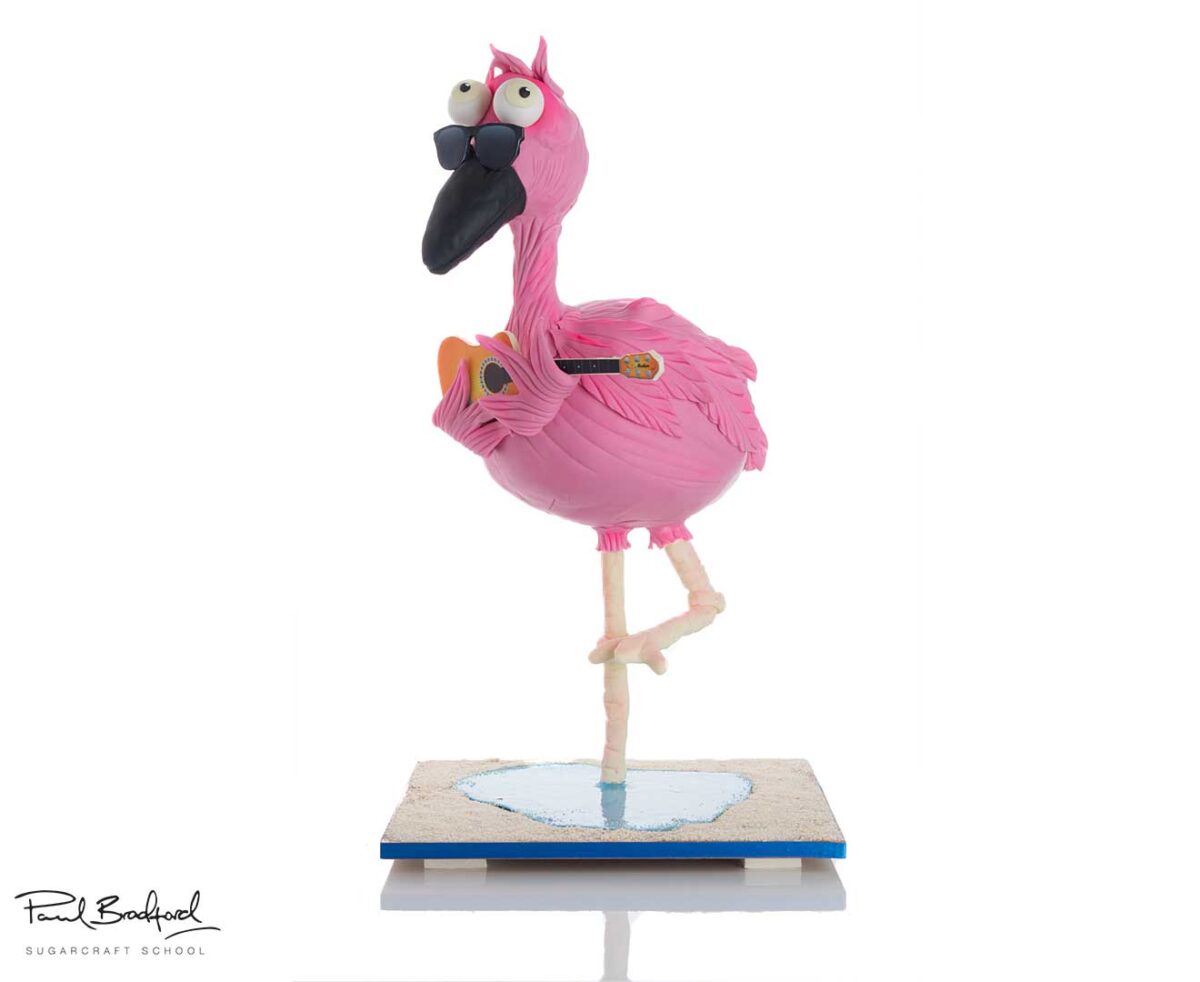
Pink Flamingo
- Scientific name: Phoenicopterus roseus
- Height: 3.3-4.7 feet (1.0-1.4 meters)
- Weight: 5.5-8.8 pounds (2.5-4.0 kilograms)
- Wingspan: 5.2-6.2 feet (1.6-1.9 meters)
- Lifespan: 20-30 years
- Habitat: Shallow lakes, lagoons, and estuaries in tropical and subtropical regions
- Diet: Algae, small crustaceans, and insects
- Conservation status: Near threatened
Physical Appearance
The pink flamingo is a large, long-legged wading bird with a long, curved beak and pink plumage. The beak is black with a white tip, and the legs are long and slender. The wings are long and narrow, and the tail is short and black.
Behavior
Pink flamingos are social birds that live in large flocks. They are filter feeders, and they use their long beaks to strain algae and small crustaceans from the water. Flamingos are also known for their elaborate courtship displays, which involve marching, dancing, and calling.
Reproduction
Pink flamingos breed in large colonies. They build nests on the ground, and the female lays one or two eggs. The eggs are incubated by both parents, and the chicks hatch after about 30 days. The chicks are born with gray feathers, and they turn pink as they mature.
Importance
Pink flamingos are important members of the ecosystem. They help to control the population of algae and small crustaceans, and they are a food source for other animals, such as eagles and hawks. Flamingos are also a popular tourist attraction.
Don’t forget to share your interpretations of this wonderful cake with Paul and the rest of the CakeFlix Family on our Facebook group.
View hundreds of more world-class tutorials only at www.cakeflix.com.