Tutorial Preview
Highlights
Here, we’ve carefully selected the key parts from the entire tutorial and condensed it into an 10 min long video. More than enough to get you started without taking up too much of your time.
1. Carving the cake
Paul has to work around using a round cake for a square design so it will be a lot easier for you. It’s always best to layer the cake horizontally as it will make easier to work with when covering and decorating.
2. Ganaching the cake pt 1
Paul now spreads on thick layers of ganache all over the cake in preparation for covering the rest of it in sugarpaste.
Paul is a little nervous using only milk chocolate ganache, and so recommends either using dark chocolate instead. Or at least using a single layer of it on the outside before icing the cake.
3. Ganaching the cake pt 2
Now it’s time to do the scary part where we flip it over and ganache the other side. Just follow Paul’s instructions and you’ll be fine. It’s then time to get a little messy with our hands to smooth it all out.
4. Ganaching the cake pt 3
Paul then applied another thick layer of chocolate ganache. He smoothes out the sides and fills out any gaps.
5. Making the speaker cover
Paul makes things a lot easier with the use of a texture mat to create the material covering the speaker. If you aren’t able to get a texture mat you could always use A PME blade and shell tool along with a ruler and mark it out on sugarpaste.
6. Covering the cake pt 1
Paul covers the cake in a lovely duck egg blue sugarpaste going from one side of the cake to the othe. He then cuts out a section of the cake to put in the controls.
7. Covering the cake pt 2
Here, Paul covers the front of the cake and then cuts away a section using a template that is available for download. This then reveals the speaker and now all that we need to do is neaten up the joins.
8. Cutting out the “M” and adding detail
Paul makes an M in the tutorial. However, you can use the technique learned here to make any letter you like.
9. Adding bling and more detail
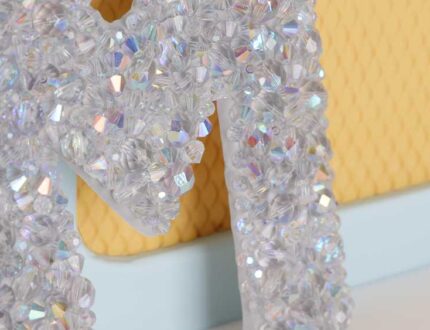
Now that the letter has dried a little, Paul now adds some lovely non-edible crystals with a little edible glue. It’s important to let the letter set even more before handling it too much. Paul would have liked to have used his edible printer for the display but unfortunately, it’s in the huff.
You can use an online service for this if you don’t have an edible printer of your own.
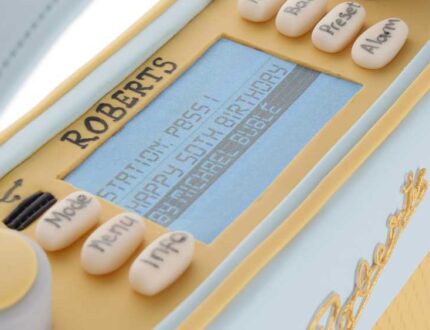
10. Adding control buttons
In this lesson, Paul adds some text to the buttons to bring them to life. He then adds some further details to the cake to make it look like a real radio.
11. Adding the handle
For the handle Paul uses some cake card which is cut to seize and sandwiched between two pieces of sugarpaste.
12. Adding the logo and finishing the handle
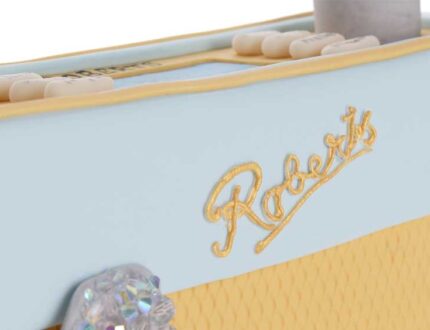
You’ll need some steady hands when piping the logo. Alternatively you could use an edible printer but matching the colours could be tricky.
13. Finishing touches
Firstly Paul covers the board in sections and gets rid of the joins with a little icing sugar. Now it’s just a case of adding the lovely gold finishes on the handles and we’re all done!
14. Other ideas
Paul shares some other ideas you can try out during this project. We’re sure you’ve some of your own, and we’d love to see what brilliant alterations you’ve made.
Share your pics with us on our Facebook page.
15. Pro lesson
Paul shares some insider information about the cost to make this cake. He also shares his advice on pricing, portions and other vital information necessary for any professional cake designer.
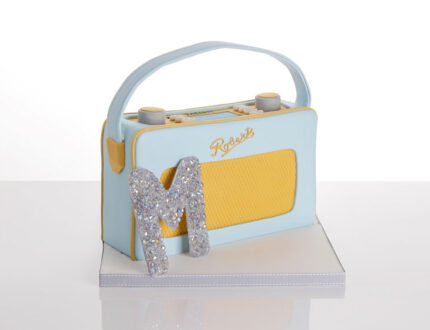
In this tutorial, Paul shows us how to make a retro style radio cake based on a dear friend’s favourite household item.
Once you learn how to make this cake, you’ll be able to create all sorts of designs including handbags & houses. The possibilities with this design are endless.
This cake is perfect for birthday parties and lovers of music.
Follow this cake tutorial with Paul to pick up some new skills and techniques which include:
- Stacking and carving cake
- Working with ganache
- Decorating with sugarpaste
- Cutting letters
- Piping with royal icing
This tutorial is perfect for an intermediate cake designer looking for their next challenge.
We’d love to see your take on the Radio Cake – so make sure you share your photos with us on our Facebook page.
You can also use our recently updated cake calculator to work out portions, ganache, sugarpaste and more.


