Tutorial Preview
Sandal High Heel Shoe
with Paul Bradford
Skill level:
Intermediate
HD Lessons:
9
06:49
1. Preparing the Shoe
Coming up with a design for a specific designer shoe can be a bit daunting, but with the right preparation and following the way Paul researches and prepares, the entire process will be quite straightforward. There are templates to help which are in the tools tab above or if its easier available here:
PDF – Sandal High Heel Templates
PDF – Sandal High Heel Templates
10:09
2. Sole of the Shoe
In this lesson, Paul makes a start on the sole of the shoe. Remember to add the stitch detail around the edge which is best done at this stage. Unfortunately Paul forgets and it was certainly harder to add later!
09:57
3. Preparing the Heel
Once the sole has set, it’s time to work out the rough height and size of the heel. Using rolled flower paste, you will prepare the heel which will give sufficient time for the flower paste to set by the time you come to use it.
12:03
4. Adding the Platform
Giving the shoe the right platform is crucial to get the desired end result. Paul takes a very minimalist approach which is a transferrable technique and can be applied to a variety of shoe designs.
09:46
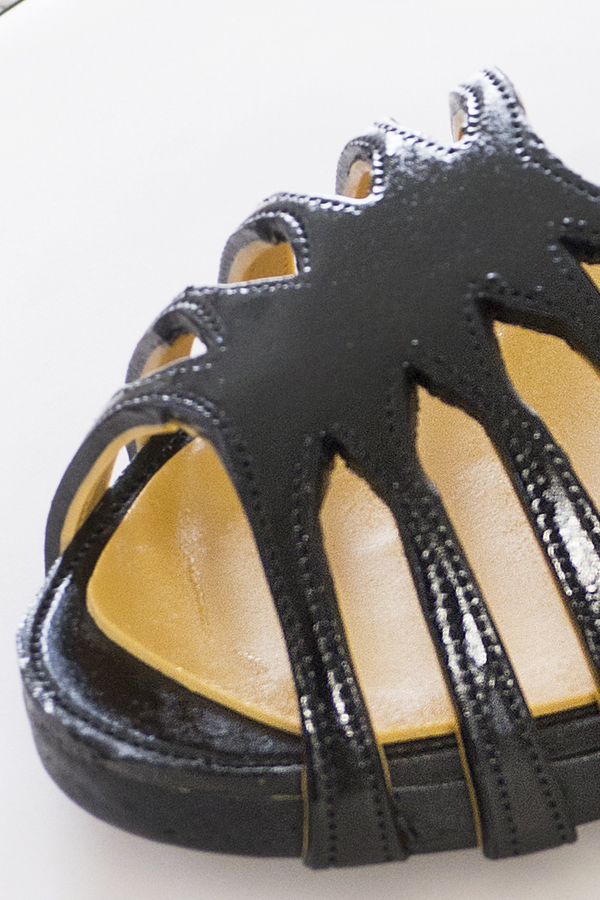
5. Adding the Straps Part 1
This can be tricky, but if you’re following Paul’s design there’s a template attached which you can download from the Tools tab above. If you have your own design, then this technique will be very helpful too.
06:33
6. Adding the straps Part 2
In this lesson, Paul continues to add the straps. You can download templates for this part of the tutorial from the Tools tab above.
17:19
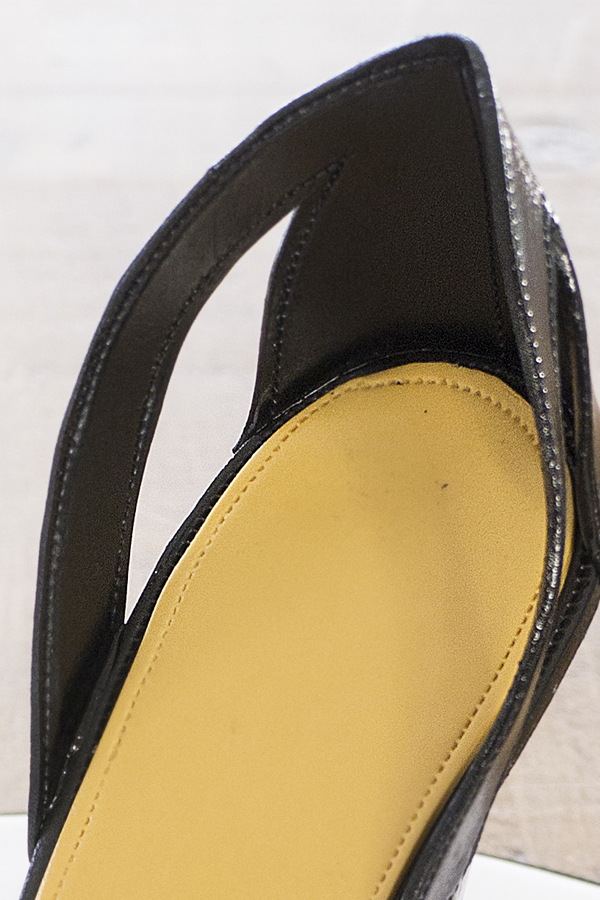
7. Adding the Heel Strap
This part of the tutorial involves creating a very distinctive part of the design and just needs a careful eye when shaping and cutting. The flower paste is very forgiving and will hold in place and set to the desired shape.
10:05
8. Adding the Heel and Finishing Touches
In this final lesson, Paul adds the heel to the shoe, then glazes the finished piece and positions it on the board. The finished shoe can also be added on top of a cake and there are loads of hints, tips and ideas in this lesson on how to add to the decoration and present the shoe.
02:37
9. Other Ideas
Paul talks us through ways in which the design of the shoe can be adapted to make it more personalised. We would love to see your take on the Sandal High Heel Shoe – please share your photos with us on our Facebook Page!
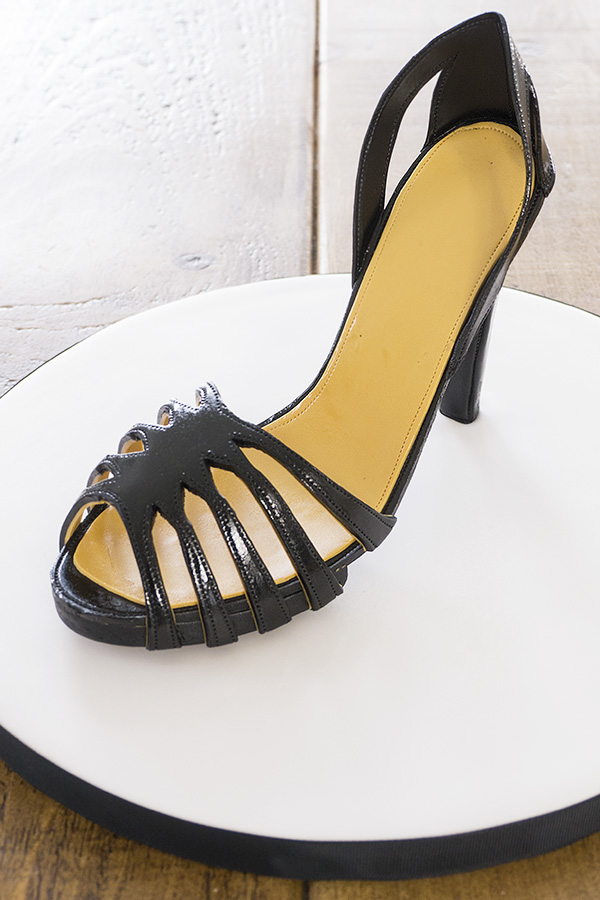
Paul introduces us to his Sandal High Heel Shoe which can be added on top of a variety of cakes, and is particularly striking when paired with a shoe box cake. This takes approximately four hours to create and is suitable for intermediate level cake decorator.
We would love to see your take on the Sandal High Heel Shoe – please share your photos with us on our Facebook Page!