
You don’t have to spend hours searching the mall for the decorations for your party. You can take the trending part and do it yourself with fonts and design bundles. Crafting cake toppers with your hands allow you to add a personal touch, spice, and style things up to your taste. Here’s how you can go about designing one using fronts and design bundles.
What You Need to Make Cake Toppers
To get started on your cake decorations, you’d need to have the following essentials.
- Cardstock Patterned paper
- Fonts and Design Bundles
- Silhouette machine
- Hot Glue Gun or Sticky Glue
Many people often buy design bundles online to have an extensive range of options while having that professional touch to make things perfect. For cake enthusiasts, MasterBundles is often the go-to option, owing to its affordability and high quality. You get to skip the hassle of starting from scratch or using boring fonts, and instead. They often come in various formats such as Google Slides, PowerPoint, PNGs, and more.
Making Cake Toppers Using Fonts and Design Bundles
Here’s how to make cupcake toppers.
Type and Choose Your Fonts
Startup your software, then proceed to type the words you want displaying on your cake or cupcakes. A rookie mistake is to type out the entire sentence leaving you with less editing control. Instead, type these words separately. For example, Happy, Birthday, Four, and the number 4. This way, you have more control over the editing sequence and final product.
After typing, highlight all words and proceed to pick a font from your design bundle. Your templates mean you can skip the time spent designing from ground zero to just applying the themes you want for your cupcakes. The next task is selecting the right shape for the number of cake toppers. Many clipart images are available for a birthday cupcake silhouette; choose your preferred option, and it’ll appear on your work page.
Editing and Resizing
You can change your clipart image’s properties, such as editing the texture, size, background, and more. Select the file and click ungroup to make alterations as you deem fit. You can resize the images to fit the dimensions for your cupcakes, as they’d serve as background material for your toppers.
Offsetting
Highlight the first word on your work page, and create an offset around it using the offset feature. While still in this mode, it’s best to change the line’s color, so you won’t have to worry about moving the file when cutting parts of your cake toppers. Now, double-clicking on the offset would bring up the point editing tool. Click on the node point at the center of a letter and delete it to remove the center cut line. You can proceed to perform the offsetting procedure on the remaining words.
Final Steps
Remember your images will serve as a background for your number, and in this scenario 4. Line them up appropriately while ensuring they have different colored layers, so cutting is more effortless. How many cupcakes are you looking to have at your celebration? Resize and duplicate your toppers appropriately. Now, it’s printing time.
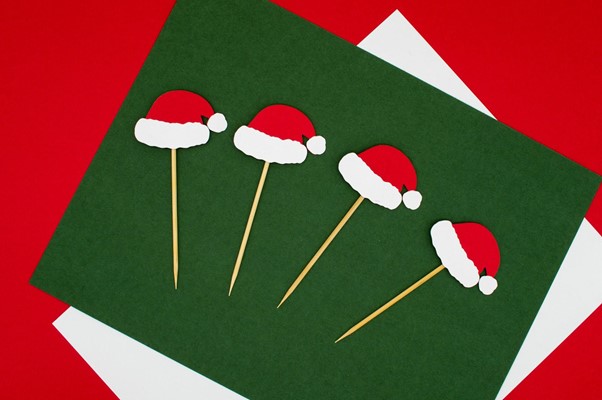
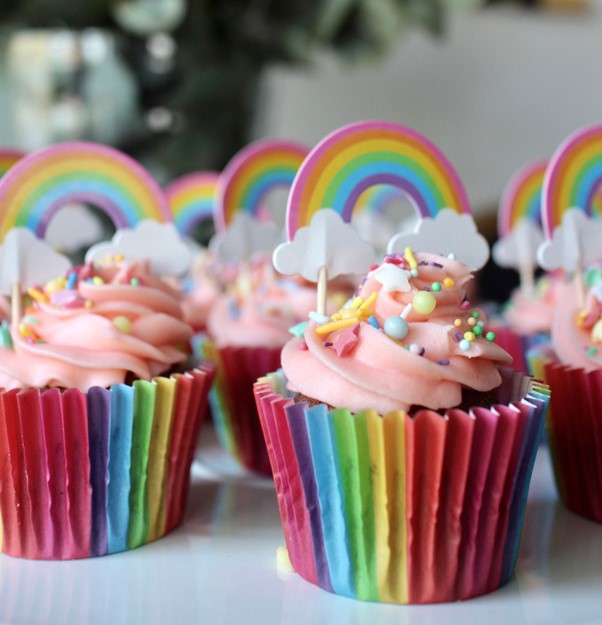
Cut with the birthday cupcake silhouette the different layers in your papers. You’ll need to add an adhesive to its back; a sticker machine or glue pen will do the trick. Afterward, layer your cutouts, and adhere toothpicks to each one. There you have it, your cake toppers are ready, and you can go on placing them on your cupcakes.
Last Words
Having cake decorations can help enhance the thrilling atmosphere, adding to the fun of your loved ones’ special day. You can create cake toppers in no time, especially when you have a template to work with on your computer. So, get online and let your creativity shine.
