Tutorial Preview
Bite Sized
This is our short promotional edit for this tutorial.
Highlights
Short of time? Watch the edited highlights of all the key learning techniques in under 11 minutes.
1. Making the stand
Paul talks through all the components and shows how to create this simple wooden stand.
For a list of items check out the Tools and Ingredients tab.
2. Carving the Cake
Paul now carves the shape of the rooster explaining every cut and placement as he goes.
3. Layering the cake
NOTE: Paul uses buttercream in the tutorial but strongly advises using ganache to help support the structure.
4. Covering the cake
Now its time to cover the cake. This is an awkward shape to cover so let Paul guide you through every step of the way.
5. Covering the legs and tail
To complete the covering stage, Paul shows how to neatly cover the legs and tail with sugarpaste.
6. Adding texture to the body
Time now to add some texture to the rooster. Paul shares some options before opting for his preferred method for this design.
7. Adding texture to the neck
The neck requires a different approach as the shape of the feathers is different. Let Paul guide you on his preferred method for this design.
8. Adding the tail
Using sugarpaste Paul gives some body to the tail then creates wafer paper feathers.
9. Adding the side wings
It’s now time to add the rooster’s wings.
10. Adding the head features
Our rooster starts to come to life as the wattle and comb are added.
11. Airbrushing
This design is an excellent opportunity to get the airbrush out and have some fun.
Paul finishes by adding the eyes and final finishing touches.
12. Other Ideas
Paul shares some other ideas on how to use the skills learned in this tutorial for future projects.
13. Pro Lesson
Our Pro business members get some extra insights and pricing suggestions.
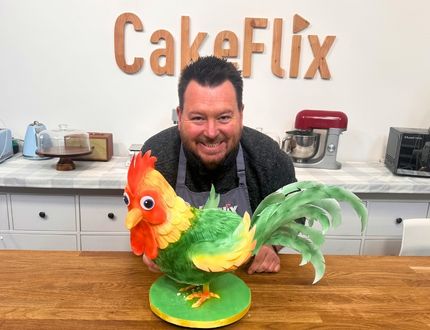
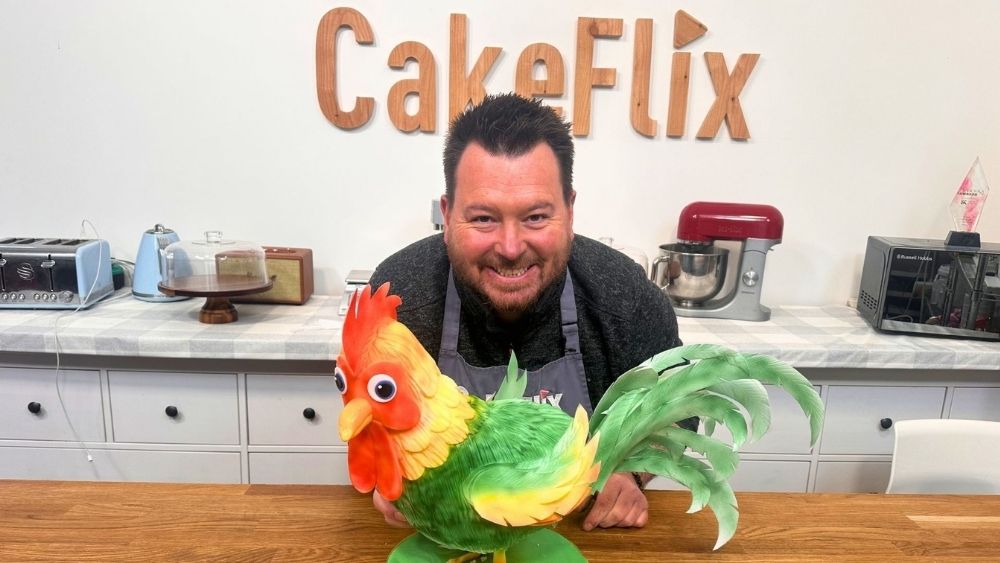
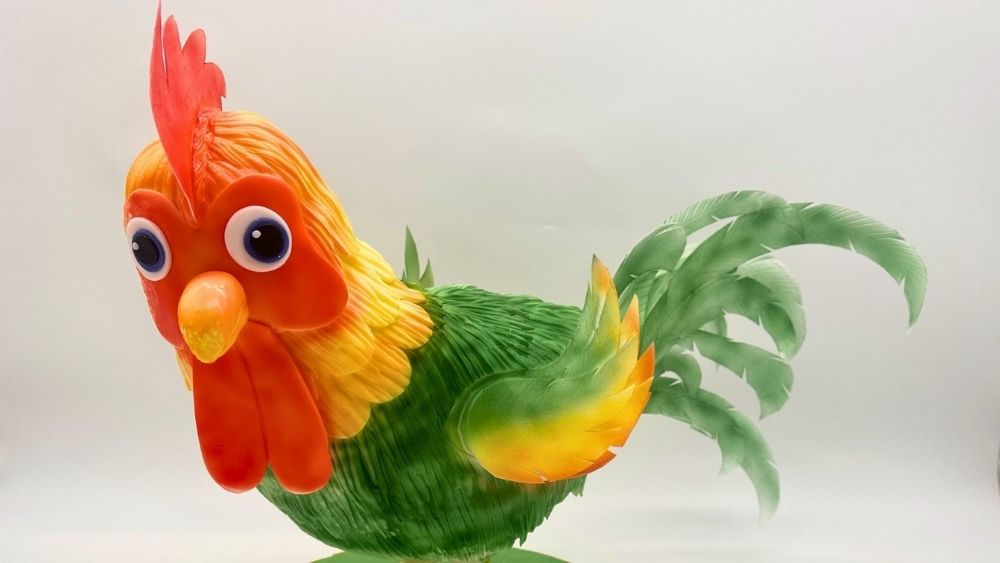
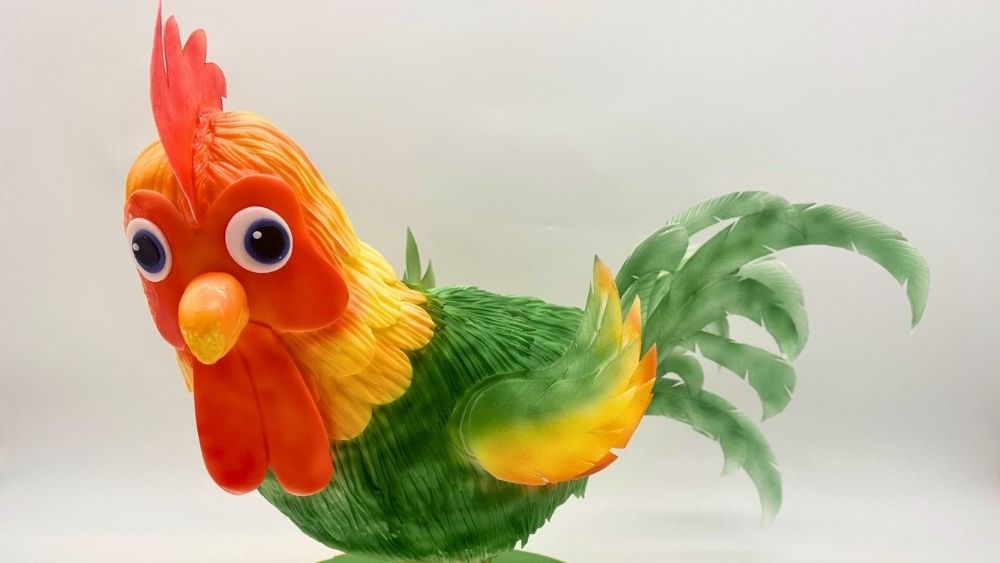
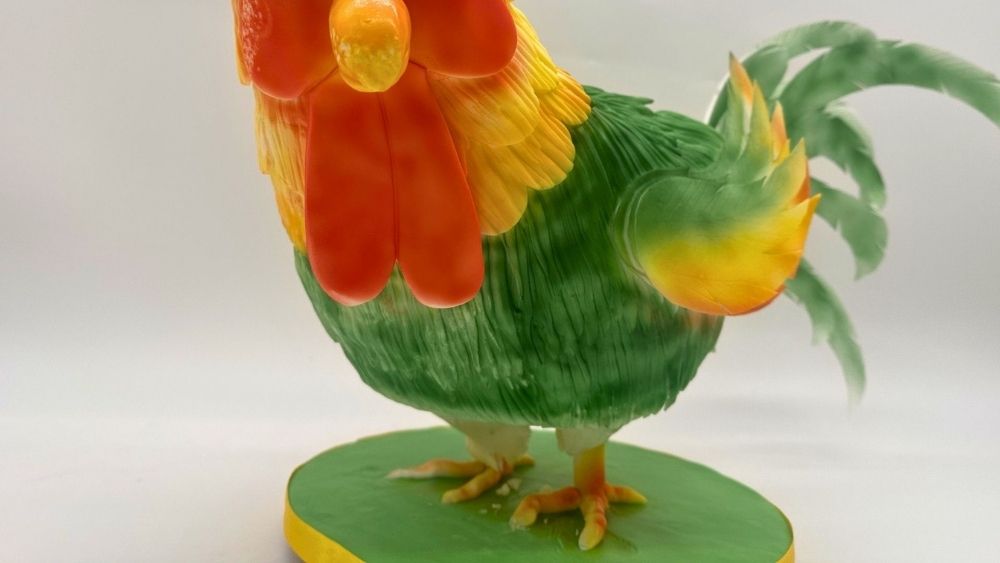
If you are looking for a fun and engaging 3D rooster cake tutorial, this fantastic project from Paul Bradford is the perfect way to develop your novelty cake decorating skills.
In this cheerful standing cartoon cockerel cake tutorial Paul teaches you how to create a characterful sculpted cake from start to finish, using practical techniques that can be applied to many future novelty cake designs. Whether you are an experienced cake decorator or looking to build confidence with structured cakes, this tutorial offers plenty of valuable techniques.
Paul shares lots of extra expert hints and tips making this a must watch tutorial!
What You Will Learn
In this tutorial, you will learn how to:
- Create a simple wooden internal structure to safely support a standing cake design
- Carve the cake body into a fun cartoon rooster shape
- Cover the cake smoothly in ganache for structure and stability
- Apply sugarpaste for a clean, professional finish
- Create decorative details including feathers, eyes and beak
- Use airbrushing techniques to add shading, depth and character
- Add the final finishing touches that bring the rooster to life
Learn How to Build a Strong Internal Cake Structure
Standing cakes can seem intimidating, but Paul makes the process approachable and easy to understand.
A key part of this tutorial focuses on building a simple wooden support structure that gives the cake strength and stability. Learning how to create secure internal supports is an essential skill for any cake decorator wanting to progress into gravity-defying or novelty cake designs.
This technique alone makes the tutorial highly valuable, as structural cake skills can be used across countless future projects.
Master Cake Carving Techniques
Once the structure is complete, it is time for one of the most creative stages: carving.
Paul demonstrates how to carefully shape the cake into a charming cartoon rooster body, showing how to achieve strong proportions and a recognisable silhouette. Cake carving is one of the most useful novelty cake skills, and this tutorial gives you practical methods you can use again and again.
Achieve a Smooth Professional Finish
Great novelty cakes rely on clean finishing.
In this tutorial, you will learn how to apply ganache smoothly over the carved cake, creating a stable surface ready for decoration. Paul then shows how to cover the cake with sugarpaste, achieving the polished cartoon-style appearance that gives the design its professional look.
These techniques are essential for decorators wanting smoother, cleaner finished cakes.
Bring Your Cartoon Rooster to Life
The personality of this cake comes from the decorative details.
Paul guides you through creating all the charming finishing elements, including:
- textured feathers
- expressive eyes
- a shaped beak
- playful character details
These small touches transform the cake from a simple sculpted shape into a memorable centrepiece.
Add Depth with Airbrushing
Airbrushing takes this cake to the next level.
You will learn how to add shading, colour variation and realistic depth using airbrushing techniques that enhance the cartoon styling while keeping the design bright and fun.
For decorators wanting to improve their finishing work, this is an especially useful section of the tutorial.
Perfect for Novelty Cake Designers
This 3D cartoon rooster cake tutorial is ideal for anyone wanting to expand their novelty cake decorating skills.
The techniques taught go far beyond a single project. You will build confidence in:
- cake structure
- carving
- ganache finishing
- sugarpaste covering
- decorative modelling
- airbrushing
If you love fun character cakes and want to improve your technical skills at the same time, this Paul Bradford tutorial is a brilliant project to tackle next.
Don’t forget to share your interpretations of this wonderful cake with Paul and the rest of the CakeFlix community on our Family Facebook group.
View hundreds of more world-class tutorials only at www.cakeflix.com.