Tutorial Preview
Bite Sized
Watch Paul make this 1st Birthday cake in just one minute!
Highlights
Here, we’ve carefully selected the key parts from the entire tutorial and condensed it into a 10 min long video. More than enough to get you started without taking up too much of your time.
1. Carving the body
Paul talks through his design ideas then cuts out the shape from a slab of cake. He then stacks the shape before carving the outline shape. Paul used a cake slab from Sweet Success, but you can use a 10” square cake for the body and 6” square for the head.
NOTE: see the Templates tab
2. Carving the head and ganaching the body
The head is best added in sections, but watch how Paul puts this jigsaw together to create the head. All the cake will later be stuck together with ganache so don’t worry about joins etc. Then it’s time to stick the cake together and cover in a generous layer of ganache. Paul covers his first layer quite roughly, before placing in the freezer to allow the ganache to set. When the cake comes out, he then smoothes with a hot palette knife to get the more refined finish.
3. Covering the cake and board
Paul mixes up some colours to get the grey sugarpaste. However, you can use any colour you like, but best to avoid white. The cake will be covered in buttercream, but there will be some tiny gaps, which is why grey or your buttercream colour, works best.
4. Adding the legs and features
Our teddy bear starts to take shape as Paul adds the legs, muzzle, ears and tail. Positioning of the legs can be tricky, but have a play until you get the position to give your teddy that cute look.
5. Adding the fur
Paul mixes up his buttercream and colouring then starts to add the buttercream fur. Maybe worth pouring a coffee or some additional entertainment as this bit can take a while!
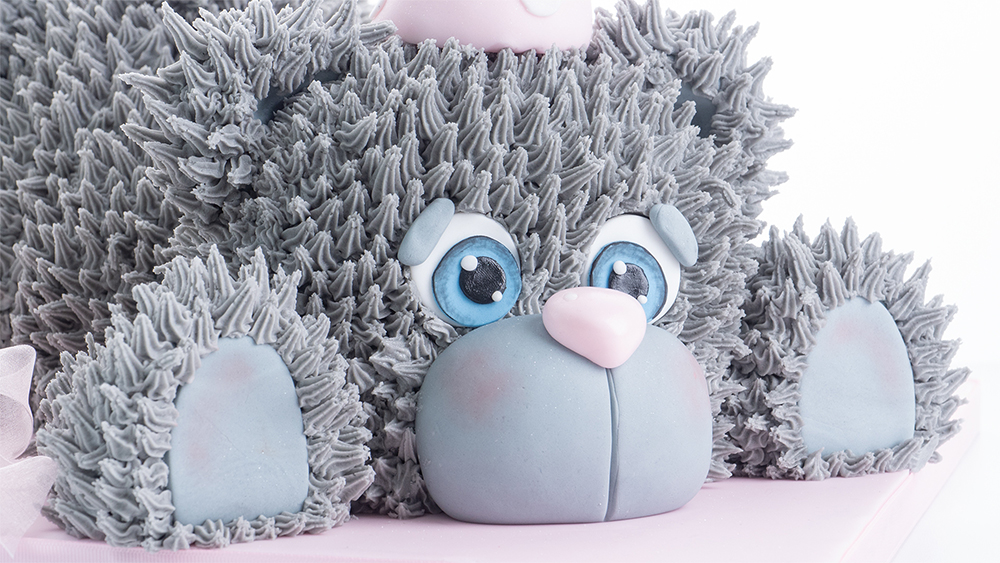
6. Adding the eyes
The eyes really add charter so you have a few options, depending on how you want your bear to look. Paul spends time adding the coloured sugarpaste, then finishing with some shading paintwork.
7. Adding the nose and final teddy bear features
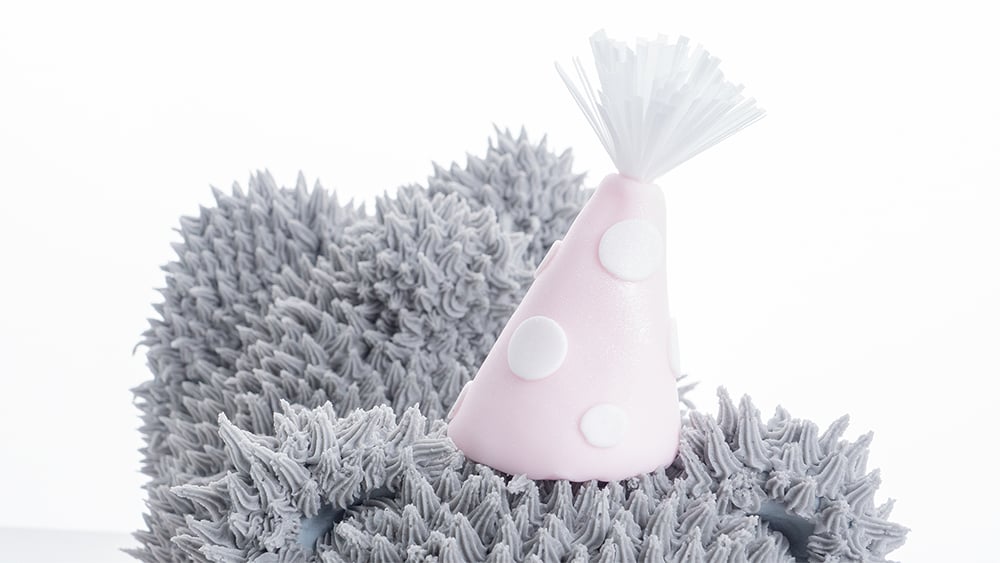
After deliberating, Paul chooses to go with a pale pink nose. He then gives her some blusher, shades her paws then adds the birthday hat.
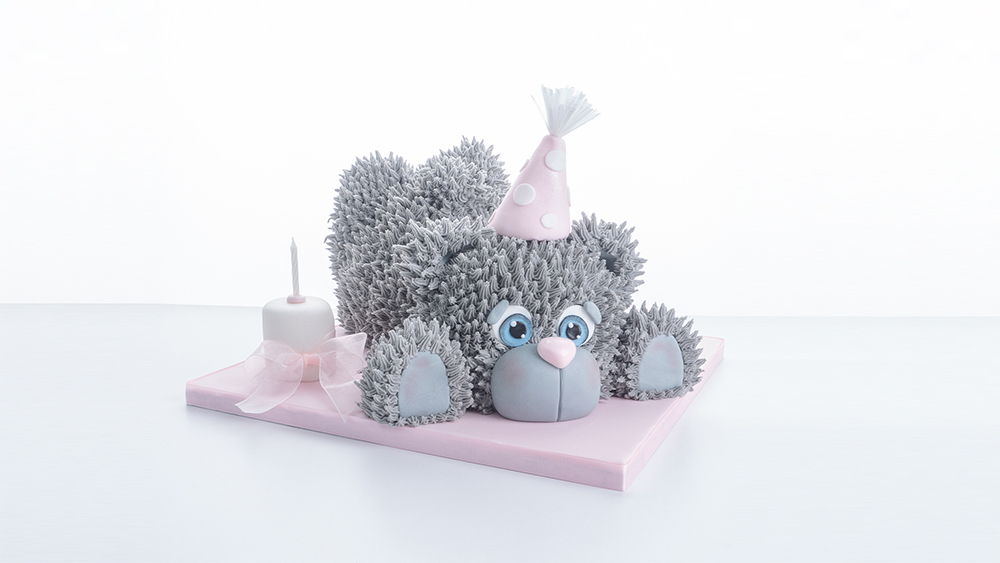
8. Finishing touches
Paul finishes by adding a cute little birthday cake and some magic sparkle. And there we have it, one cute little Teddy Bear’s first birthday.
9. Other Ideas
Paul shares some other ideas you can try out during this project. We’re sure you’ve some of your own, and we’d love to see what brilliant alterations you’ve made.
10. Pro Lesson
Paul shares some insider information about the cost to make this cake. He also shares his advice on pricing and other vital information necessary for any professional cake designer.
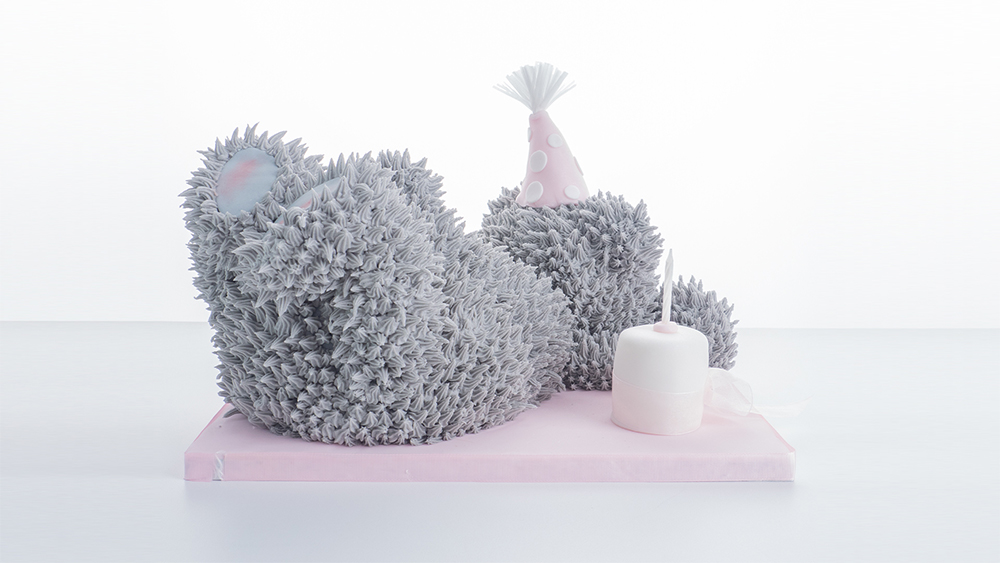
Teddy’s 1st Birthday Cake Tutorial
In this tutorial, we learn how to make this cute Teddy’s 1st Birthday cake. Paul adds lots of helpful hints and tips along the way.
In the following tutorial, you will learn how to…
- Carve from a template
- Cover an awkward shape
- Stacking an awkward shape
- Create a cute fur effect
- and much, much more
Don’t forget to share your interpretations of this wonderful cake with Paul and the rest of the CakeFlix community on our Facebook group.
View hundreds of more world-class tutorials only at www.cakeflix.com.