Tutorial Preview





Highlights
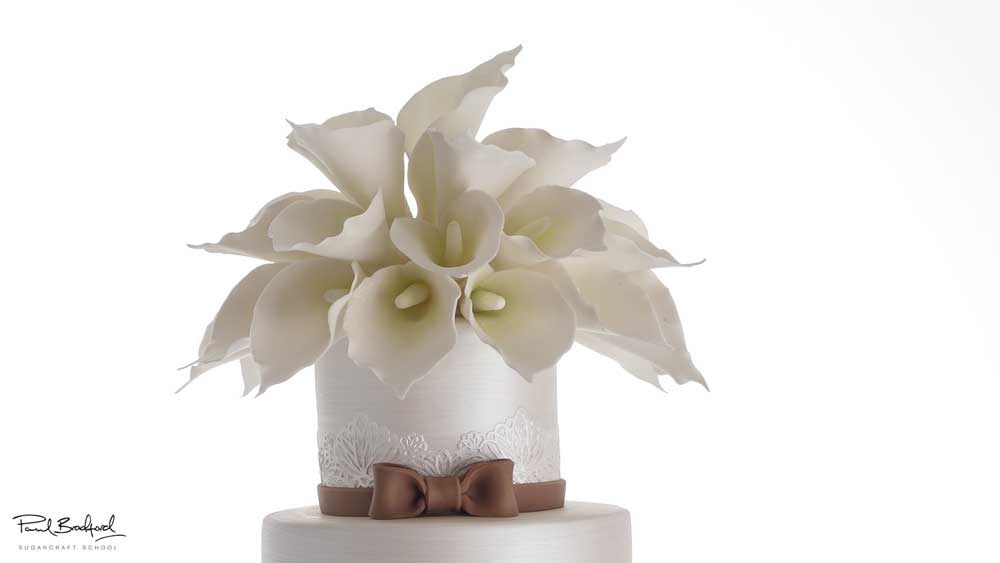
Here, we’ve carefully selected the key parts from the entire tutorial and condensed it into a 10 min long video. More than enough to get you started without taking too much time.
1. Making the Calla lily Centres
Paul gets his thinking cap on and comes up with a way a quicker way to make the centre that requires much less preparation and will allow them to pushed straight into the cake.
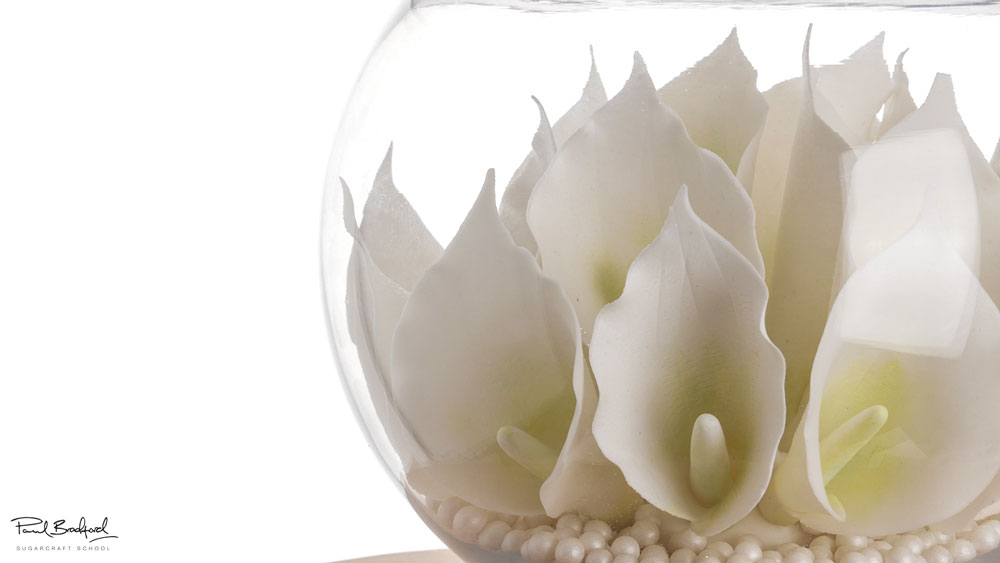
2. Making the Calla Lilies
Now that the centres have dried Paul now makes the flowers up and has a very clever idea to make sure the petals set in the most natural way possible.
3. Ganaching the cakes
Paul shows us how to ganache the 8” round red velvet cake with yummy white chocolate ganache.
4. Covering the cakes
Paul has decided to add a layer of dark chocolate ganache around the red velvet cake as the white chocolate wasn’t filling him with confidence. Now that the dark chocolate has helped it set, it’s time to cover it.
5. Stacking the bottom cakes
Paul shows us how to stack and support the bottom tiers which are the foundation for the entire cake, whilst making sure it’s all level. If this isn’t done properly there will most certainly be a disaster.
6. Making the panelled frills
Paul gets busy cutting and painting the panelled frills that will later be added to the cake. Paul figures he needs around 70 made to cover the bottom two tiers.
7. Airbrushing and adding the perils
Paul now adds the panels and using some piping gel and then goes onto airbrush them. Then it’s time to add the perils to see the bottom tiers come to life.
8. Adding the chocolate ribbon and bow
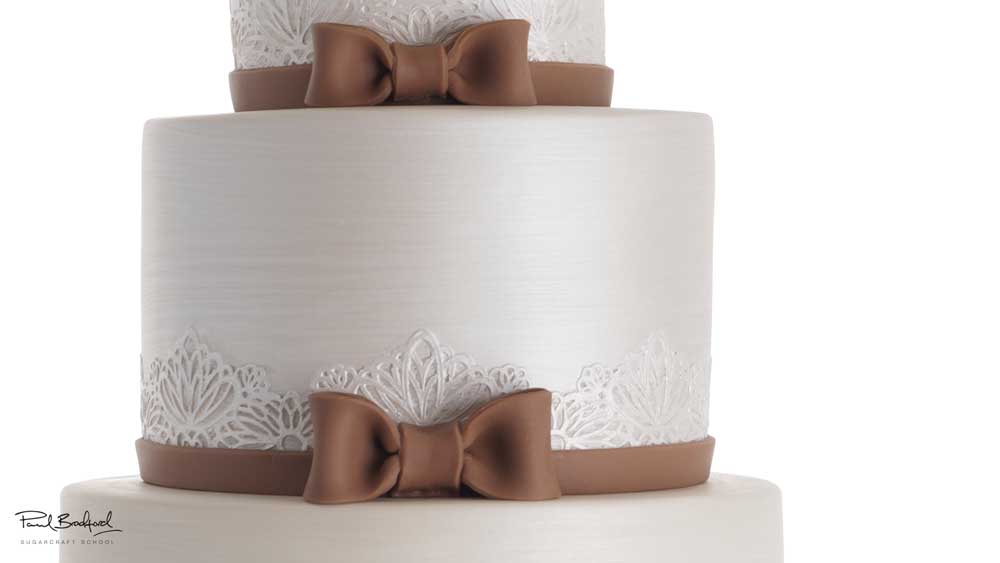
In this lesson, Paul makes the ribbon from chocolate sugarpaste to decorate the second tier.
9. Making the lace and dusting
Paul gets out the serenity cake lace mat along with some pearlised white cake lace mixture and fills in the mat while the oven heats up. You can let them air dry but this can take up to 4 hours.
Then it’s onto dusting the calla lilies with wonderful light tones.
10. Adding the lace/ painting the cakes
Now that the lace has had time to cool down it’s time to cut it to size and add it to the cake. If you want to set the cake lace without the use of an oven, you let it sit at room temperature for 4 hours. Paul gets out some lovely dusts and alcohol and uses various brushes to create different textures.
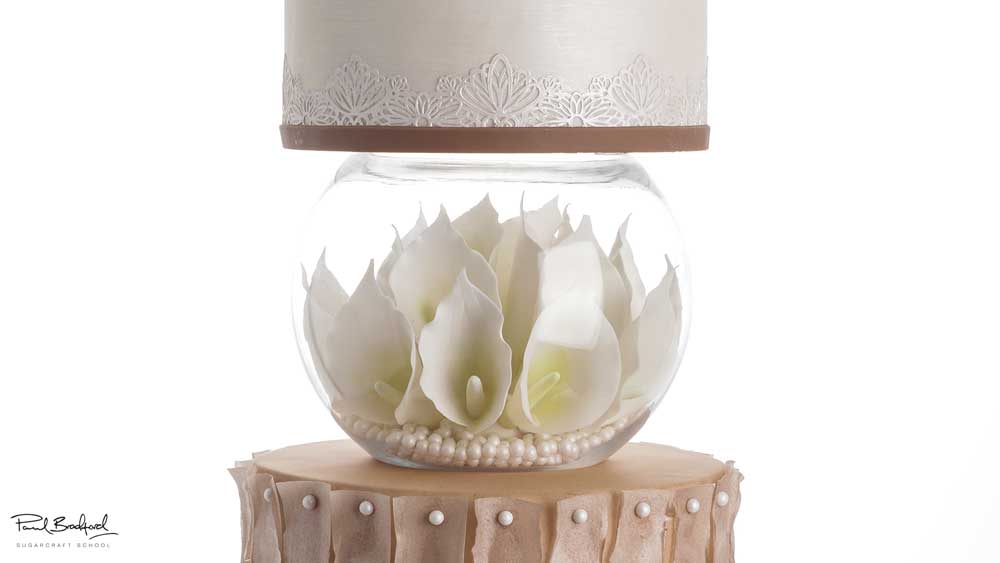
11. Adding the flowers to the bowl
In this lesson, Paul arranges the flowers in the bowl after leaving them to dry overnight. Paul initially uses a ball of brown sugarpaste to hold them in place but later changes it for ivory sugarpaste.
12. Finishing touches
Paul now stacks the cake and then arranges the rest of the flowers on the top tier to finish it all off.
13. Other Ideas
Paul shares some other ideas you can try out during this project. We’re sure you’ve some of your own, and we’d love to see what brilliant alterations you’ve made.
Share your pics with us on our Facebook page.
14. Pro lesson
In this lesson, Paul shares some insider information about the cost of make this cake. He also discusses pricing, portions and other vital information for any professional cake designer.
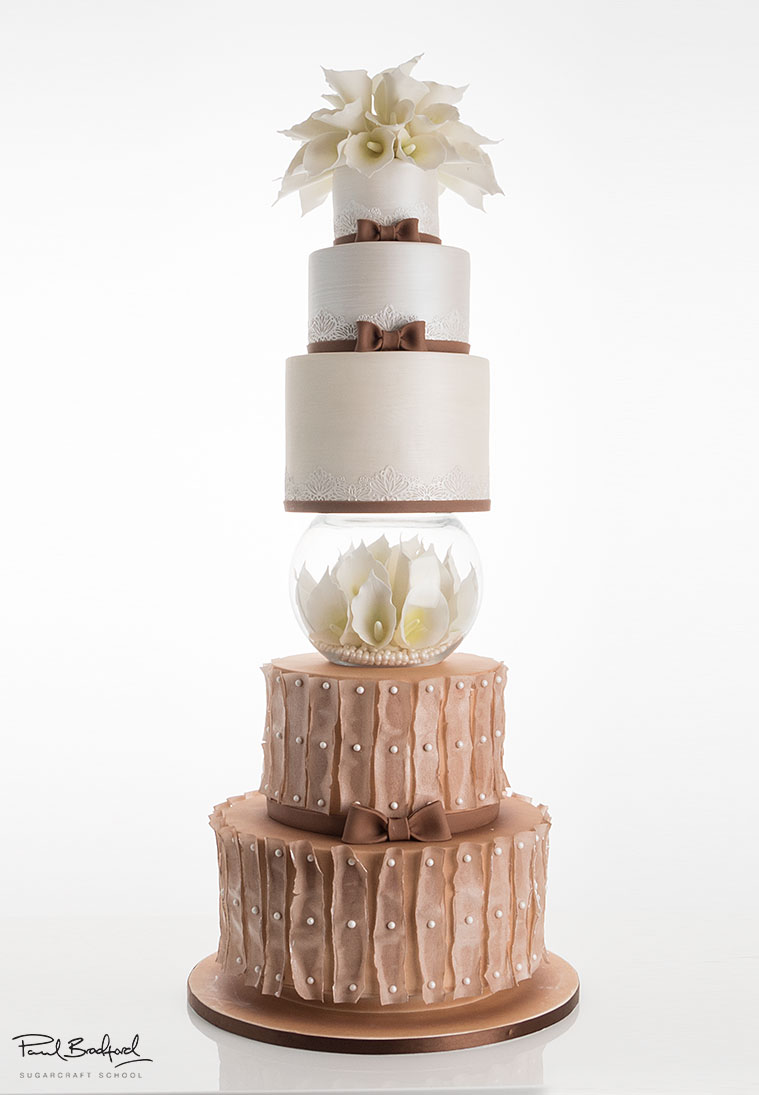
Create a breathtaking seasonal centrepiece with our Autumn Grace wedding cake tutorial. Designed by Paul for an October wedding, this magnificent five-tier cake combines rich autumnal colours, elegant textures and beautiful handmade flowers to produce a truly unforgettable design.
The cake features five impressive tiers separated by a striking central decorative arrangement. Warm shades of burgundy, gold, orange and soft ivory capture the beauty of autumn, while the carefully arranged floral topper provides an elegant finishing touch. The combination of height, colour and intricate detail makes this cake ideal for a large autumn wedding or any special celebration that calls for a spectacular centrepiece.
Throughout this detailed autumn wedding cake tutorial, Paul guides you through the complete construction and decoration process. You will learn how to achieve clean, sharp edges and safely stack a tall, multi-tiered cake so that it remains secure and beautifully proportioned. Paul also demonstrates how to create the unusual central feature that gives Autumn Grace its distinctive shape and dramatic presence.
You will discover how to make delicate edible flowers and foliage, arrange them attractively and use edible dusts to add natural colour, depth and definition. Paul also works with cake lace and shows you how to introduce contrasting textures across the different tiers without making the overall design feel too busy. These techniques can easily be adapted for other wedding cakes and celebration designs throughout the year.
In this tutorial, you will learn:
- How to create professional sharp edges
- How to stack and support a tall five-tier cake
- How to construct the central decorative section
- How to make edible autumn flowers and foliage
- How to colour flowers using edible dusts
- How to apply and work with cake lace
- How to create elegant contrasting textures
- How to arrange a statement floral topper
- How to balance colours and decorations across a large cake
Autumn Grace is a wonderful project for experienced cake decorators looking to develop their wedding cake skills or take on larger commissions. Follow Paul step by step and learn how careful planning, strong construction and thoughtful decoration can transform five individual tiers into one spectacular autumn wedding cake.
Don’t forget to share your interpretations of this wonderful cake with Paul and the rest of the CakeFlix Family on our Facebook group.
View hundreds of more world-class tutorials only at www.cakeflix.com.