Highlights
Here we have carefully selected the key parts of the tutorial and condensed it into a short video that should provide more than enough to get you started.
1. Preparing the board
Here Paul explains the design and draws out a template that he will be using to cut around on plywood using a jigsaw cutter. It’s always best to do this away from any food and you may want to take this job to your local DIY store.
2. Stacking the cake pt 1
Paul now starts the long and scary task of stacking the cake and being sure to add cake card and dowels in between each layer.
3. Stacking the cake pt 2
Here Paul finishes adding the final layers of the body and decides making the head from polystyrene will be wise. The sheer weight of the cake is the deciding factor here.
4. Carving and ganaching the cake
Paul now carves the cake using a long serrated knife with plenty of paper around the bottom to catch the cut offs. Nothing to waste at PBSS studio.
5. Finishing ganaching the cake
In this lesson Paul adds the top section and secures it down with hot glue and tin foil to keep it food safe. Now it’s time to get the hands dirty and smooth the mountain of chocolate off.
6. Making the legs
Paul makes big simple legs from two 6” square cakes! We weren’t joking when we said it was a big feeder.
7. Making the feet
Paul decides to make the feet using rice krispie treats as there’s definitely enough cake being used already. Plus…kids love rice krispie treats.
8. Making the arms
In this lesson Paul makes the arms that hang down either side of the body and then covers them in ganache and left to set before being covered in sugarpaste.
9. Covering the cake pt 1
Time to roll out a very large pieces of white sugarpaste and cover the arms and just below the neck area. Don’t worry about it looking to neat and without creases as it will all be covered up with fur in the end.
10. Covering the cake pt 2
Now it’s time to roll out the red sugarpaste and cover the areas still left to be covered. Paul is going to turn the sugarpaste into dungarees which will be very cute.
11. Carving the head
Paul is using polystyrene cake dummy for thead as the weight of the cake would simply be too much using cake. Paul shows us how to carve a simple shape that will allow us to create the face.
12. Adding the feet
The key thing here is to make sure you put the correct feet on…as you’ll see Paul doesn’t manage to do. Although if you find yourself in a similar predicament fear not, as Paul shows us how to correct this at the piping stage.
13. Making the book
Have you ever made a book made from cake? Well now you will and Paul shows us how to make a very quick but realistic full edible book. You could spend as much time on this as you like ands it could even be made into a fantastic standalone cake.
14. Adding the fur
Time to get the tv or radio on as this is going to take a while. Paul pipes every single bit of fur onto the cake using a star nozzle. Make sure and use a very large piping bag so as not having to refill every minute.
15. Adding the wings
Paul has been a busy bug during and has worked through the night piping as well as making the wings and antennae. In this lesson Paul demonstrates how to make it all and then attaches them to bring the bug up to the airbrush stage. How exciting!
16. Airbrushing
Always make sure to have good ventilation when doing airbrushing as well as a face mask of some sort. It can get pretty messy so you may want to lay down some old sheets around the cake to protect your surfaces.
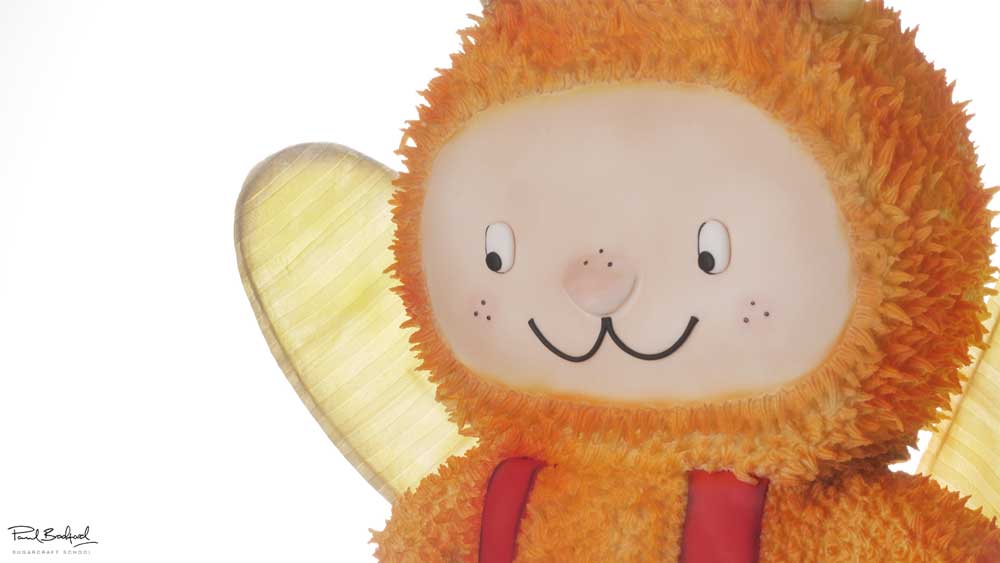
17. Finishing the face
Paul now uses simple pieces of sugarpaste to finish the face in keeping with the original illustration. Of course, you could take creative license here and do whatever you want.
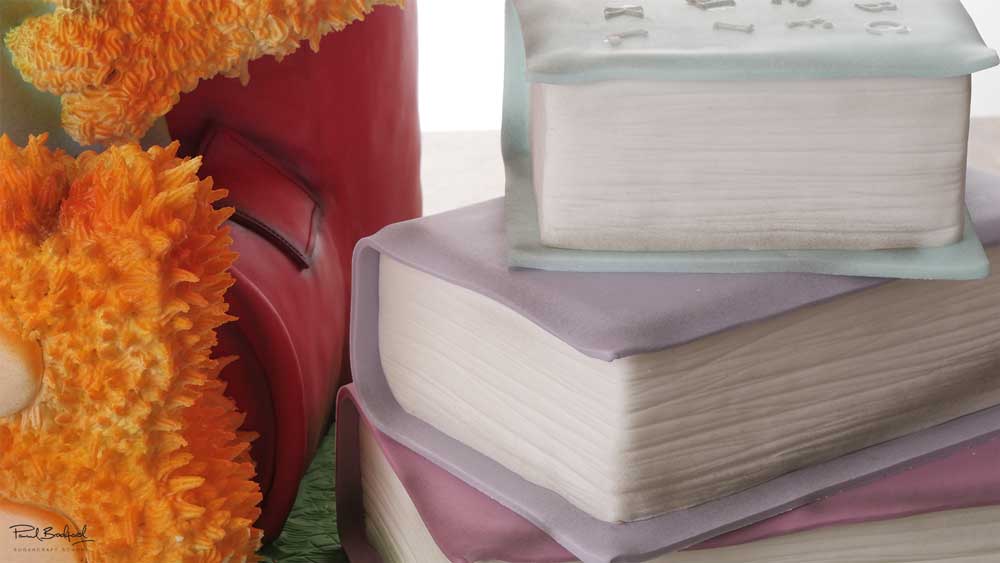
18. Making the books
In this lesson Paul makes the books with two of them being from cake dummy and one being real cake.
19. Covering the board
Here, Paul rolls out lots and lots of green sugarpaste to cover the board and then textures it using a PME quilting tool.
20. Adding the books and letters
Paul stacks the books onto the board using ganache in between each one to secure them. If you are making all of the books from cake remember to put card and dowels in between each layer. Paul gets his faithful FMM tappits out and some flour paste to make the letters which he then attaches to the cake.
21. Finishing touches
Now for the final touches and it’s back to the airbrush to add a little texture to the board and books and then a little blusher for the face and we’re done!
22. Other ideas
In this lesson, Paul shares some other ideas to inspire you when making this cake to make it unique to you. We’re sure by now that you’ll have some of your own ideas and we would love to see them.
Please share your snaps with us on our Facebook page!
23. Pro lesson
Here Paul goes into detail covering things like portions, ingredients costs and pricing and lots more. It’s vital information for any professional cake designer!
Don’t forget you can also work out your portion and serving sizes by using our cake calculators.
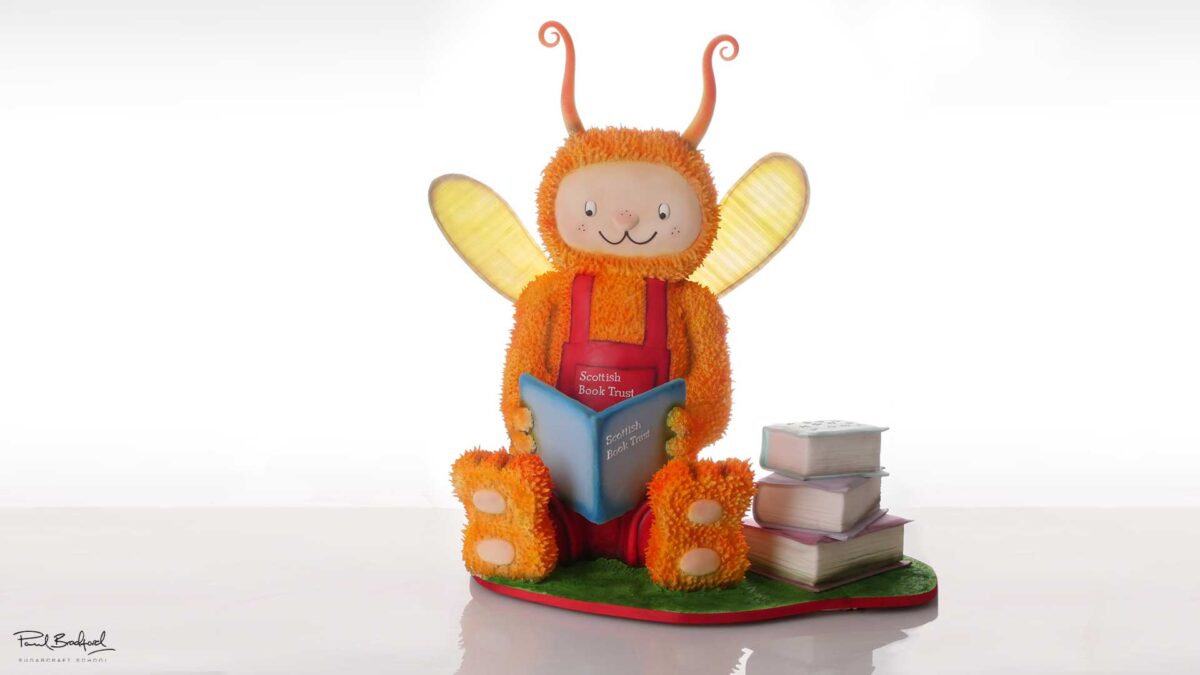
Join Paul for our latest cake tutorial Giant Bookbug. This is a FREE tutorial. To sign up for a FREE Account click HERE.
Standing at 5 foot tall this cake is certainly not for the faint-hearted. Paul was commissioned to make this cake by the Scottish Book Trust for the opening of a new shop.
In this week’s tutorial, Paul shows you how to make this monster of a cake but keeping it as simple as possible. This tutorial is an excellent one to learn for anyone looking take on a challenging design that could be used at charity events, large birthday parties and functions.
This is a larger than life cake that will certainly impress anyone who stands next to it.
In this lesson you will learn:
- How to design a cake board
- Cake stacking
- Cake carving
- Making book cakes
- Airbrushing
- Creating a structured cake
- and much much more!
Don’t forget to share your interpretations of this wonderful cake with Paul and the rest of the Sugarcraft community on our Facebook group.
Who knows? You may even end up featured in one of our monthly members’ cake blogs.
Downloadable tools and ingredients list
Other US to metric and Metric to US
Cake
- 2 x 6” Square by 3” deep chocolate cakes
Cake Card and Drums
- 5 x 10” round cake cards
- 2 x 8” round cake cards
- 2 x 8” square cake card
Ganache/ Buttercream
- 9kg Ganache
- 6 x 250g box of unsalted butter, 3kg icing sugar
Sugarpaste
- 2.5kg Red sugarpaste
- 5kg White sugarpaste
- 1.5kg green sugarpaste
- 1kg Baby blue sugarpaste
- 1kg Lilac sugarpaste
- 1kg Pink sugarpaste
- 600g Blue sugarpaste
- 400g White flower paste
- 50g Flour paste
Paints and Dusts
- Large paintbrush
- Black airbrush paint
- Brown airbrush paint
- Red airbrush paint
- Orange airbrush paint
- Yellow airbrush paint
- White airbrush paint
Other
- 30” x 24” by 15mm thick Plywood board
- 20” long by 16mm thick wooden dowels x 3
- 10” long by 16mm thick wooden dowel x 1
- Bamboo skewers
- 70 plastic dowels
- Tin foil
- Icing sugar
- Baking paper
- Edible glue
- 2 x 12” round by 3” deep polystyrene cake dummies
- 10” by 7” by 3” deep polystyrene cake dummy
- 9” Square by 6” by 3” deep polystyrene cake dummy
- Edible wafer paper
Knives
- Sharp cutting knife
- Serrated knife
- Palette knife
Paintbrushes
- Size 1 paintbrush
- Size 6 paintbrush
Modelling Tools
- PME modelling tools
Cakey Tools
- Rolling pin
- Number 6 PME star nozzle
- Piping bag
- FMM Tapits
Other
- Hot glue gun
- Airbrush
- Jigsaw cutter
- Ruler
- Jigsaw cutter
- Hand power drill
- Size 16 spade bit
Paul Bradford
Paul Bradford´s mission is to ‘Empower people to achieve their cake decorating dreams’ by providing a range of cake decorating courses and online tutorials through their website, which currently teaches 195,000+ students.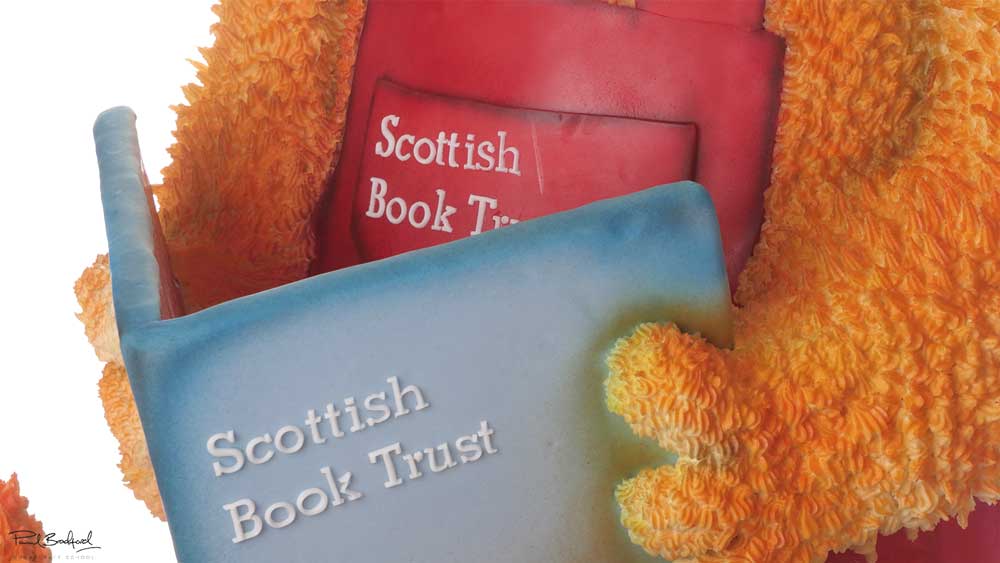
Comments
Add a Comment

Brilliant tutorial Paul I do not envy you transporting it tho.
Brilliant work as always Paul, well done you, hope you managed to transport it okay, do let us know!
What a fantastic cake tutorial. I’m sure the customer is going to be very pleased. So much wonderful things to learn. Can’t wait to try my hand at this. But on a much smaller level. Thanks PBSS for yet another wonderful tutorial.
Loved seeing this. As others have said hope he transported safely. I’m sure your clients were more than satisfied.
It is a great tutorial. I just wonder – how much cake did you use? It says 2 x6″ square cake 3″ deep but there is much more than that.
I was wondering the same thing too.