If you think a cake is just a cake, think again. In the world of cake decorating, your cake is your canvas, and your tools and techniques are your paint and brushes. In this guide, we’ll introduce you to the art of cake sculpting – a method of turning ordinary cakes into extraordinary works of art. With CakeFlix, the possibilities are endless. Let’s dive in!
What is Cake Sculpting?
Cake sculpting is the process of shaping and carving a cake to make it look like an object, a character, or a scene. It requires a blend of culinary skills and artistic creativity. From simple 3D shapes to intricate
Perfect Carving Recipe – FREE
models, cake sculpting can be as simple or as complex as you want it to be.
Getting Started: The Right Tools and Materials
Before you start, ensure you have the necessary tools and materials. The key to successful cake sculpting lies in the quality and type of cake used, as well as the tools to shape it.
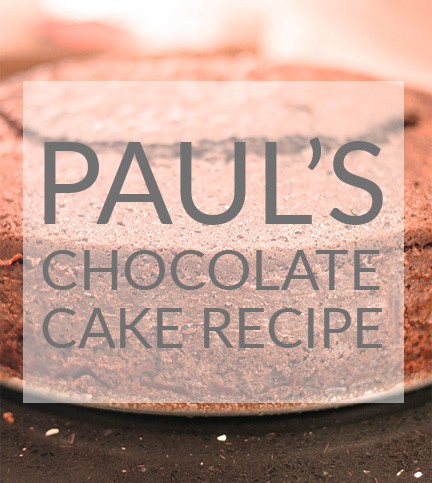
Cake: A dense cake, like a pound cake or a mud cake, works best for sculpting. These cakes hold their shape well and can be carved without crumbling. Check out Paul’s FREE Chocolate cake recipe which is perfect for carving. It can be frozen, so bake as many as you can in one batch!
Buttercream or Ganache: These are used to crumb coat your cake. A crumb coat seals in the crumbs and provides a smooth surface for the fondant. Check out Paul’s free tutorials on making and using Chocolate Ganache and how to make and use Buttercream.
Fondant: This is your sculpting medium. It is pliable and can be shaped into almost anything.
Modelling tools: These come in different shapes and sizes for various sculpting needs. They are used for detailing your sculpture. Check out our FREE tutorial
on the key Cake Decorating Tools.
Steps to Sculpting Your Cake
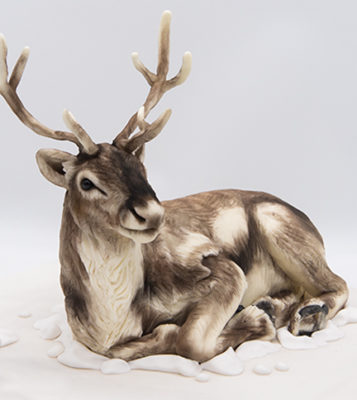
Sculpted Reindeer Tutorial
1. Planning: Start by sketching your design. This gives you a clear idea of what you want your cake to look like and helps you identify any potential challenges in the design.
2. Baking and Stacking: Bake your chosen cake recipe. Once it’s cooled, you can begin to stack your cakes, using buttercream or ganache as glue.
3. Carving: This is where your design comes to life. With a sharp knife, start carving the basic shape of your design. Remember, it’s better to take off a little at a time – you can always carve more, but you can’t put it back!
4. Crumb Coating: Apply a thin layer of buttercream or ganache over your cake. This seals in the crumbs and gives you a smooth surface for your fondant.
5. Covering: Roll out your fondant and cover your cake. This is like dressing your cake – make sure it’s smooth and free of wrinkles or air bubbles.
6. Sculpting and Detailing: Use your modelling tools to shape and add details to your design. This is where your cake becomes a masterpiece!
7. Painting: Some designs may require painting. Use food colouring diluted with a bit of clear alcohol like vodka or lemon extract.
Tips for Success
Practice: The first rule of cake sculpting is practice. Don’t be discouraged if your first few attempts don’t turn out as planned.
Patience: Cake sculpting takes time. Don’t rush the process; enjoy the journey!
Creativity: Let your imagination run wild. The beauty of cake sculpting is that there are no rules.
Join us at CakeFlix to learn more about the art of cake sculpting. Our expert tutorials, inspiring ideas, and a community of passionate cake artists await you. Remember, every masterpiece starts with a single piece of fondant. Happy sculpting!
